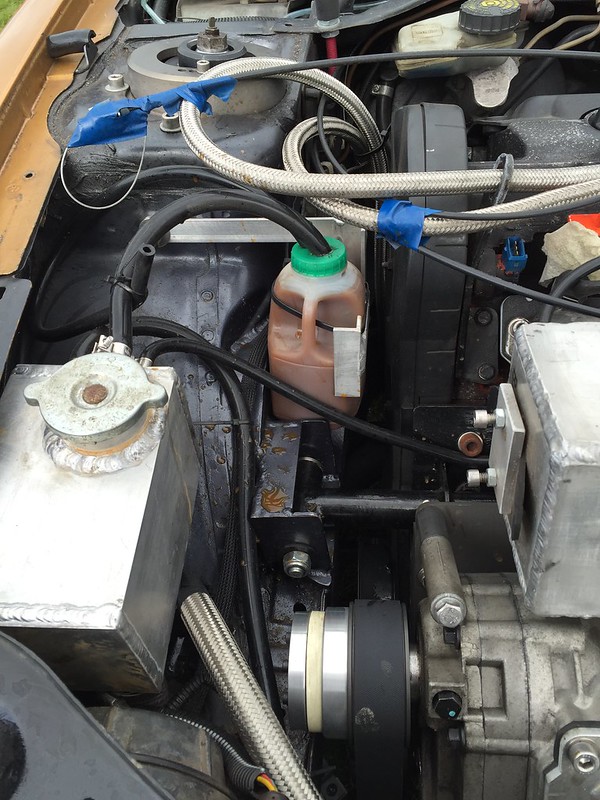
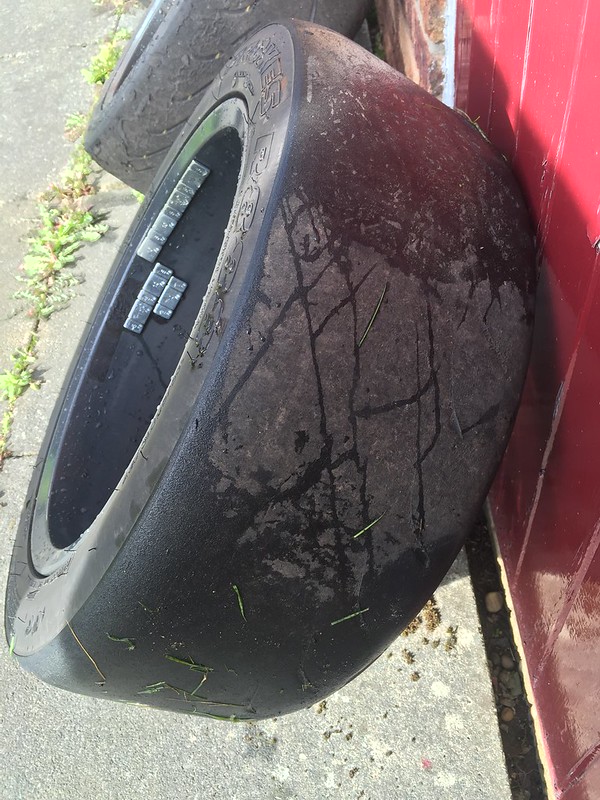
Post #706
Time for another little update ready for Pugfest.
On the drive home from Cadwell i was sure something wasnt running perfectly, a slight misfire at random when just cruising at a set speed but no evidence when accelerating.
Fast forward a couple of months after the car had just been sat in the garage feeling a bit unloved due to the recent purchase of a 205, i decided to give it a quick wash ready for a local car meet, needed some more fuel to headed down to the nearest shell and filled the tank. The car ran flawlessly all the way there, after filling up i went to leave the forecourt, got to around 3k rpm and it felt like i had hit a brick wall with the engine refusing to pull, slapped it into 2nd and it went fine to around 2.5k rpm, but it would idle fine after the initial hissy fit. I managed to limp home keeping the revs below 2k rpm all the way and put this down to getting water on some of the wiring when i washed it.
The next day i got the laptop out and plugged it into the ecu, all the sensors showed up alright, i took it for a drive and everything was perfect again so i just put it down to my water theory.
Along came the meet, half way there it decided to do its cutting out trick again, which is pretty annoying on the motorway, i found that once it did it if i could kick in the clutch, get the engine to rev above 4k rpm then put it in an appropriate lower gear it would almost always then run fine at the higher rpm.
Every time the misfire occured the tacho would drop to 0rpm, so after talking to a couple of mates we diagnosed it as the crank position sensor or the gearbox coming away from the engine. No visible gaps anywhere between the bell housing and the block so i changed the crank sensor and it seems to be running fine again now.
On the way back from that meet i also had something else to contend with, one of the half nuts supplied with the aerocatches had vibrated off, causing the offside front of the bonnet to come up when joining a dual carriageway, once again, far from what i needed!

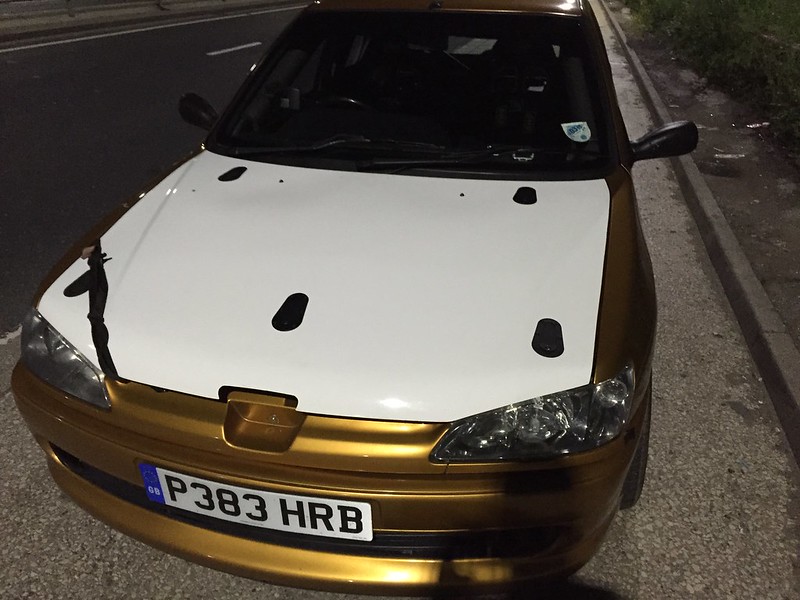 IMG_7120
 by
Steve Count, on Flickr
Looking at the state of the original aluminium pins i gave aerocatch a ring to see if they could supply me with some steel ones, which they seemed very reluctant to do and asked me to contact rally design where i had bought them from originally. After a phone call to them they wouldnt sell me just the pins and wanted to sell me whole new kits. Got back in touch with aerocatch and they eventually agreed to sort me out. Whilst not cheap they did arrive the next working day which was really useful.
Enough waffling on, heres one of the replacements:
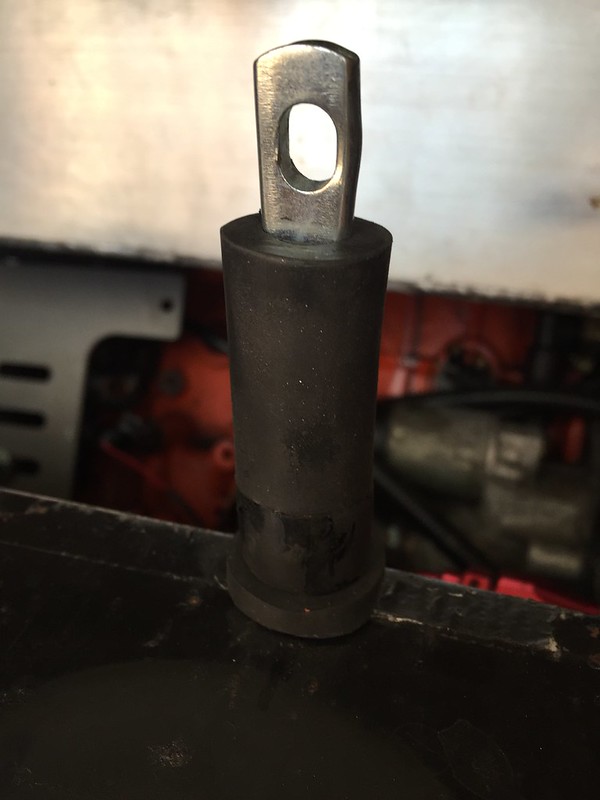 IMG_7136
 by
Steve Count, on Flickr
One of the spot welds near the offside rear aerocatch mounted had also broken at some point, so i simply used a rivet to secure it once again.
 IMG_7144
 by
Steve Count, on Flickr
The bonnet wafts about a silly amount as anyone who has ever seen me driving it will tell you, so i bought some 3/4 x 1/8" aluminium strip, spent a while bending it to match the inner profile of the bonnet then glued it to the underside. It's stiffened it up nicely, although i'm still considering adding one along the rear and possibly putting a layer of fibreglass matting over them to add a little more strength.
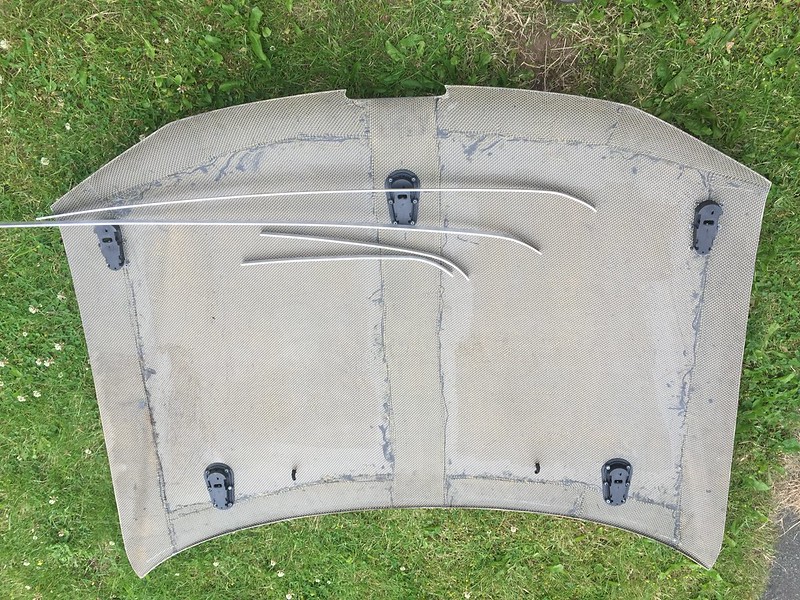 IMG_7143
 by
Steve Count, on Flickr
Fixed in place:
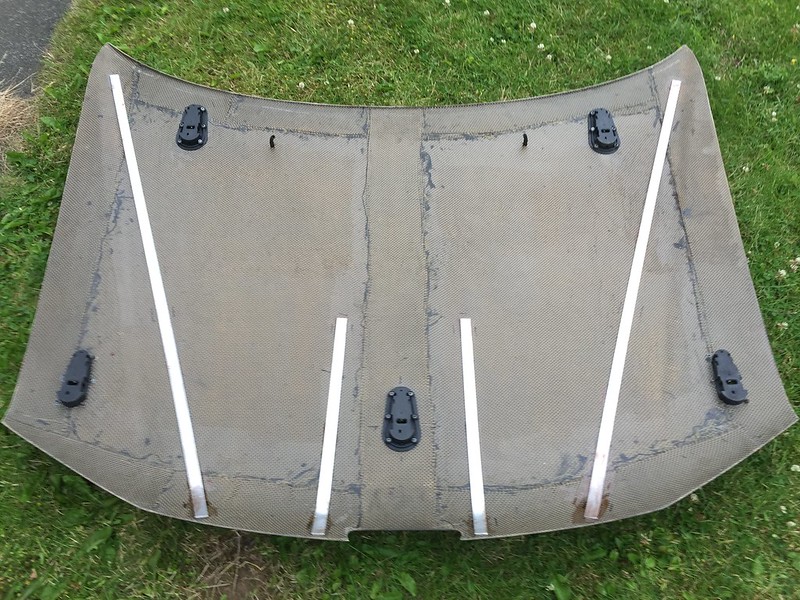 IMG_7145
 by
Steve Count, on Flickr
Another issue i've been having is the engine has been weeping oil from the oil take-off area.
I removed the 'charger and found that the take off plate wasn't as tight as it should be against the block, but one of the an fittings would hit the 'charger bracket when trying to nip it up, the 'charger mounts quite close to this area so i had to have a think of the best way to do this.
I decided to make up an offset bracket to hold the charger to the backplate, meaning i could cut away the part of the backplate which was hitting the take-off fitting, but still secure the 'charger to the plate in that area.
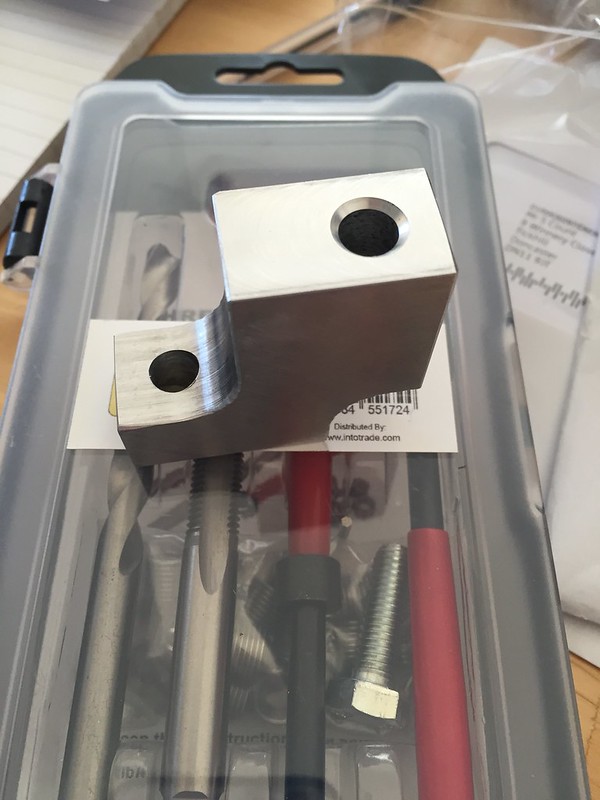 IMG_7141
 by
Steve Count, on Flickr
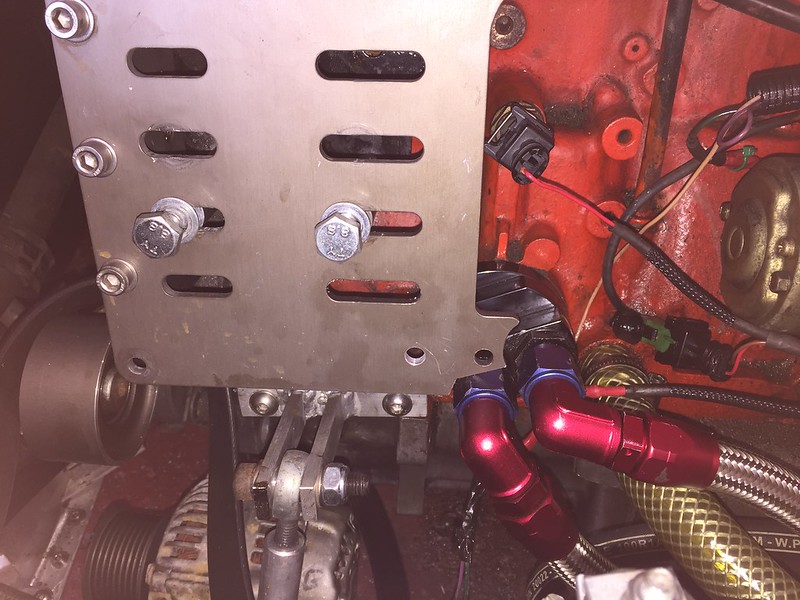 IMG_7135
 by
Steve Count, on Flickr
That's the bracket i came up with, i've fitted helicoils to it for a bit of added strength and durability with the regularity i seem to fit/remove the 'chargers


Previously i just used a long bolt that went through the 'charger then a spacer, then the backplate and a nyloc on the rear to secure it, whilst this worked it was a pain to try and fit and also try and get a nyloc on as there's no way to get a finger anywhere near that area. The new bracket has made that a problem of the past!
Having seen how much easier this made life i replaced the other 3 spacers with new ones, which are now helicoiled at each end so they now stay mounted to the backplate then the 'charger just bolts to these.
 IMG_7149
 by
Steve Count, on Flickr
One final issue that i tacked whilst the 'charger was off was the oil weeping out of the an fittings where they went into the oil take off plate. These fittings have 1/2"bsp thread where they go into the take-off plate, and came supplied only with regular o-rings, but without a face groove on the mounting face, so if they were too loose the oil would force its way out, or too tight the o-ring would be crushed and squeezed out, once again causing a leak.
I'd tried sourcing dowty washers but had no success getting any which were the right size, not sure how that worked out as i literally ordered loads of imperial sizes and even tried some metric ones

In the end i decided to order another pair of fittings which came with dowty washers, the new ones were plated mild steel and weighed a ton, but they had the right size dowty washers so i simply used them washers with my old ally fittings and that seems to have cured the oil leak from there.
I think that just about covers everything i've done to the car recently, fingers crossed it holds itself together this weekend for Pugfest!

________________________________________
Goldie the track car.


 prism7guy

