displaying posts 251 to 275 of 643

Pages (26): first .. 10 [11] 12 .. last

Author Subject: Project PUG
daveyboy

aka Jim Davey

Location: Southampton

Registered: 01 Oct 2007

Posts: 8,648

Status: Offline

Post #251
Yeah, not the best thing to use on an alloy as the metal is so soft the wire brush will remove material you don't want removed as well as the paint you do want removed. Best to use a sander/paint stripper.

________________________________________

R H Davey Welding Supplies. I sell new and used welding equipment in the Hampshire area. I take on welding jobs in the evenings, ally casting repairs are one of my specialities but I can weld pretty much anything. PM me with your requirements.

Some of my services: (See my for sale threads)
Engine mount/chassis repair
Solid Beam Mounts BACK IN PRODUCTION
Harness bars
Posted 10th Jun 2009 at 06:39
chris with a pug

Seasoned Pro

Location: Southampton

Registered: 16 Feb 2003

Posts: 5,366

Status: Offline

Post #252
daveyboy wrote:
He did it with a twist-knot wire brush that goes on the 4.5" angle grinder I sold him Big grin

Very effective but pretty vicious if you catch it on an edge of something, eye protection is a necessity! Dry


not for the sound deading in didnt, i used the wire brush to do the seals for welding.
I used a cold chissel for the sound deading then petrol to clean off the residue.
Posted 10th Jun 2009 at 20:44
chris with a pug

Seasoned Pro

Location: Southampton

Registered: 16 Feb 2003

Posts: 5,366

Status: Offline

Post #253
daveyboy wrote:
You getting Osslebury to do the block?


yes just need to sell a kidney LOL

hopew it will be worth the extra
Posted 10th Jun 2009 at 20:46
kman1600

Regular

Location: Eglinton

Registered: 13 Feb 2007

Posts: 104

Status: Offline

Post #254
Hi,

Was the expensive Peugeot gasket sealant anaerobic by any chance? I always worry when I see Silicon sealant being used on a cam carrier, it
Posted 10th Jun 2009 at 21:06
chris with a pug

Seasoned Pro

Location: Southampton

Registered: 16 Feb 2003

Posts: 5,366

Status: Offline

Post #255
kman1600 wrote:
Hi,

Was the expensive Peugeot gasket sealant anaerobic by any chance? I always worry when I see Silicon sealant being used on a cam carrier, it
Posted 10th Jun 2009 at 21:11
peugeot dave

Regular

Location: southampton

Registered: 04 Aug 2009

Posts: 227

Status: Offline

Post #256
you finished this thing yet lmfao LOL Razz

________________________________________

my car's spending all my money grrrrrrrrrr
Posted 16th Aug 2009 at 03:32
chris with a pug

Seasoned Pro

Location: Southampton

Registered: 16 Feb 2003

Posts: 5,366

Status: Offline

Post #257
peugeot dave wrote:
you finished this thing yet lmfao LOL Razz


No waiting for my ginger piky mate to paint it LOL
Posted 16th Aug 2009 at 03:38
peugeot dave

Regular

Location: southampton

Registered: 04 Aug 2009

Posts: 227

Status: Offline

Post #258
grrrrrrrrrrrr

________________________________________

my car's spending all my money grrrrrrrrrr
Posted 16th Aug 2009 at 03:42
chris with a pug

Seasoned Pro

Location: Southampton

Registered: 16 Feb 2003

Posts: 5,366

Status: Offline

Post #259
Right I havent update this for ages, the reason being I havent really done much to it.

Just been buying parts really, and running out of room under my bed and in my book shelf.

I brought one of Ashes hybrd ARBs, was going to go for a 30 mm one, but think this one will be better as will give a little movement in the rear.
Also brought a 310 brembo kits from Ash, just trying to find a set of calipers but will see, they come up on ebay quite a bit, but I keep loosing out on them.
Also brought a few bits from Frosts, like some P clips, plasticgauge and a cut off switch.
Brought a front bumper off of Ash(roland rat), and some alloy door cards, heater blanks and a dash centre off of Marc.
Any way as I got let down buy a friend today I had a free day so set about finishing off my doors and getting the door cards to fit.

First off I measured up the door card to the door and see what else I could cut out, once it was all marked up out came the angle grinder and the drivers side door got trimmed down some more.
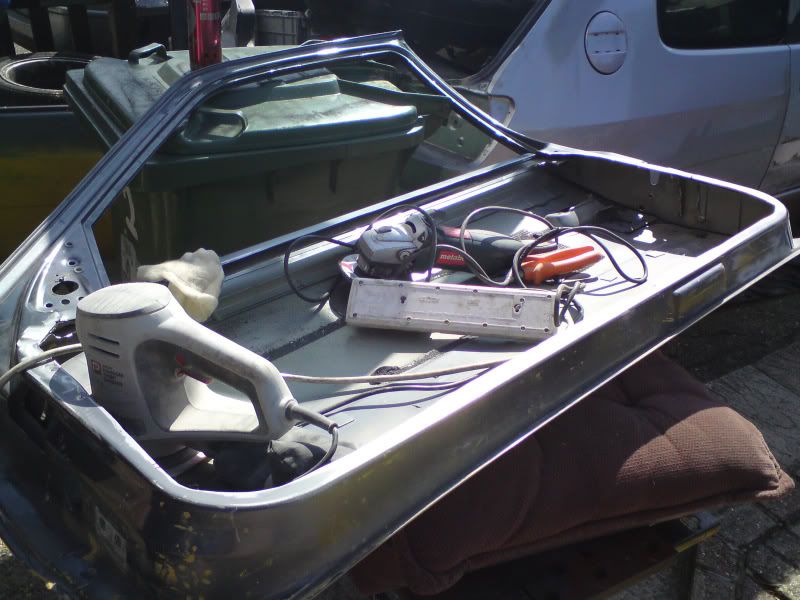
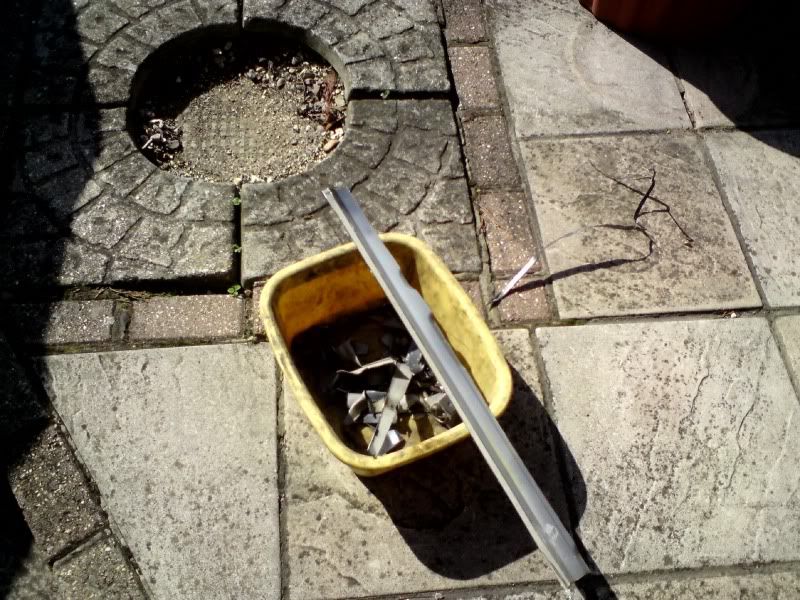
I think i cut the top rail of the door under the window a little too high as it now a little flimsy, I didnt realise it was double skinned until it was cut out, but will just get Jim (daveyboy) to rebox it with some plate on tuesday.
Any way after I cut out the rest of the side impact bars and that I then cut a piece off my original door to make some patches up to make the top of the door look factory and not have the two holes, the one for the door pin and the other where the handle used to go.
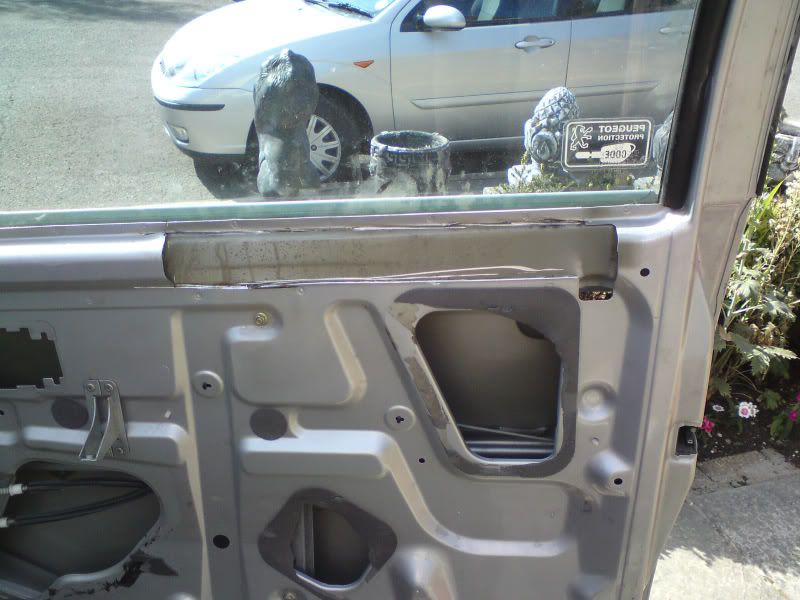
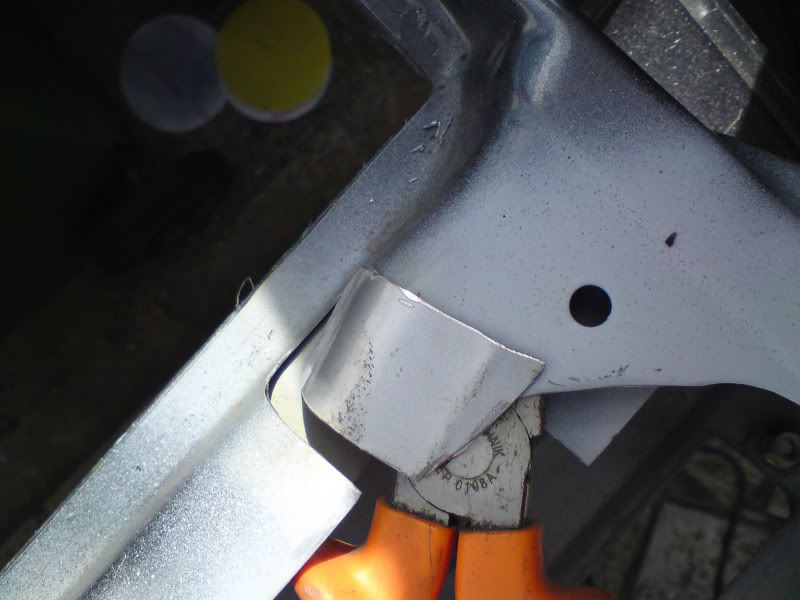
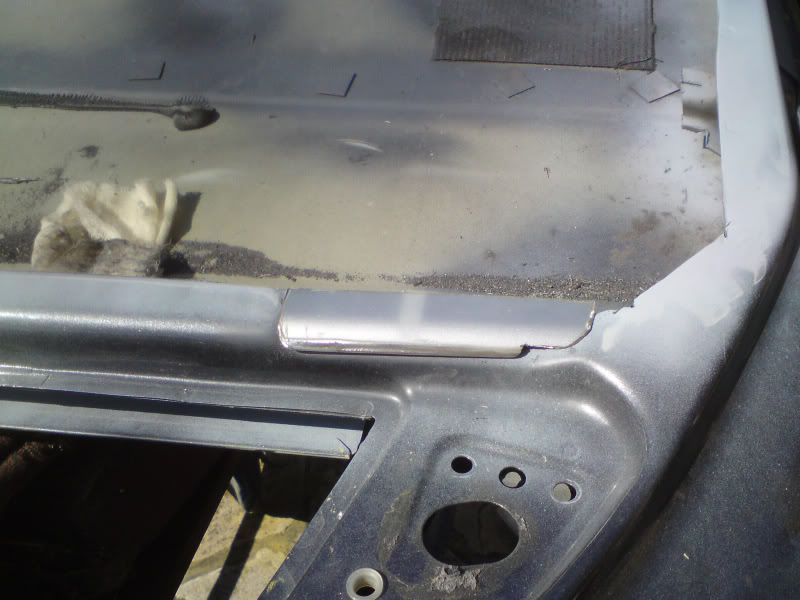
Will be off to Jims tuesday to get those welded in.
So after I finished them I broke out the rubbber nuts, drill bits and started to attatch the door cards.
But disaster I opened up the bolts I ordered and I had ordered the wrong ones they where too short, but a quick trip to screw fix and got a box of nice stainless ones (where the only m4 socket nuts they stocked) and got some nice new 4mm drill bits.
so got back and started measuring and drilling away
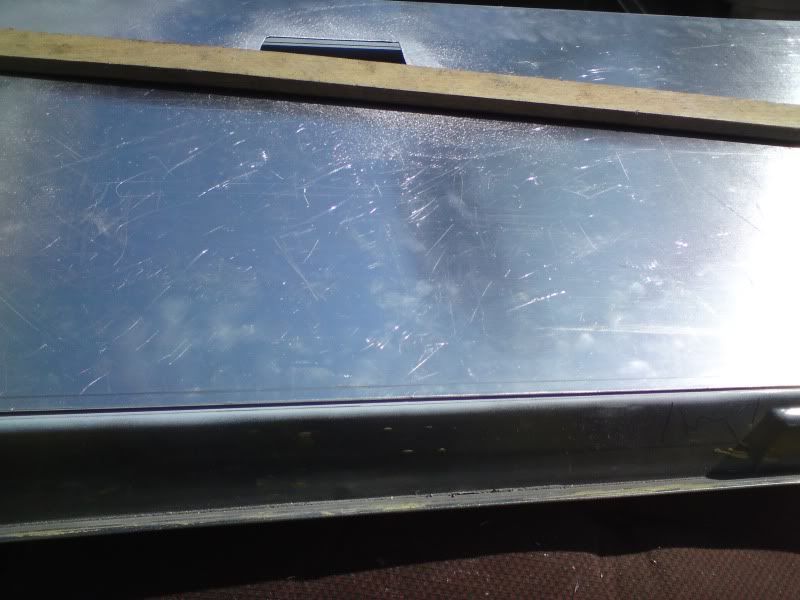
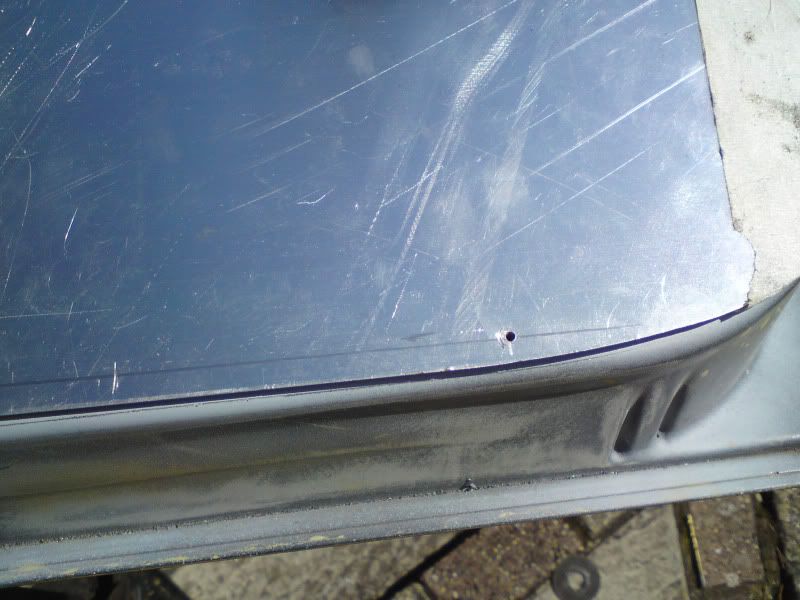
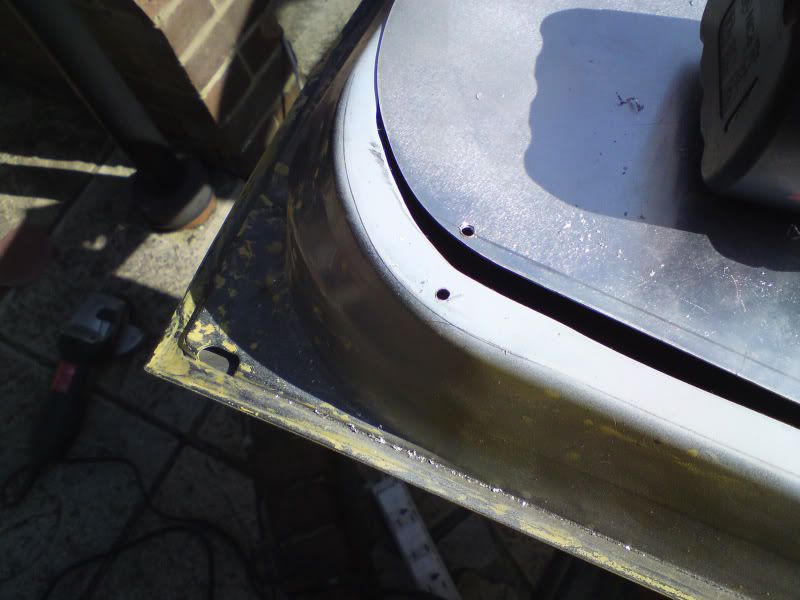
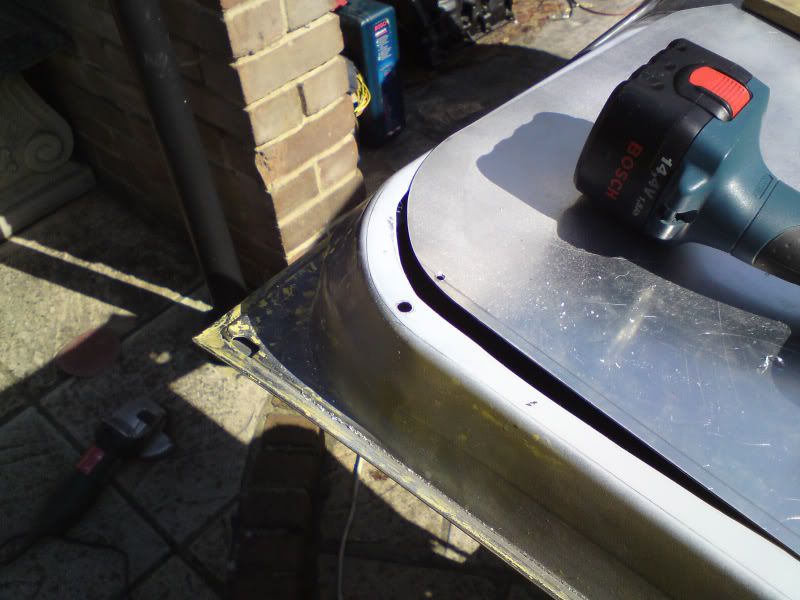
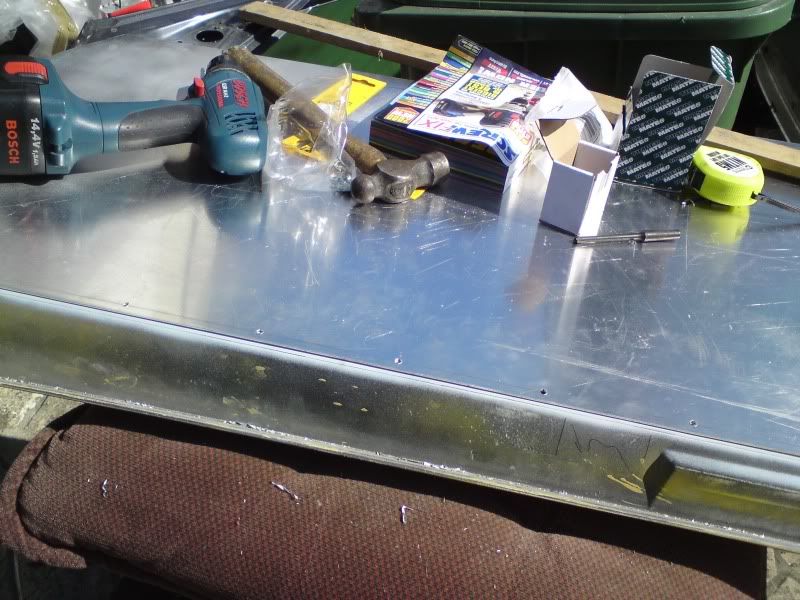
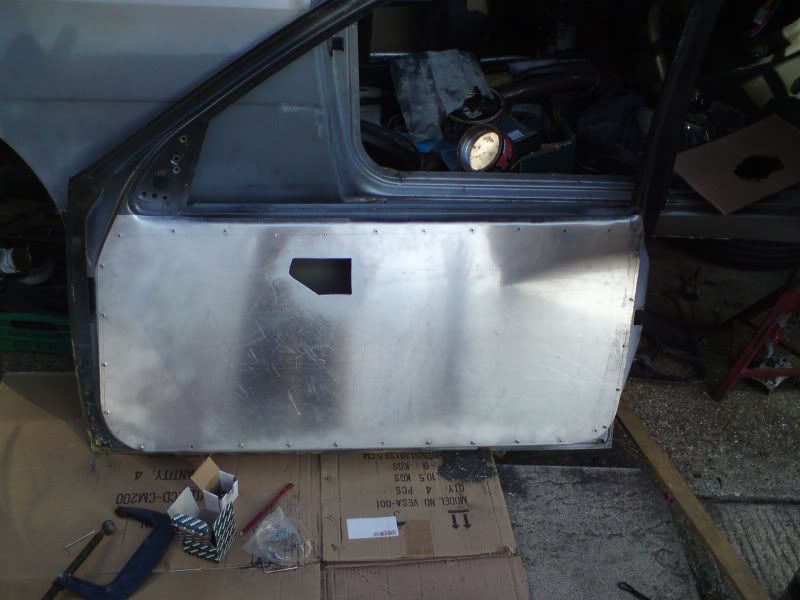

I must say am quite impressed with the door cards, I trimmed a little off the sides so they fitted flush but they are good fit out the box, I also hammered the top over as looks better in my opinion.
I think I went a little over board with the amount of bolts I used, but oh well does look cool.
Tommorrow I will get the other side finished and this shouldnt take as long
Posted 27th Sep 2009 at 01:10
tez_306

Junior User

Location: Australia

Registered: 16 Sep 2009

Posts: 68

Status: Offline

Post #260
Are you sure that gasket sealant is meant for the cam caps? Thats sure to throw the bearing clearance out...
Posted 27th Sep 2009 at 20:38
chris with a pug

Seasoned Pro

Location: Southampton

Registered: 16 Feb 2003

Posts: 5,366

Status: Offline

Post #261
tez_306 wrote:
Are you sure that gasket sealant is meant for the cam caps? Thats sure to throw the bearing clearance out...


100 percent, they have selant in them from the factory.
And wht bearings? the cams float!!!
Posted 27th Sep 2009 at 21:11
chris with a pug

Seasoned Pro

Location: Southampton

Registered: 16 Feb 2003

Posts: 5,366

Status: Offline

Post #262
So thought as I spent shed loads of cash out again this week I would get the car further along ready to test fit it all.
I ordered the bias box from compbrake this week, come to 350 quid with a hydralic handbrake and all the resovoirs and brakes needed to fit it.
Also ordered some bulk head brake unions and some t pieces from rally design, really wish I never asked for a catalog so much stuff in there I want LOL.
and also some flock from frosts as going to have a bash myself.

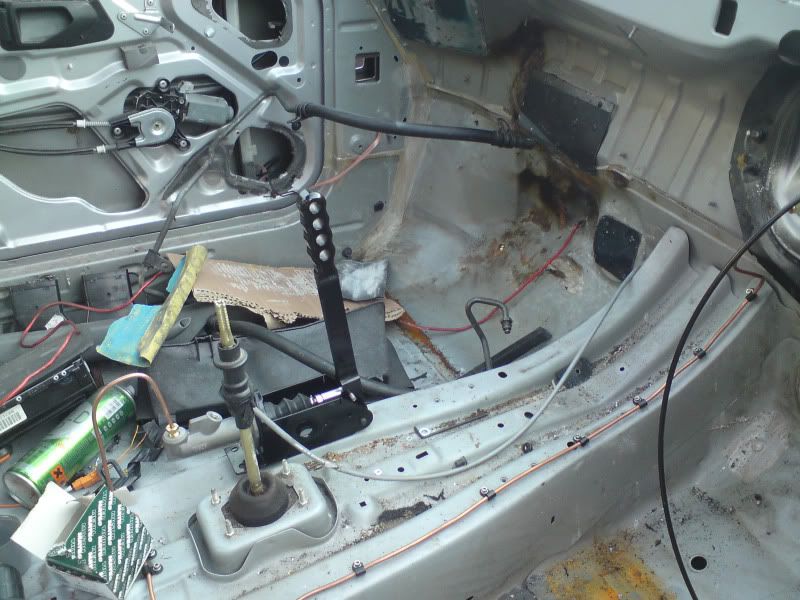
So back today, first thing was to strip the steering column out.
The out came all the pedals, closly followed by the servo.
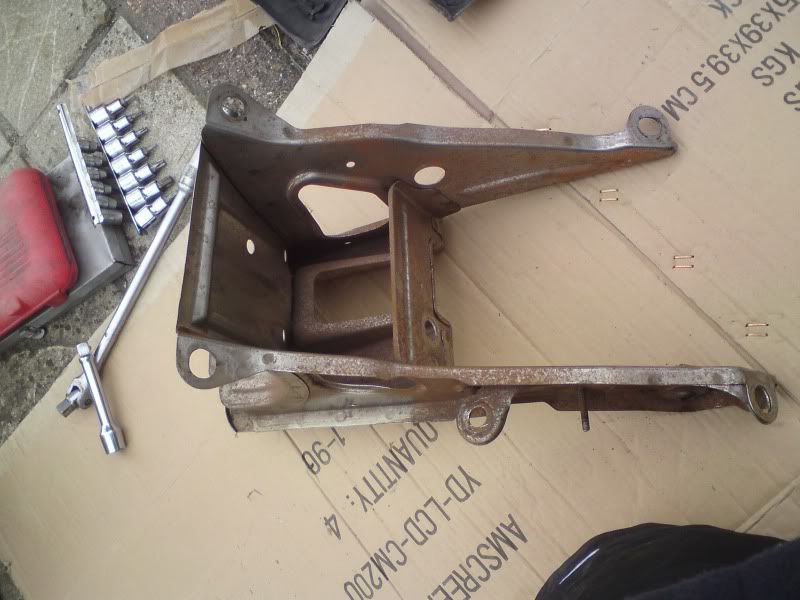
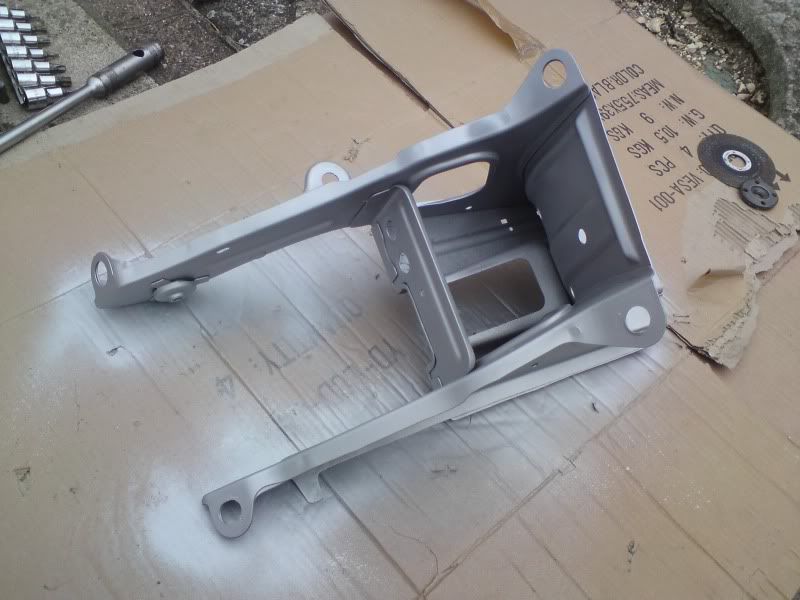
Once this was done off came the steering column bracket. It got a lick of paint just to stop it rusting really.
Before:


After:


for the eagle eyed among you will notice its weld through primer.
But thats all its good for really, cant weld through it at all.
After that I removed the compensator from the rear and that is the last bit of the standard system off the car, well bar the pedal.
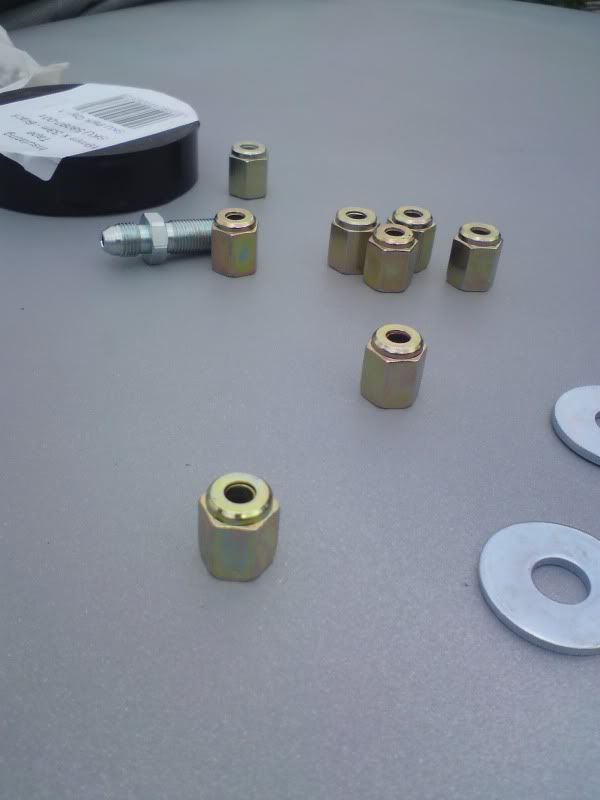
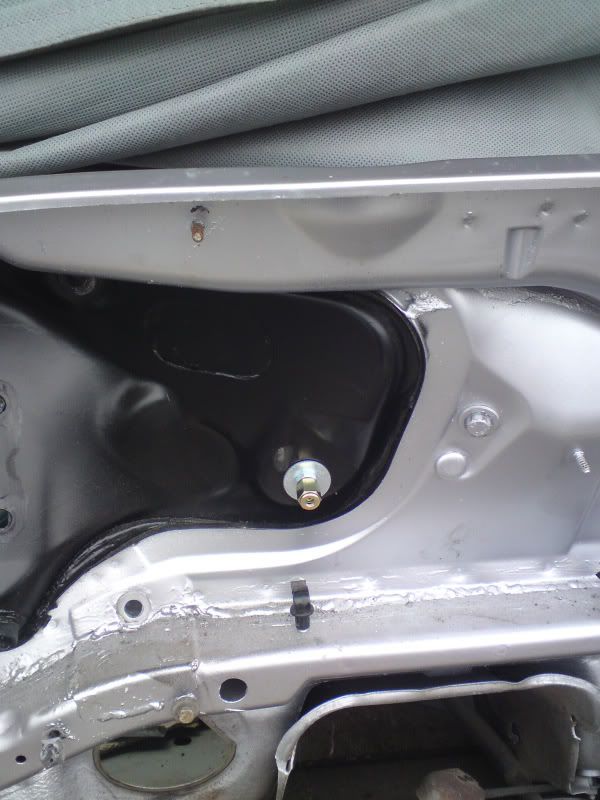
Next I fitted the bulk head union, there is a hole there already, cant remeber what it was for, but I had blocked it off, so just removed the plate and was a great fit.
One problem I did have was finding M10x1 nuts, so I used a bit of imagination and stopped at my local motor factors and brought some female brake nuts and cut it in half.
Job done


All that took way longer than I thought it would, but then turned my attention to my dash.
Started removing the coating on it and also the vents on top of the dash.
What a mess this was. I used an angle grinder with a wire brush attatchment and it worked really well. Just need to be carful not to be in one place at once too long and then will just rub it flat with the orby when I am done.
I am going to fill the vents in, will probably fibre glass the back then a skim of filler in the hole.
did have a few cracks which I drilled the ends on and will filler in when I get the fibre glass.
Just hope I dont mess up the flocking after all the work today, but and going to practice on the top glove box first.
Posted 3rd Oct 2009 at 22:22
chris with a pug

Seasoned Pro

Location: Southampton

Registered: 16 Feb 2003

Posts: 5,366

Status: Offline

Post #263
So after spending my last 2 weekends helping dave rebuild his engine, thought I best get a move on with my project.

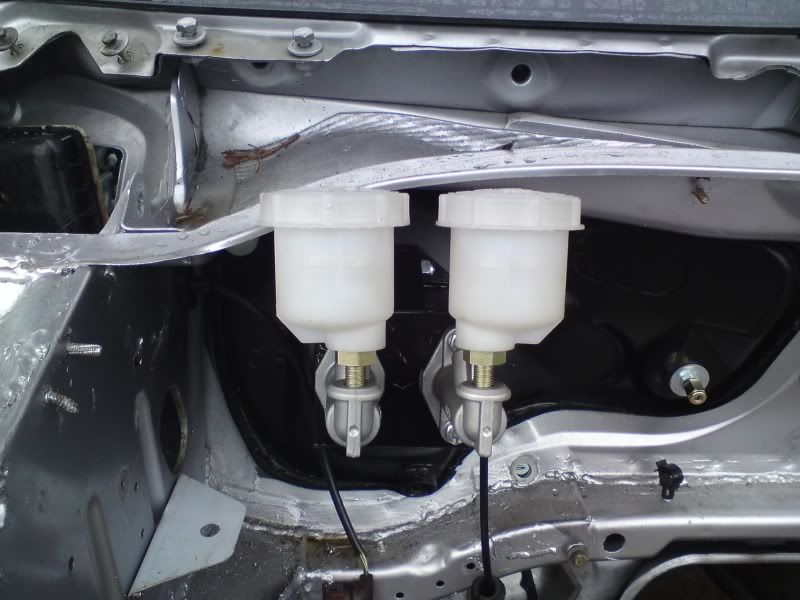
As I couldnt wait any longer for the rain to stop I went out in the garage and sorted my Bias box.
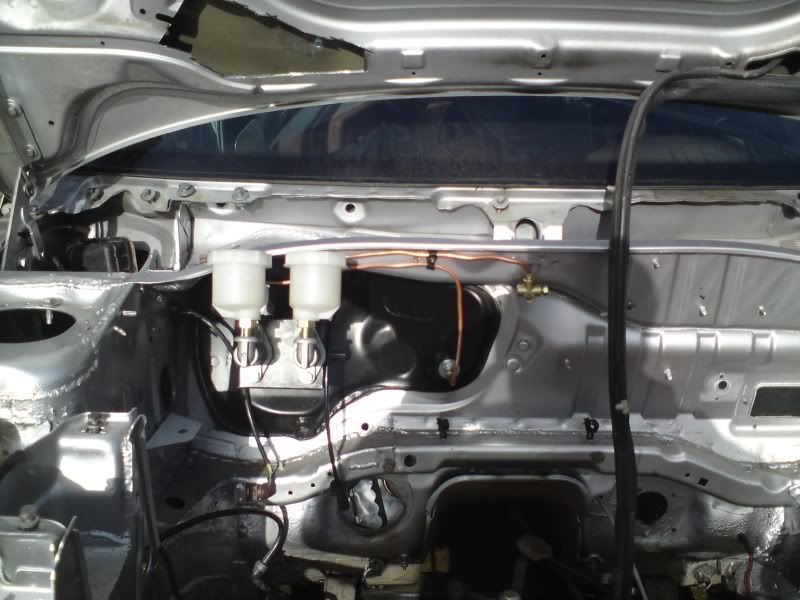
Cut the threads down on the Master cylinders and put it all together.
Took bloody ages to get the bias bar and stuff all lined up, after a lot of swearing and taking it all apart a few times I got it all together and fitted the bias box into the car.
I didnt take any pics as was too wet and cold but will do when it is taken apart.
So got the box fitted into the car, I used the gasket that is on the back of the original M/C, not sure it needed but its there so i used it.


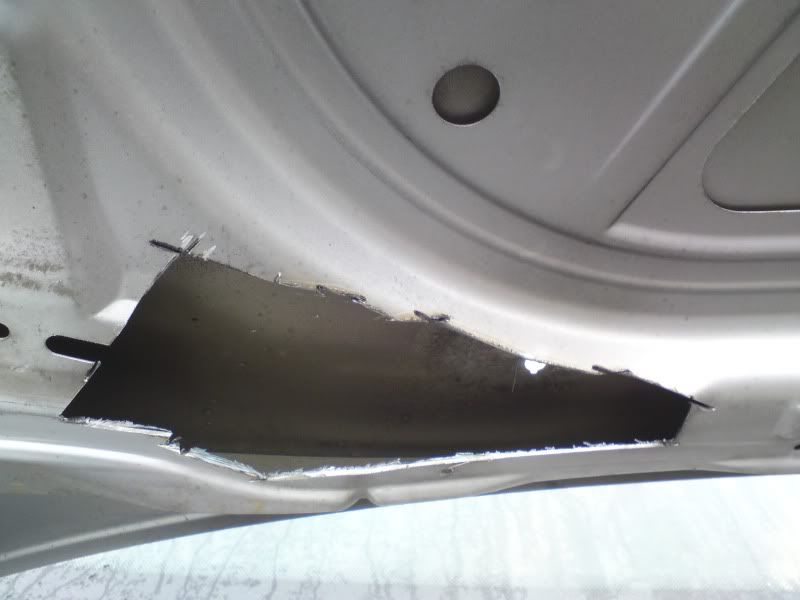
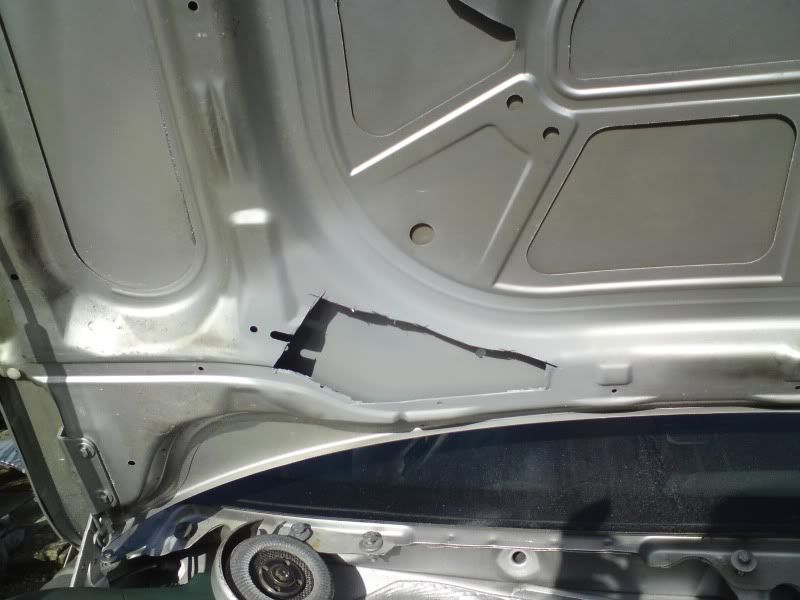
But once was fitted the bloody bonnet would not shut and as I ordered the smallest resoviors I could find, but still wouldnt work.
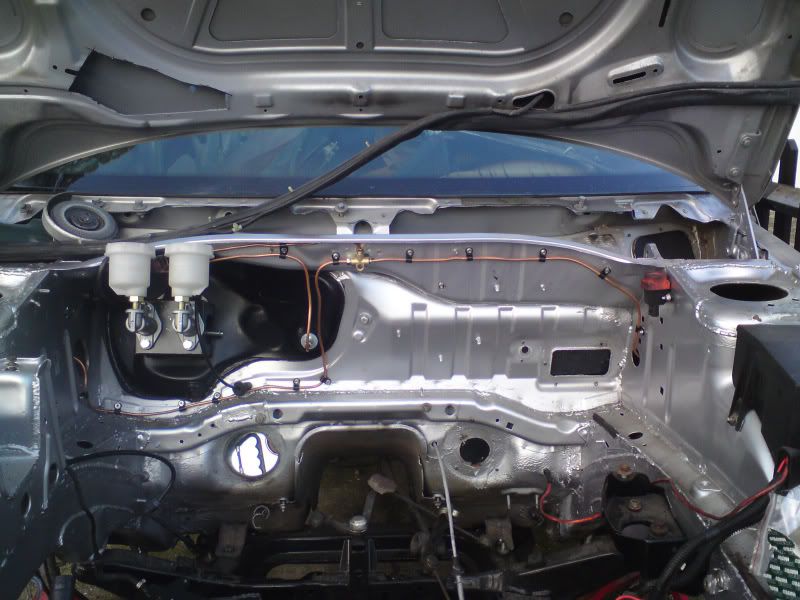
So set about mounting the the resovoirs on the inner wing, but half way through realised it wouldnt work as the resovoirs are gravity fed and need to be above the M/C so I know it a bit crued but the bonnet got notched, this only temp as will be getting a carbon bonnet so not to worried it looks pants.


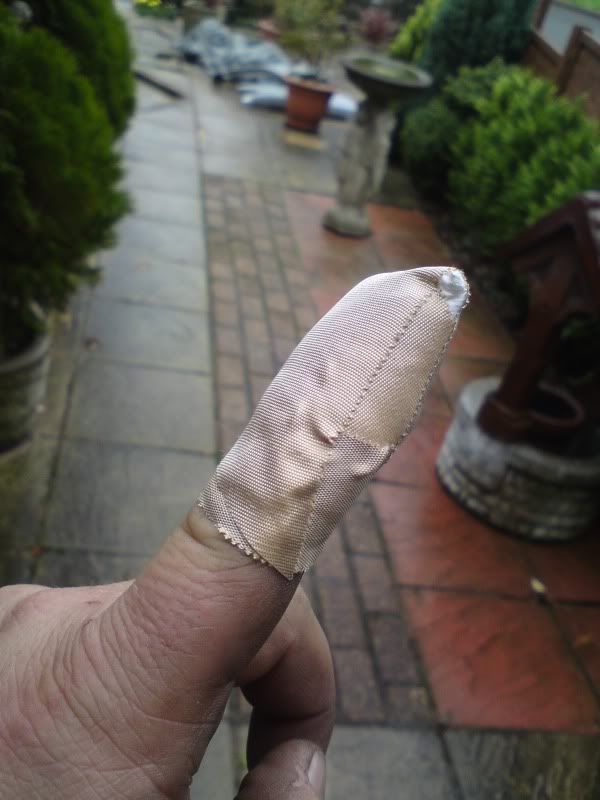
Who says cars are just bits of metal, mine really didnt like me cutting chunks out of here and cut me.


so then made up the pipes for the front brakes and ran them to the wheel arches.


The P clips I ordered are a little bit too large, so will need to order them, but as I am just mocking up for painting they will do the job for the time being.
Posted 24th Oct 2009 at 23:22
peugeot dave

Regular

Location: southampton

Registered: 04 Aug 2009

Posts: 227

Status: Offline

Post #264
looks like you been a busy boy today will the carbon bonnet need cutting or will it be single skinned.
did you cut yourself with the grinder i bet you were getting all hostile and angry with itRazz

________________________________________

my car's spending all my money grrrrrrrrrr
Posted 24th Oct 2009 at 23:41
allesclar

Seasoned Pro

Location: Sheffield

Registered: 17 May 2009

Posts: 4,254

Status: Offline

Post #265
awesome project read here chris Smile Thumbs up

________________________________________

Team allesclar ®

Posted 24th Oct 2009 at 23:58
chris with a pug

Seasoned Pro

Location: Southampton

Registered: 16 Feb 2003

Posts: 5,366

Status: Offline

Post #266
I pulled the metal out of the bonnet and was very sharp, got blood bloody everywhere.

And I will ask the person making the bonnet if they can put in a cut out there
Posted 25th Oct 2009 at 00:21
daveyboy
aka Jim Davey

Location: Southampton

Registered: 01 Oct 2007

Posts: 8,648

Status: Offline

Post #267
chris with a pug wrote:
I pulled the metal out of the bonnet and was very sharp, got blood bloody everywhere.


Doh LOL

________________________________________

R H Davey Welding Supplies. I sell new and used welding equipment in the Hampshire area. I take on welding jobs in the evenings, ally casting repairs are one of my specialities but I can weld pretty much anything. PM me with your requirements.

Some of my services: (See my for sale threads)
Engine mount/chassis repair
Solid Beam Mounts BACK IN PRODUCTION
Harness bars
Posted 25th Oct 2009 at 00:58
pugheaven

Seasoned Pro

Location: Fareham

Registered: 17 Dec 2006

Posts: 4,602

Status: Offline

Post #268
Hi with the carbon bonnet could you not use shims under the hinge so it will raise the back of the bonnet.
Just a thought
Posted 25th Oct 2009 at 01:25
chris with a pug

Seasoned Pro

Location: Southampton

Registered: 16 Feb 2003

Posts: 5,366

Status: Offline

Post #269
I dont really like the raised look and will need to be raised a good inch as the Resovoirs arnt far off touching the outer skin
Posted 25th Oct 2009 at 01:40
chris with a pug

Seasoned Pro

Location: Southampton

Registered: 16 Feb 2003

Posts: 5,366

Status: Offline

Post #270
So quick up date on this.
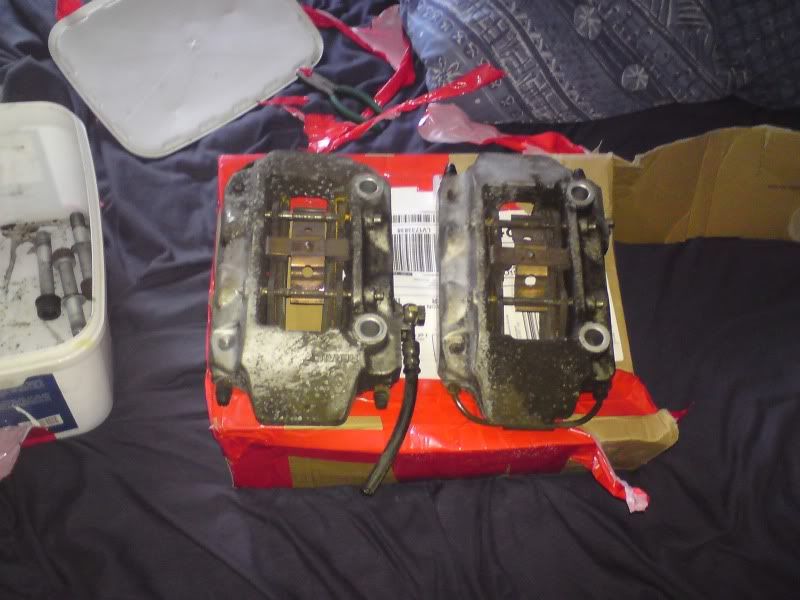
Got a pair of the megane 225 radial mounted calipers, and my god they are masive.
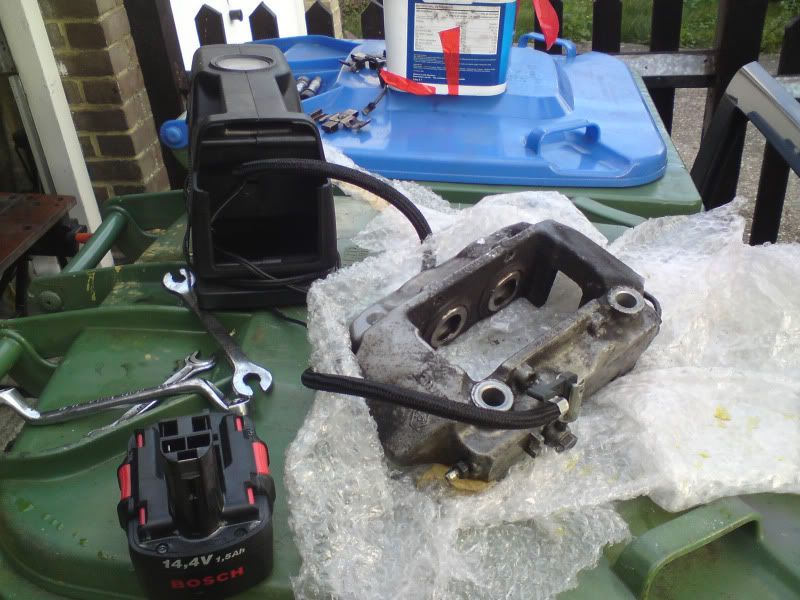
I stripped them down, but had trouble getting the pistons out, but good old jim helped me out, he evn took the dust seals out, which are a pain as have a metal ring pressed in place to hold them. thanks to his patients.
I ordered the seals yesterday from brakepart( brilliant website if you need rebuild kits). So these are almost ready to paint after they where attacked with pickling paste. (i need some of this)
Also yesterday I ordered a 7/16 UNF pipe union but one to take a smaller pipe thna the one i had. bit of a fail on my part. Some smaller p clips and an electronic fan switch.
sorry no pics today
Posted 31st Oct 2009 at 15:39
chris with a pug

Seasoned Pro

Location: Southampton

Registered: 16 Feb 2003

Posts: 5,366

Status: Offline

Post #271
So got a knock on the door around lunch time and had a box from rally design.
I love the service of this comapny cant praise them enough as i only ordered them yesterday.

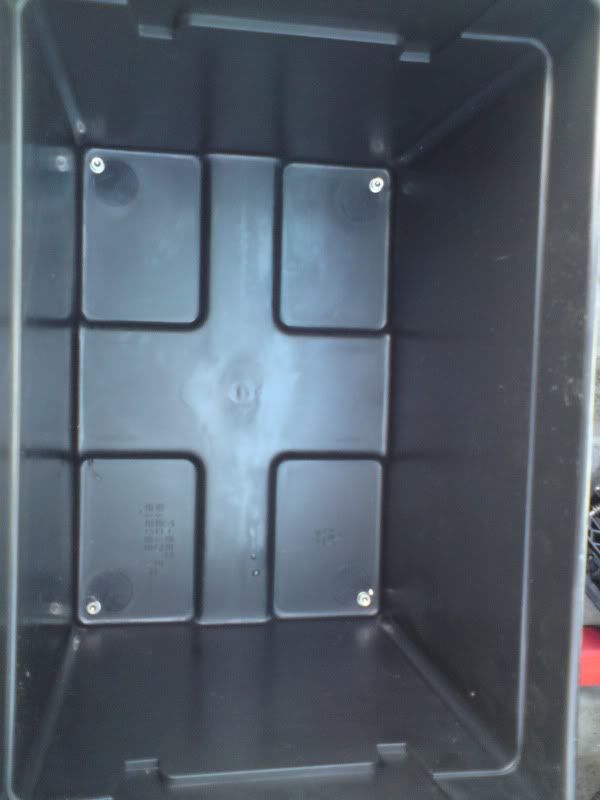
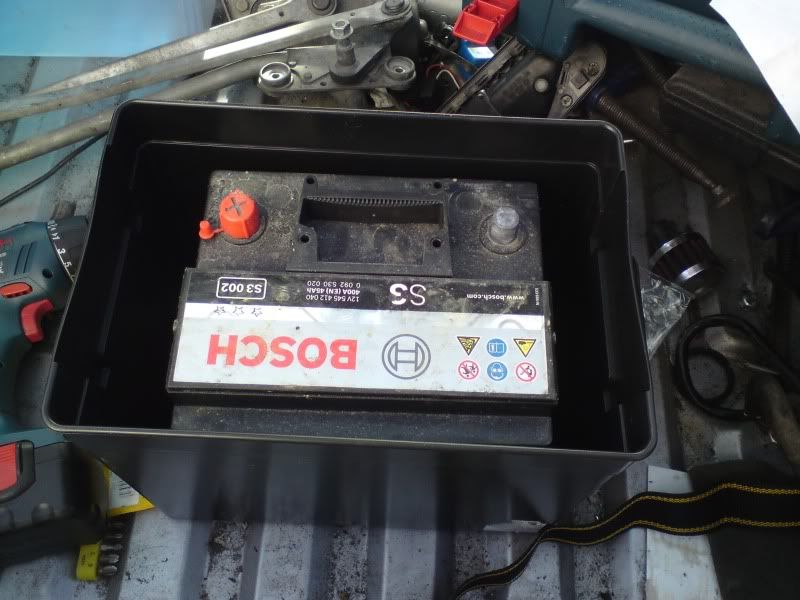
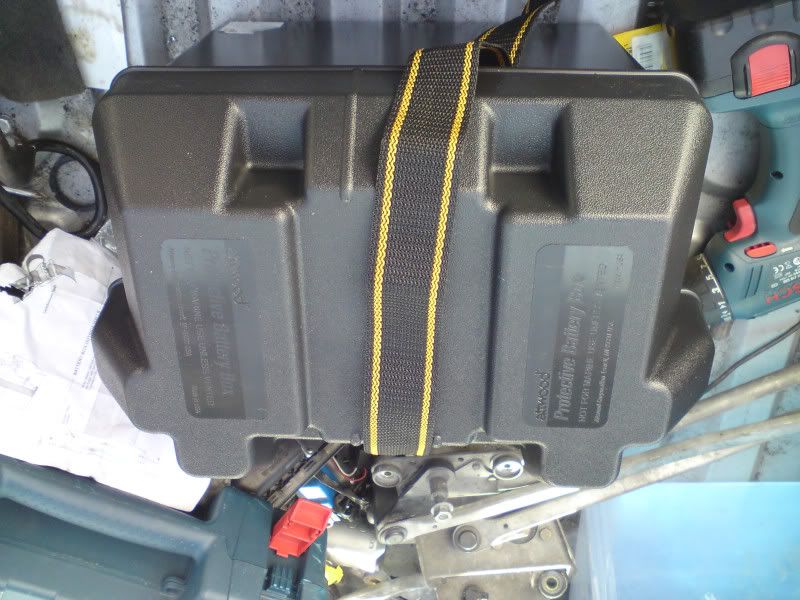
So first off I fitted the battery box, was not happy with just having it strapped down so fixed it down with rubber nuts and bolts.

what i dont get is battery sizes, the original battery fits in the box pretty good, but the new battery i have is a bit small.
I know daves new battery is smaller too.


i bloody forgot to feed the strap through before I bolted it down so will do that at some point probably
Also I continued piping the brakes after i got the right union, but not ran out of pipe so will buy som next week.


here is a couple of pics of the calpers and my genius Idea to get the pistons out.


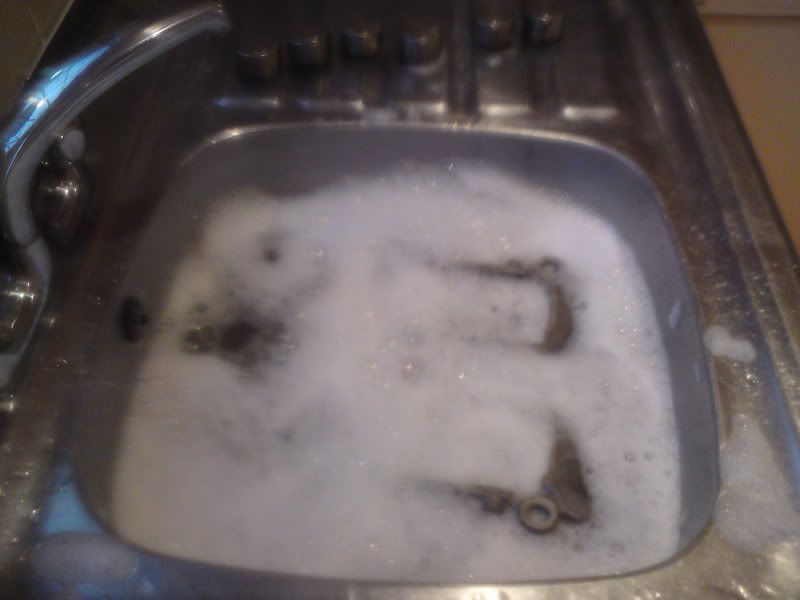
and gave them a bath to finish cleaning them

Posted 31st Oct 2009 at 22:27
chris with a pug

Seasoned Pro

Location: Southampton

Registered: 16 Feb 2003

Posts: 5,366

Status: Offline

Post #272
So as my Christmas holiday starts today, thought I would post up what I did this weekend and the plans for the next month.

First off I gave rich the money for Robins Water/methanol injection system. Just waiting for it to be to be taken off the car so I can get it test fitted and all the pipes and cables ran for it.

So last week I thought I would save my self some cash and had a go at flocking.

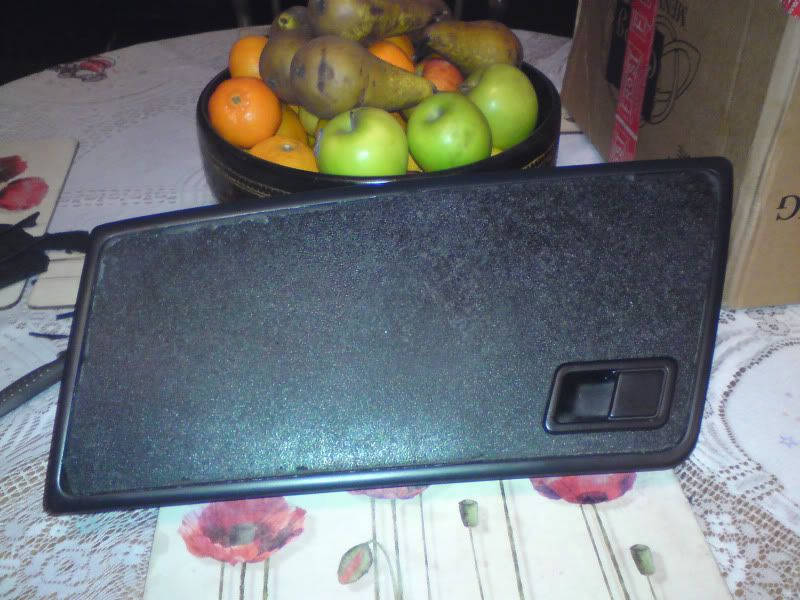
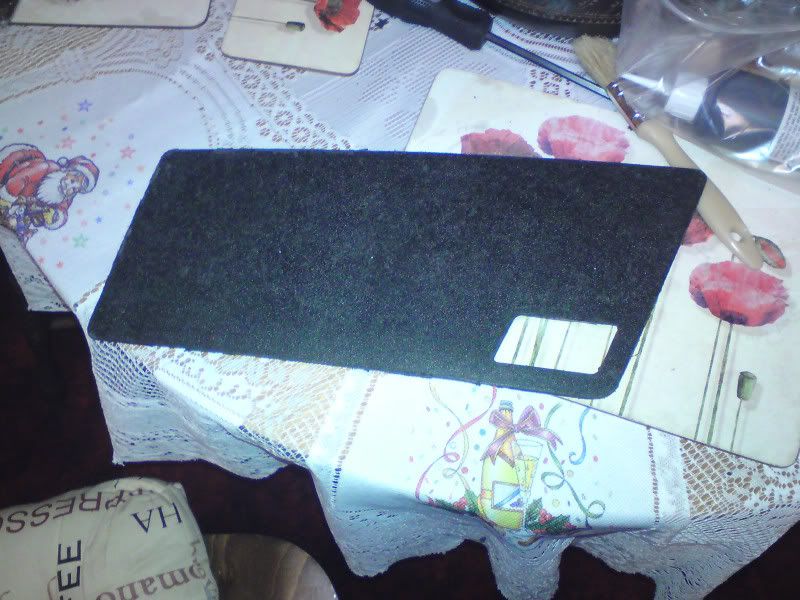
I started off, getting most of the covering off the glove box.


I then discovered they are only glued in, so I carefully prised it out of the flap.


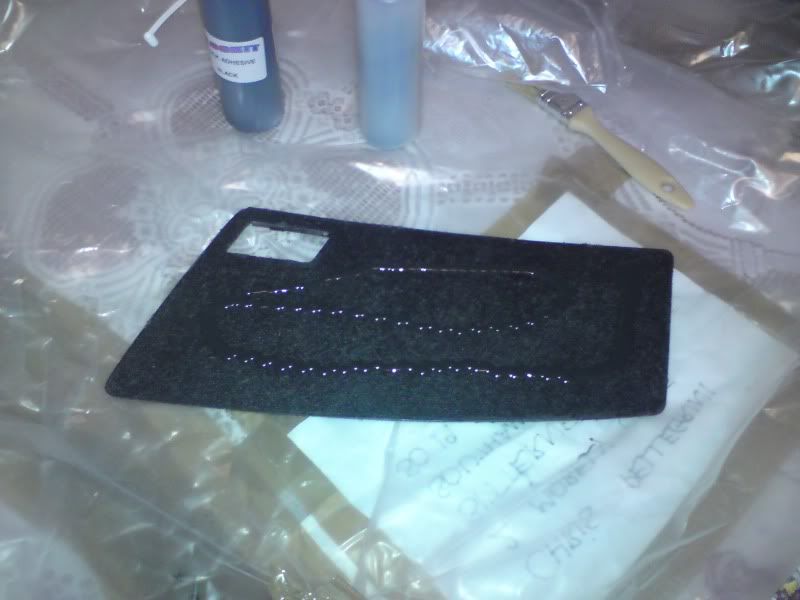
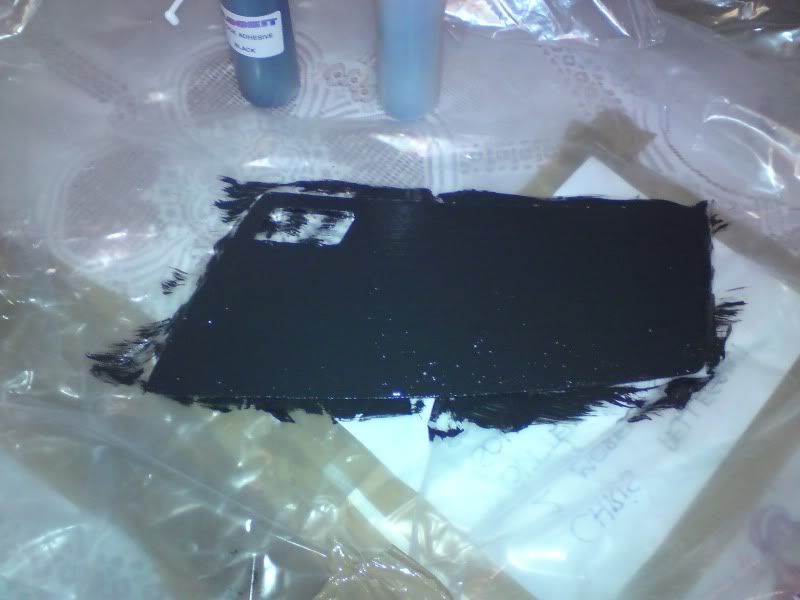
then was time for the glue


then with a paintbrush spread it all out


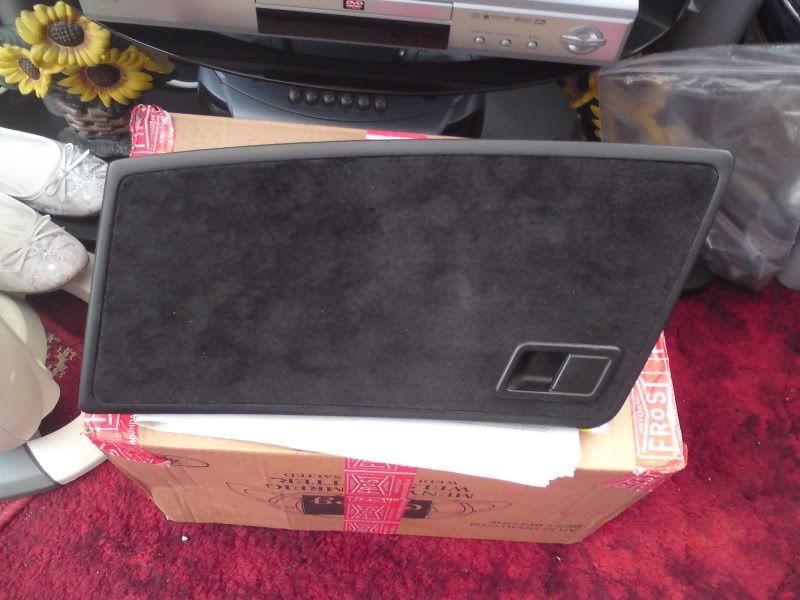
I didnt have any pics of actually putting the flock on as it a complete mess doing it but here is the finished article.


to be honest it hasnt come out that bad, but it such a pain in the arse to do the dash once it is finished will be off to miles to get flocked properly.
Posted 16th Dec 2009 at 19:53
miles

Seasoned Pro

Location: Ringwood

Registered: 28 Dec 2002

Posts: 3,433

Status: Offline

Post #273
Nice Shoes!! and happy Birthday

If I did that in the sink or indoor's I would get hung Drawn and quartered!!

________________________________________

306 Rallye Sptint/Race Car, 205 CTI 1.9 8v to name a few

Road, Track and Race/Rally car preparation to your personal requirements,
Full Workshop & Diagnostic Facilities
New and Second parts, from Plugs to Turbo's
We now also carry out Routine Servicing
www.pugracing.com

& FB Page, https://www.facebook.com/PugRacing

Ebay; http://stores.ebay.co.uk/Pug-Racing-Shop

2012/2013/2014/2019 Class Winners at Gurston Down Speed Hillclimb & Joint overall, Class record too along the way,
Posted 14th Dec 2009 at 23:40
chris with a pug

Seasoned Pro

Location: Southampton

Registered: 16 Feb 2003

Posts: 5,366

Status: Offline

Post #274
is tha t the way you do it then miles? and trust you to spot the shoes!!!
Posted 15th Dec 2009 at 03:43
chris with a pug

Seasoned Pro

Location: Southampton

Registered: 16 Feb 2003

Posts: 5,366

Status: Offline

Post #275
So had a bit of a lay in today, but got my self out of bed and had a day on the car.

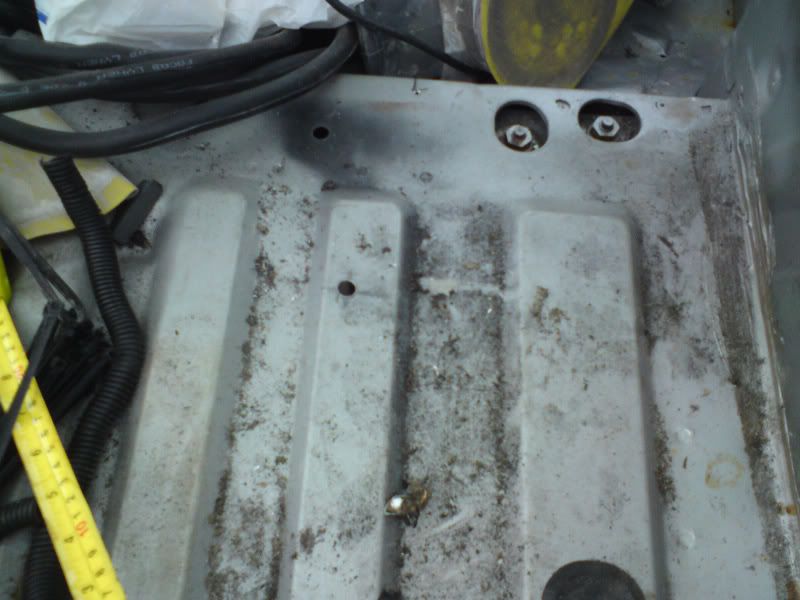
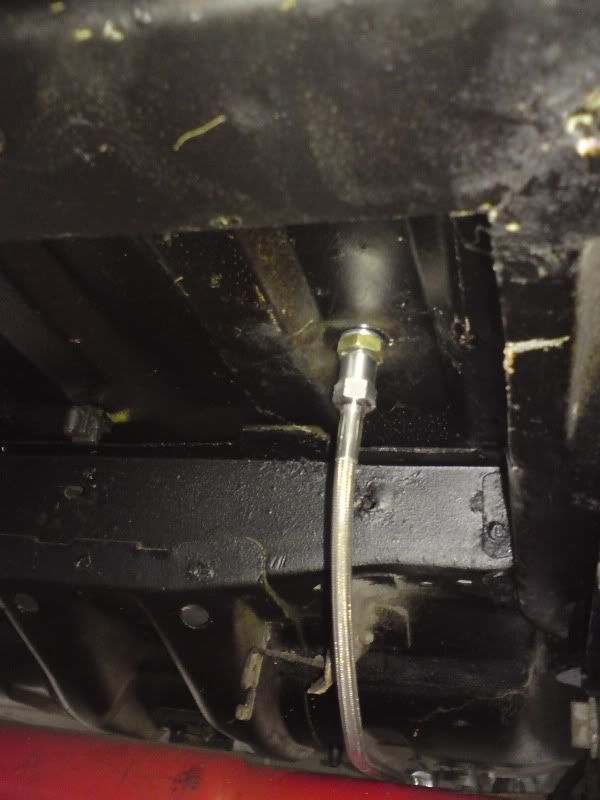
First job of the day was to fit the brake pipe bulkhead unions in the boot floor.


after the unions where fitted, I test fitted the rear braided hoses, (from Miles)


The rear beam is not completly buttoned down yet as still need to get new torsion bars, so no point running the pipes to where the calipers are until this is done, also I am not going to run the rest of the copper pipe in the car until the cage is fitted as I am not 100 percent where the cage will go.

So I then turned my attention to the dash, my alloy centre (from Marc) arrived in the end and I set about filing the edges slightly to give it a good fit and also removed the dash covering from arround the edge of the hole with a scraper so it is better a fit, after doing that I popped down to my local Metal supermarket to get some alloy angle and a sheet of 3mm mild steel. 50 bloody notes, was not impressed, but need the materials.
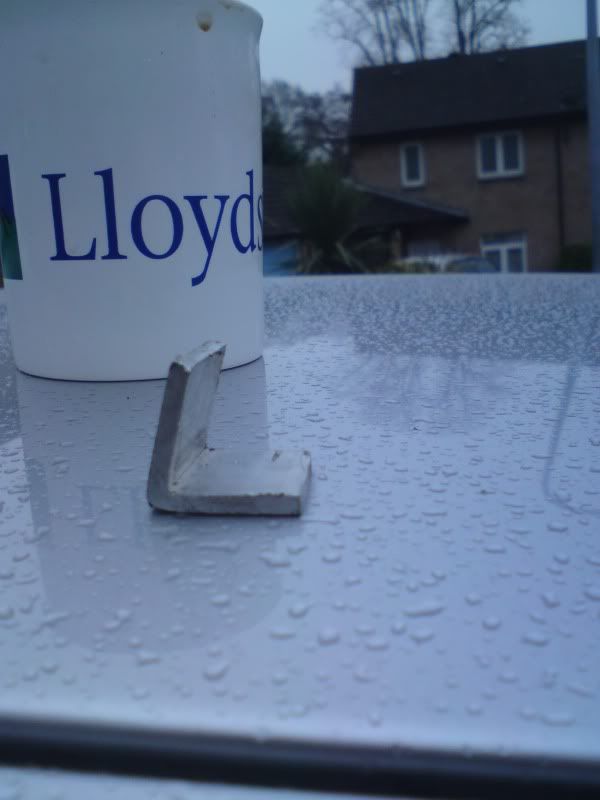
I set about cutting the angle to size and bending it to the right angle.

Bottom piece


the only one that can be 90 degrees is the bottom left one, so took a bit of fiddling to get all the angle to the right angle to fit the alloy properly.

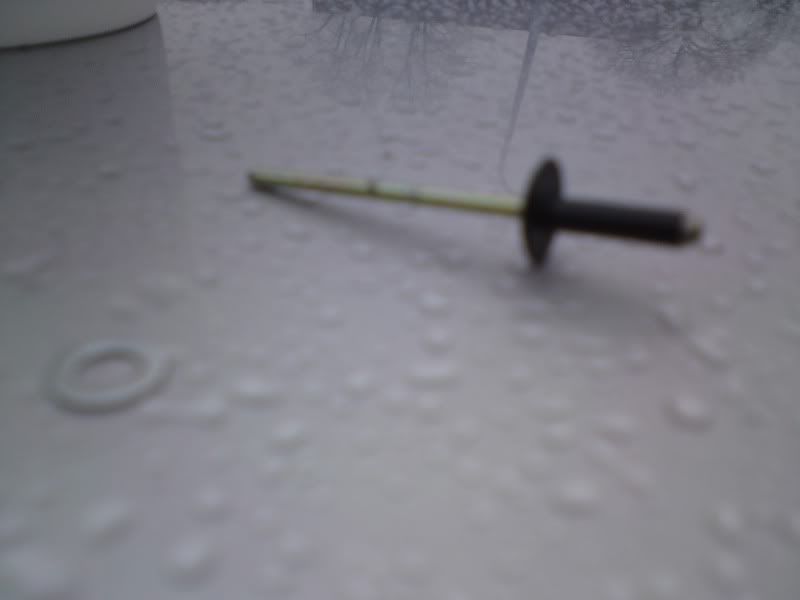
The angle is just rivoted on, with a washer at the opposite end to stop the plastic cracking


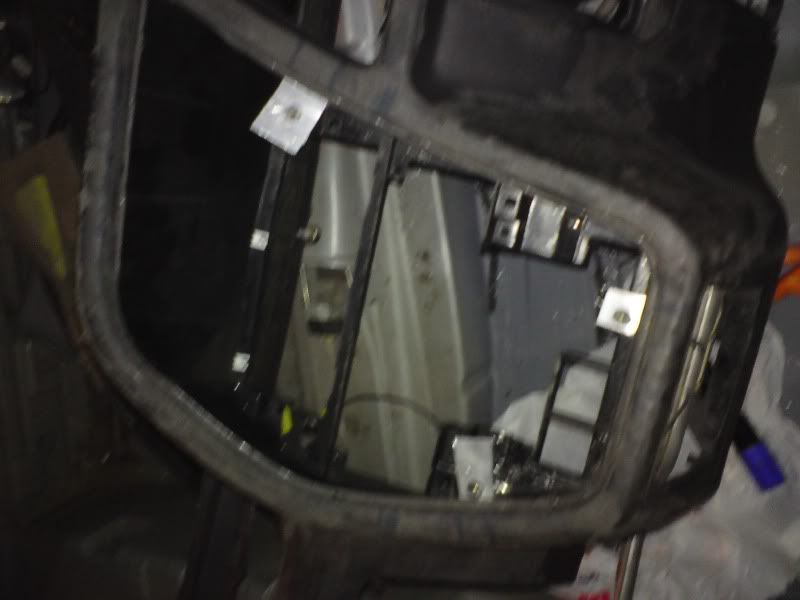
Still have one more to do, but it got dark and started snowing.

but here is the dash with the supports in


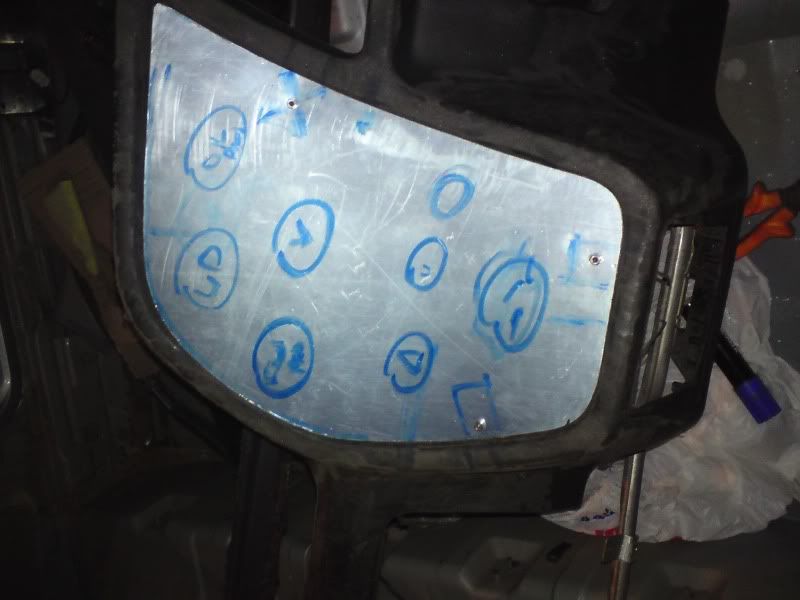
and with the plate in place, its not a 2 year old drawing all over it, it was me marking the place to drill the holes and also trying a lay out for the switches and gauges I am happy with


Posted 16th Dec 2009 at 00:52

Pages (26): first .. 10 [11] 12 .. last

All times are GMT. The time is now 18:11

The Peugeot GTi-6 & Rallye Owners Club - ©2024 all rights reserved.

Please Note: The views and opinions found herein are those of individuals, and not of The Peugeot 306 GTi-6 & Rallye Owners Club or any individuals involved.
No responsibility is taken or assumed for any comments or statements made on, or in relation to, this website. Please see our updated privacy policy.