Post #1
Right then, finally got around to it 
Please note, i did this on a spare set of calipers, there was no "downtime" for my car this way and i could use the proper stuff at work

Lets go:
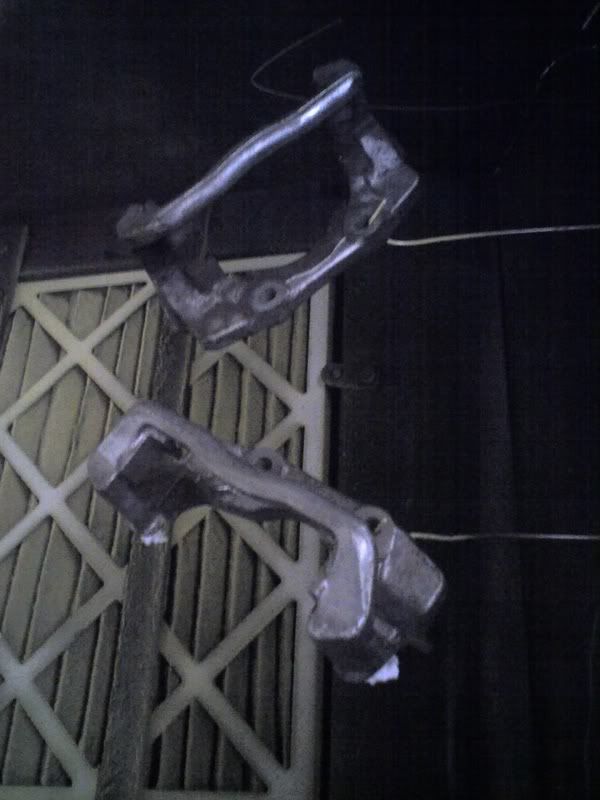
1. Remove the brake calipers from the car, clamping the flexi pipes would be an idea!
2. Clean the calipers and carriers up ready for spraying
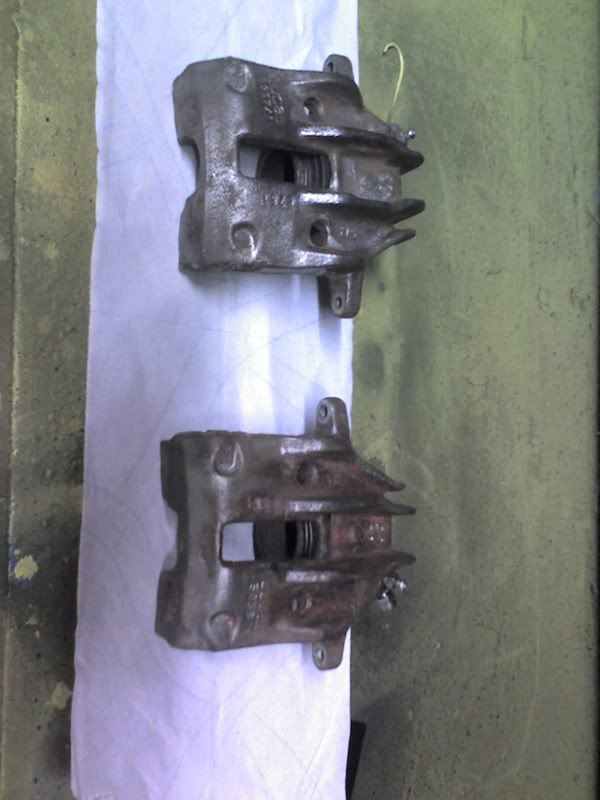
Best i could do with a wire brush (sandblaster on the blink
 )
)3. Remove the piston, you could do this another way, but i advise using an air line through the line fitting to force the piston out, put a bit of rag in front of it and expect a loud "pop" when it SHOOTS out

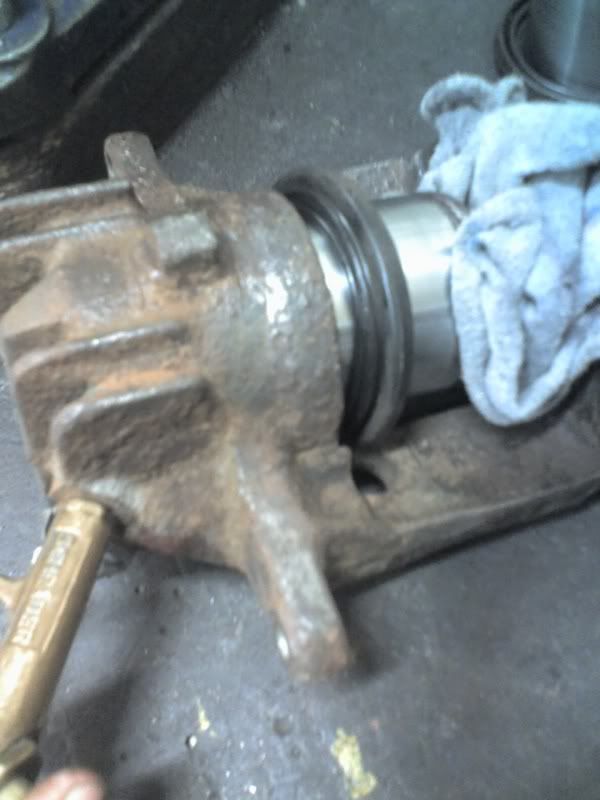
Pistons removed:
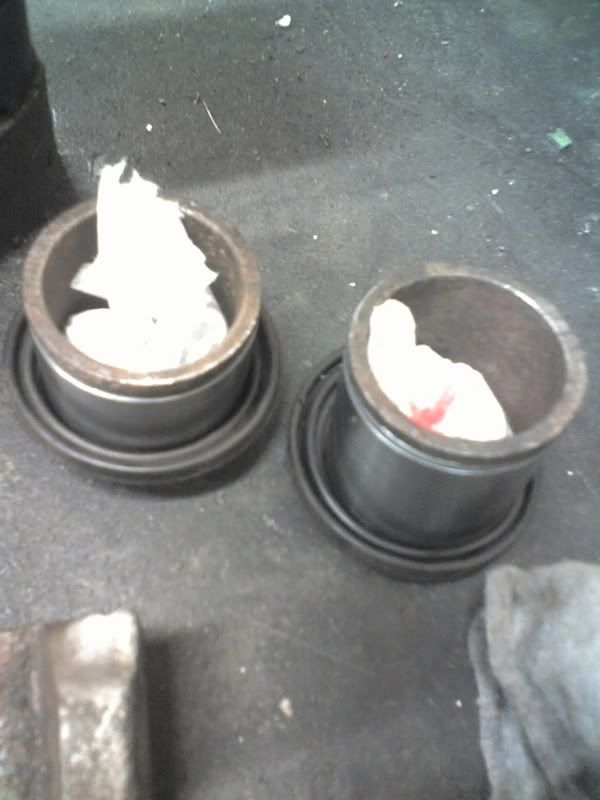
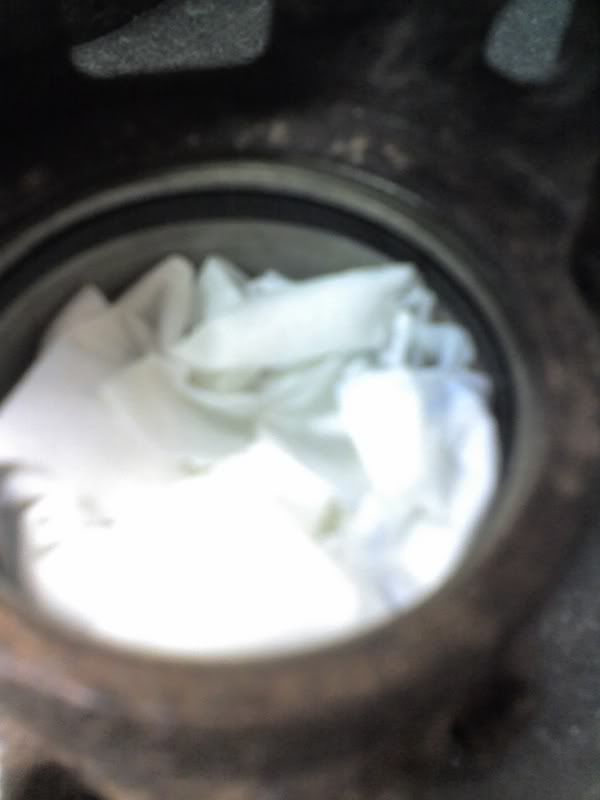
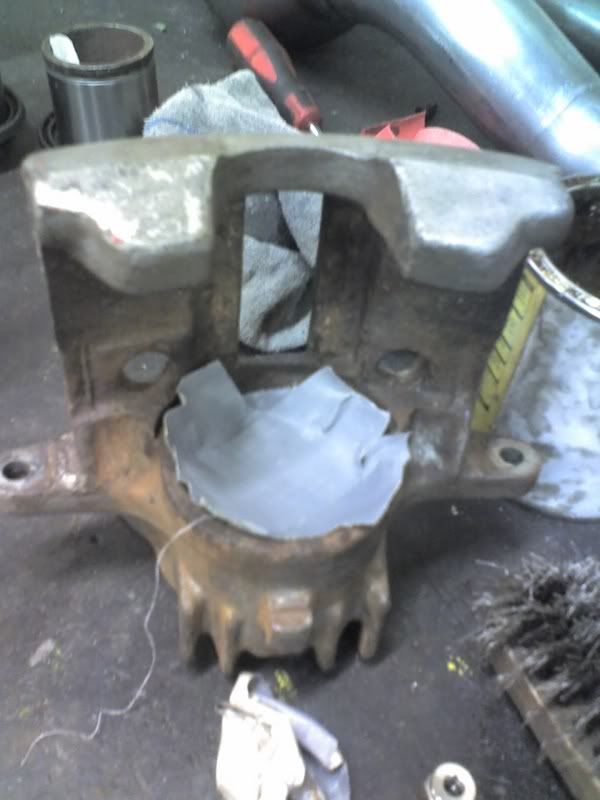
4. Clean the piston /bores and mask up for spraying......
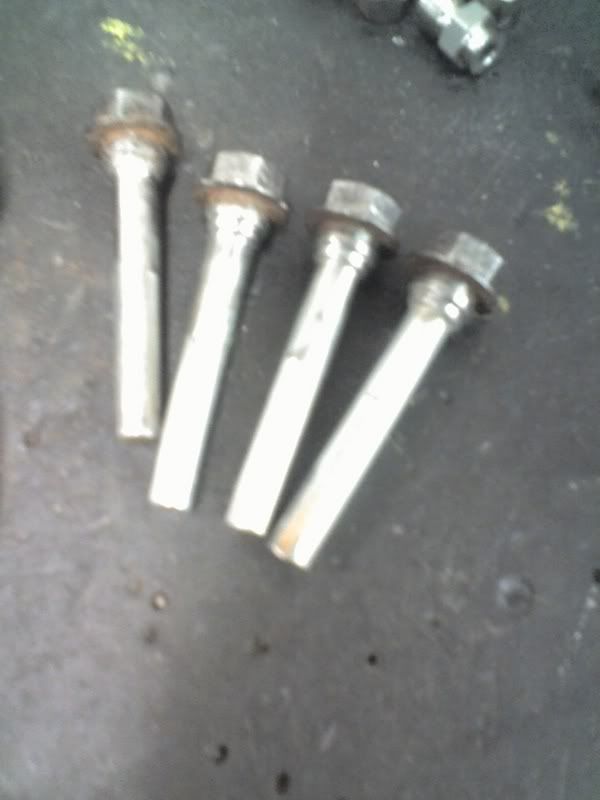
5. Clean the slider pins up, i put them in a box of pepsi (maybe coke?
 ) and wire brushed them
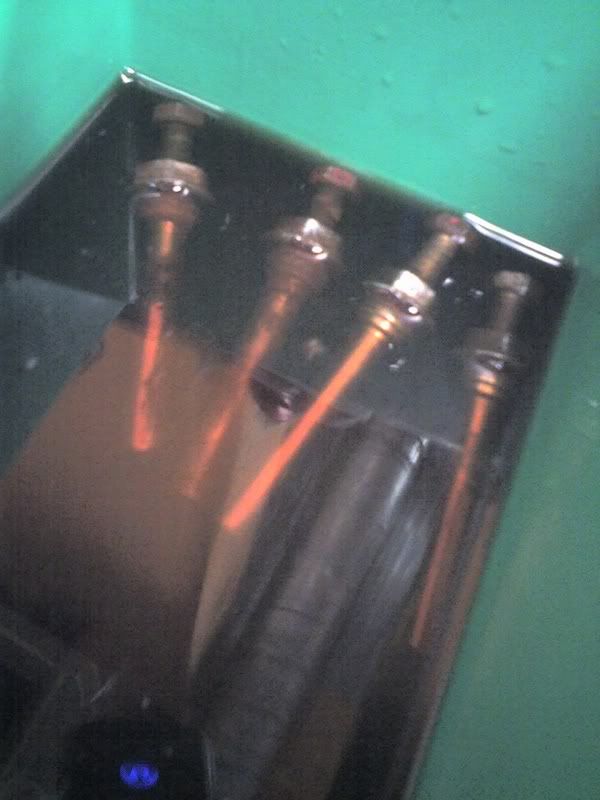
6. Time to spray, i used VHT red paint with VHT laquer (laquer is essential to get the nice shine
)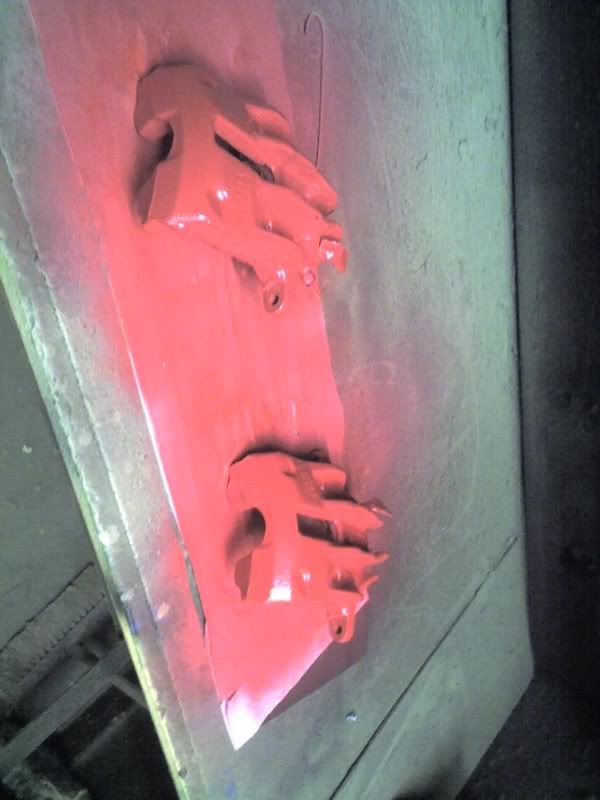
Pics don't really do it justice

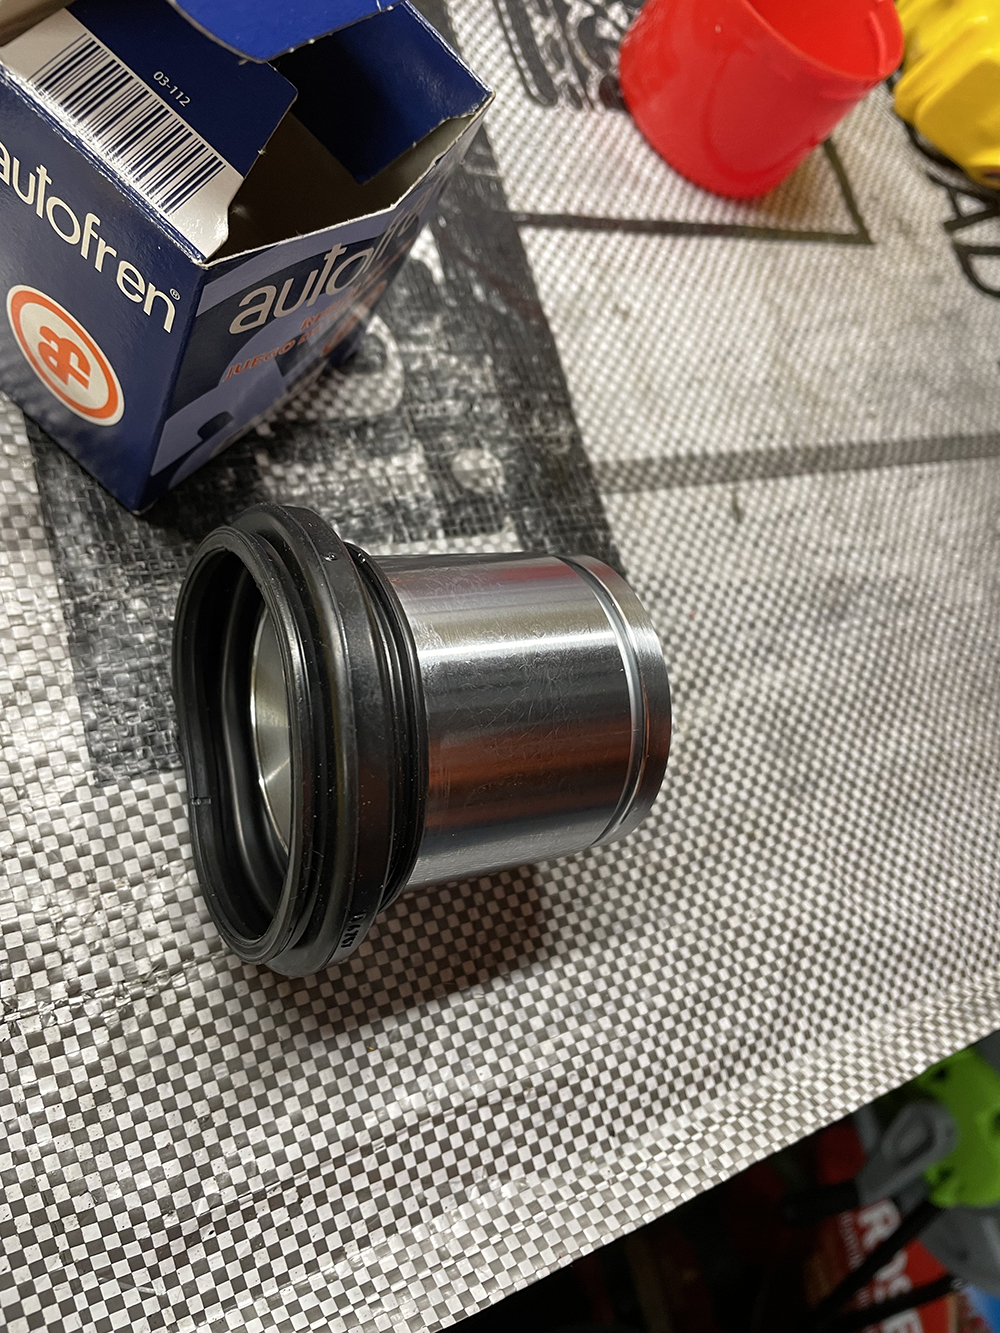
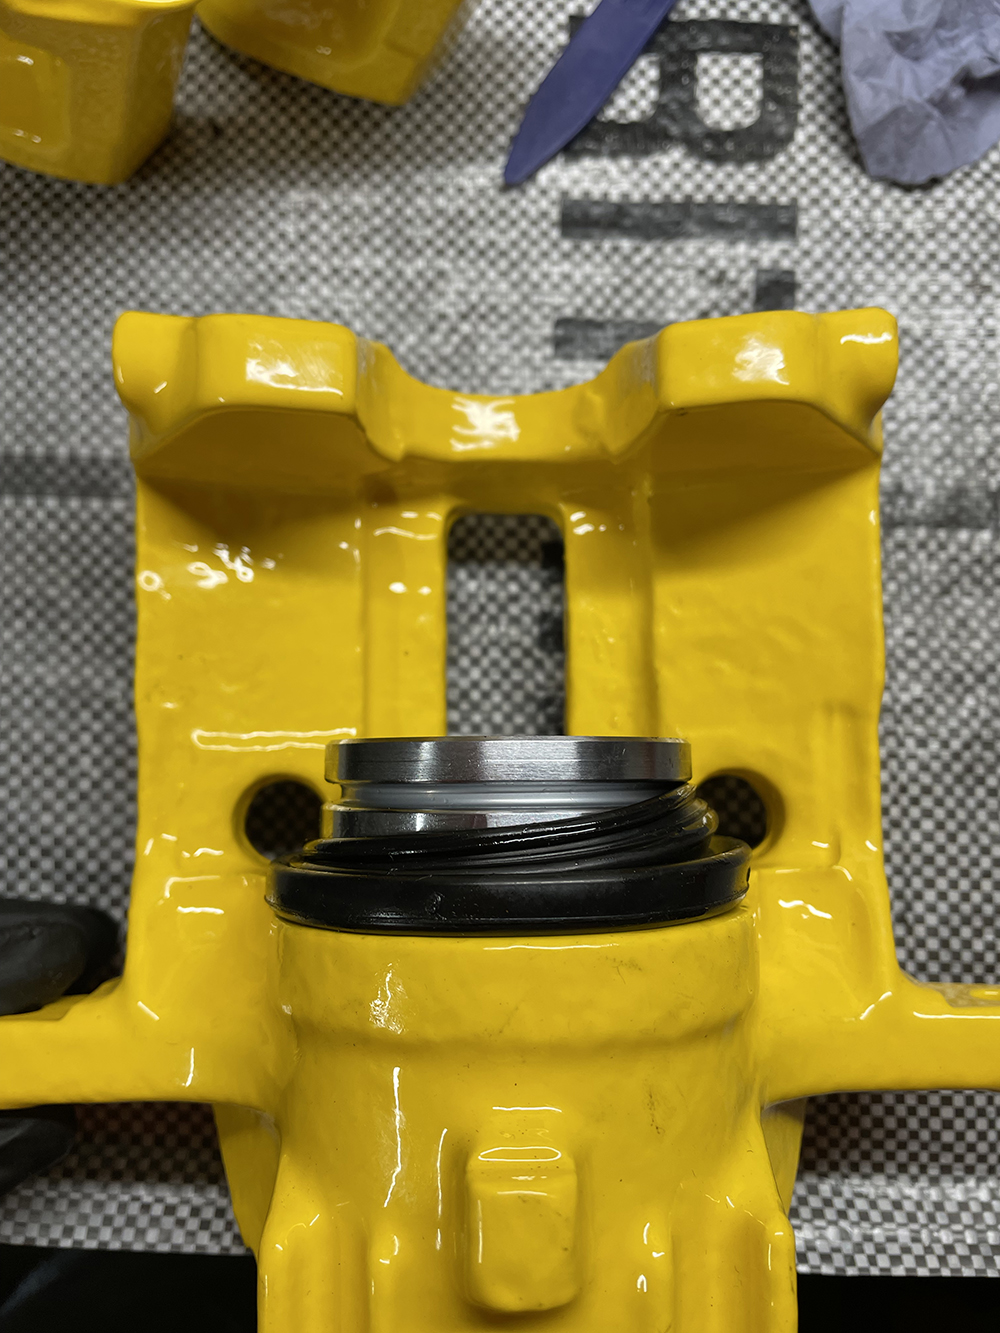
7. Time to fit the new main piston seal and dust seal:
Examine the piston first, any signs of bad wear? f*ck it off in the bin

Small scuffs are okay so long as the coating isn't peeling as this will rip the new seal

Mine were OK so i re-used them
Piston and dust seal:
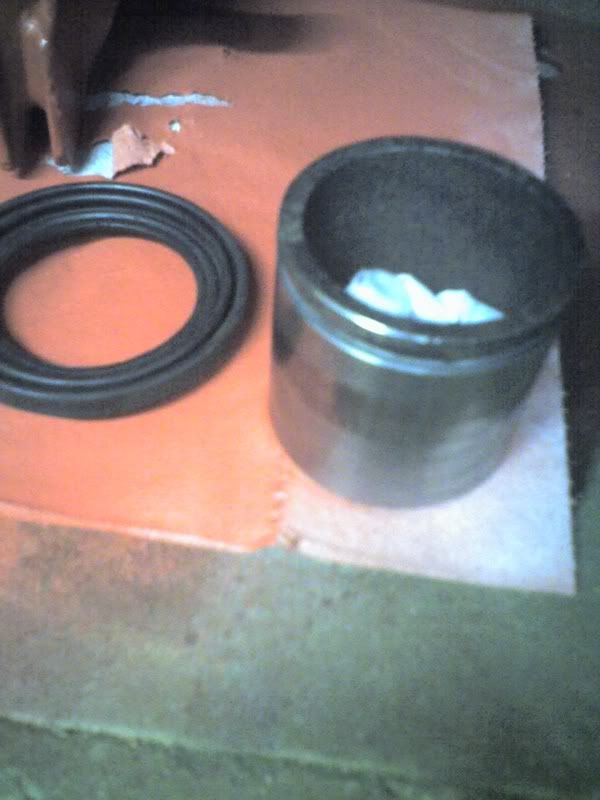
Location of main seal - This just lifts out, use a terminal screwdiver CAREFULLY to remove.
8. Fit the new main seal, it just drops in.
9. Fit the dust seal, it also drops in.
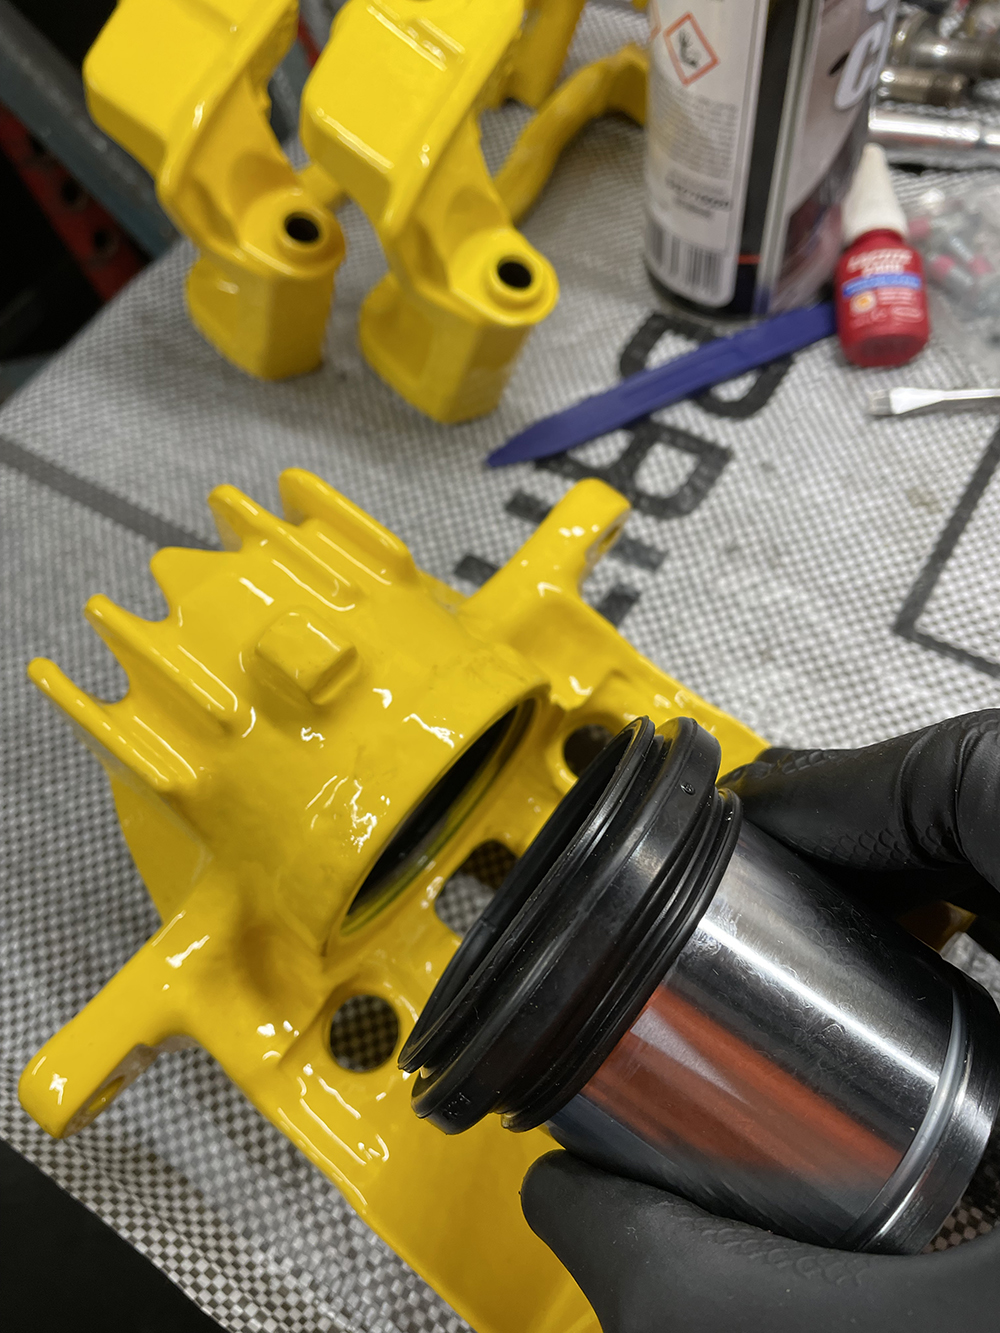
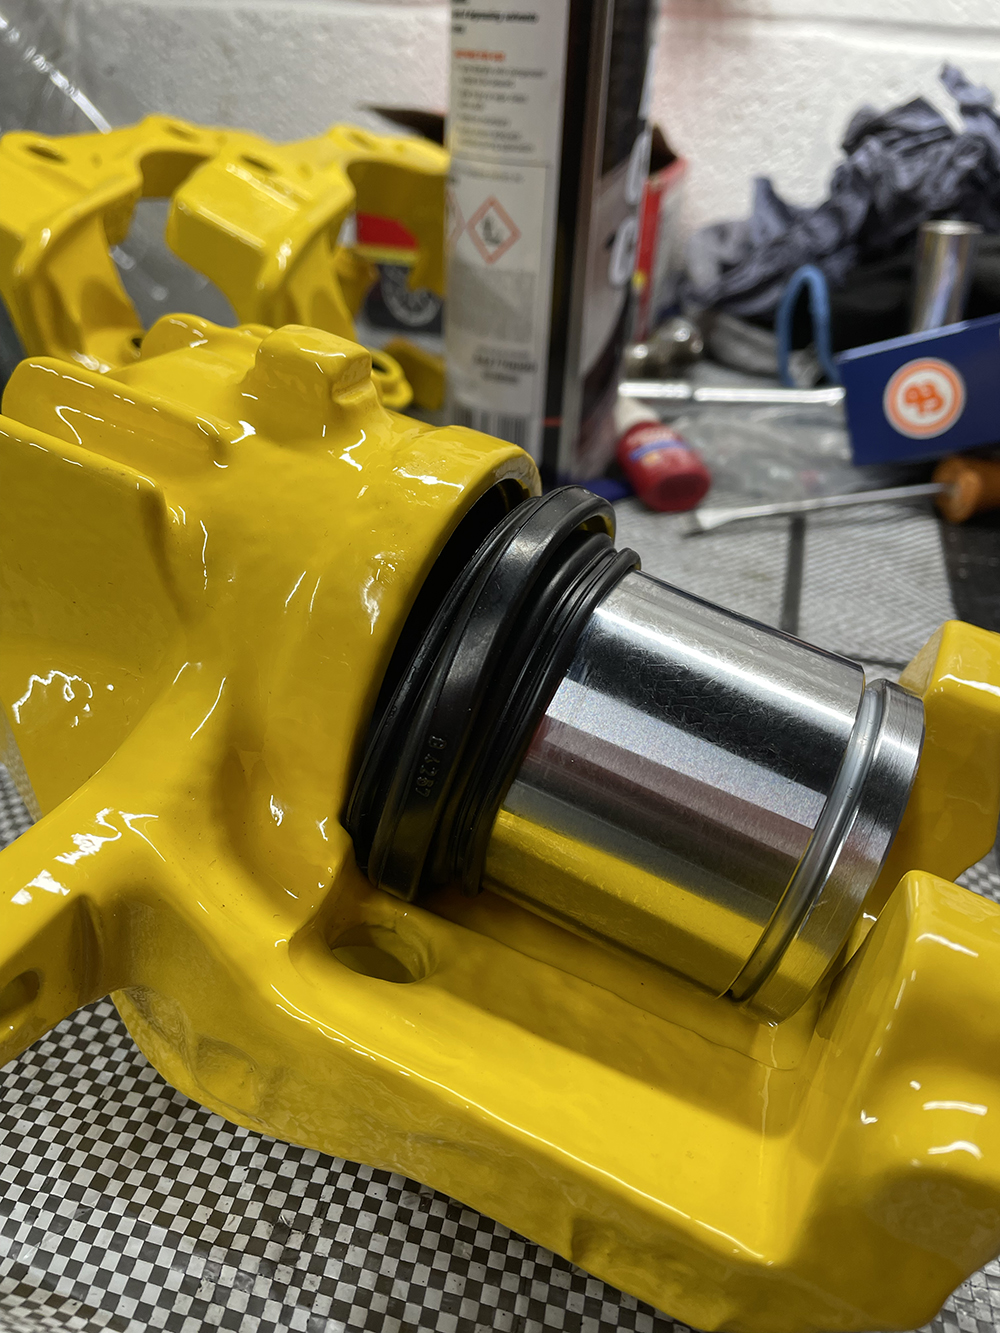
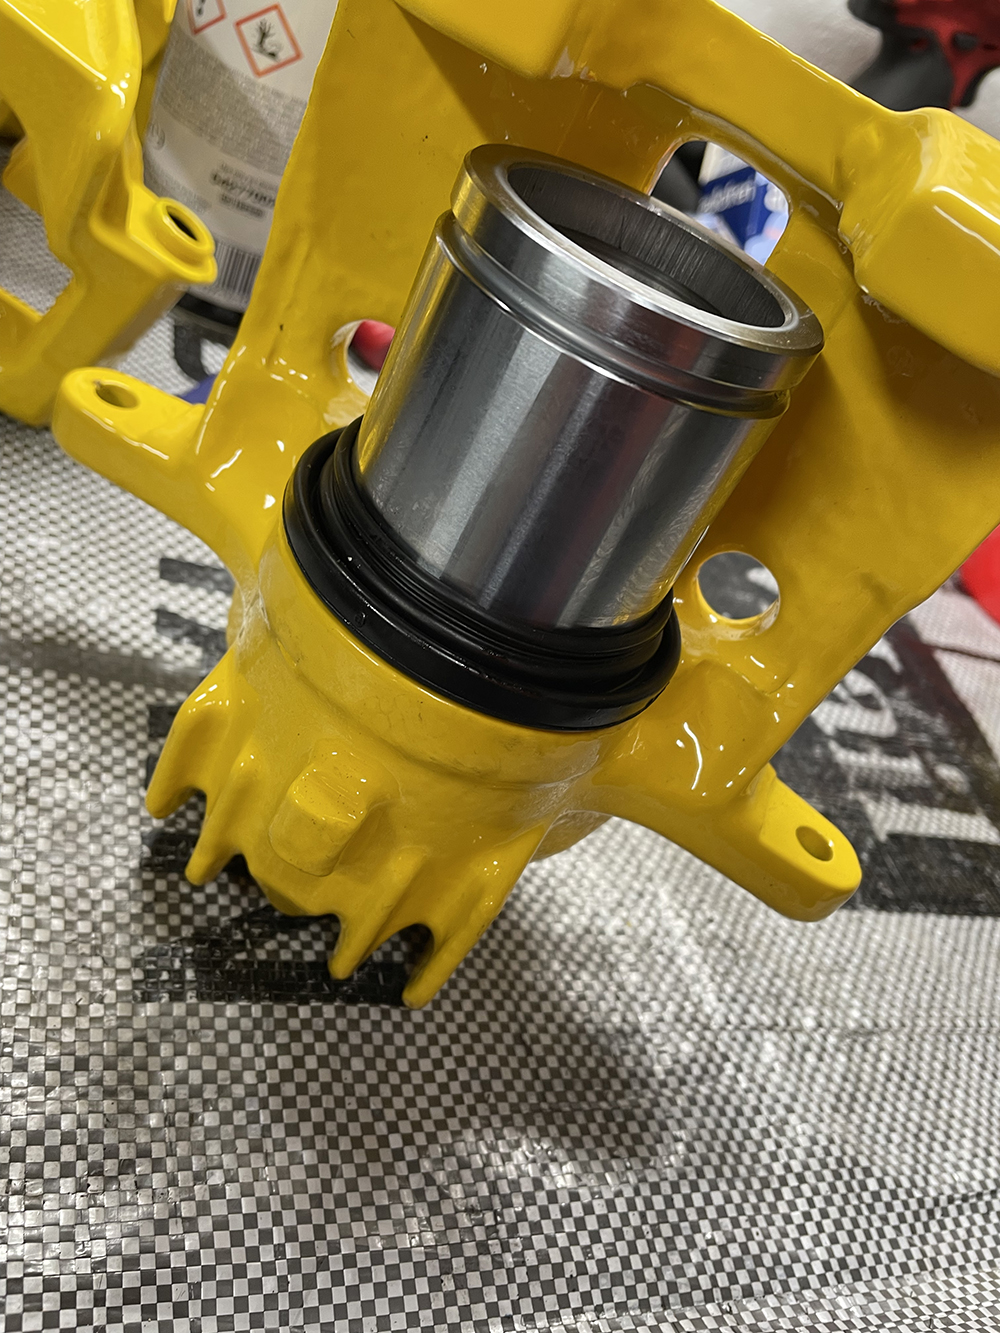
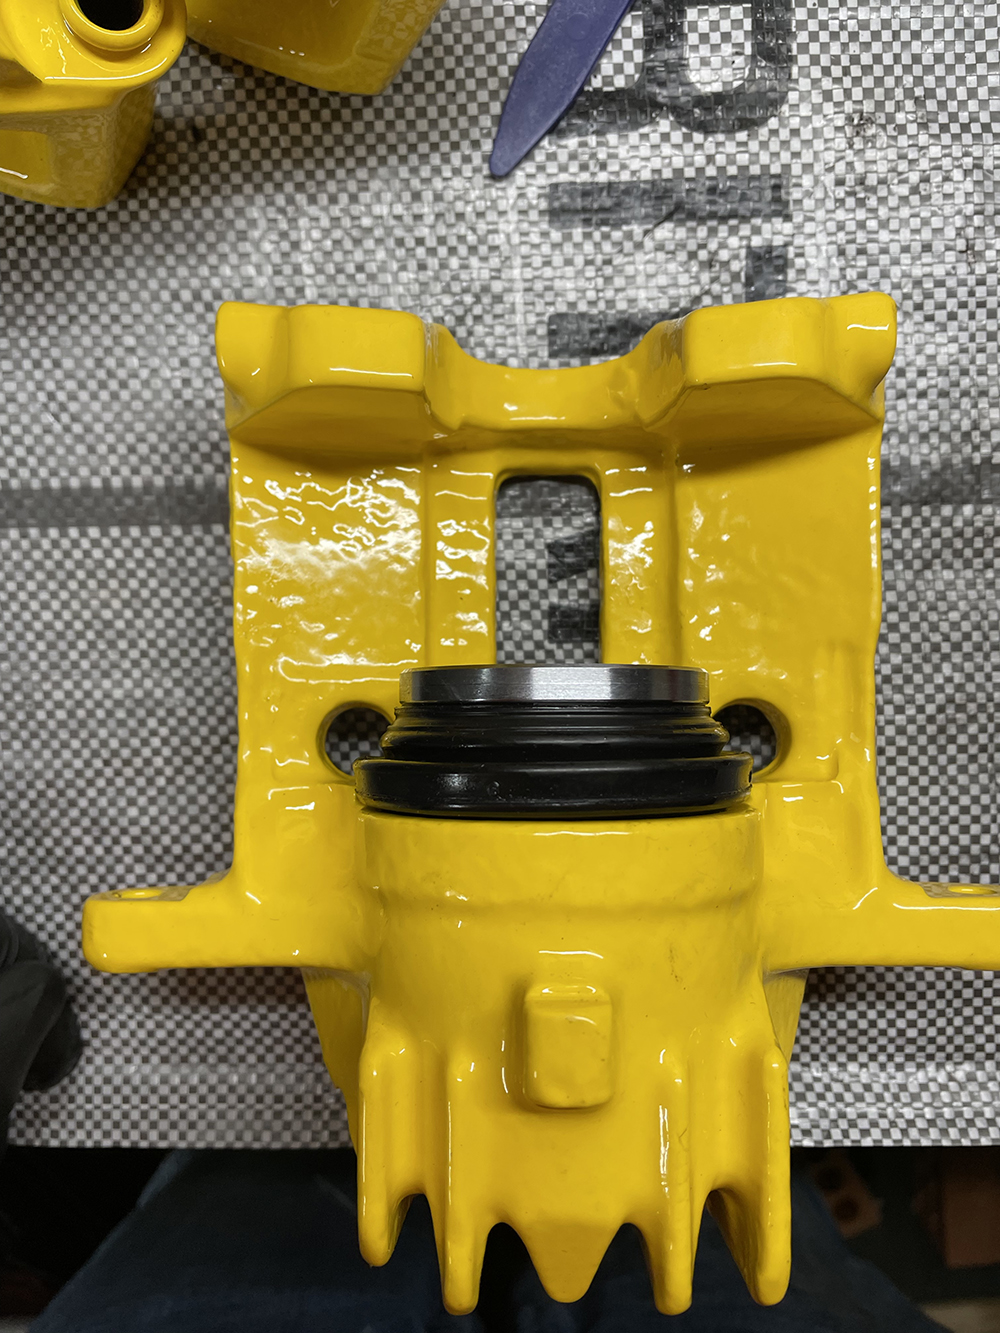
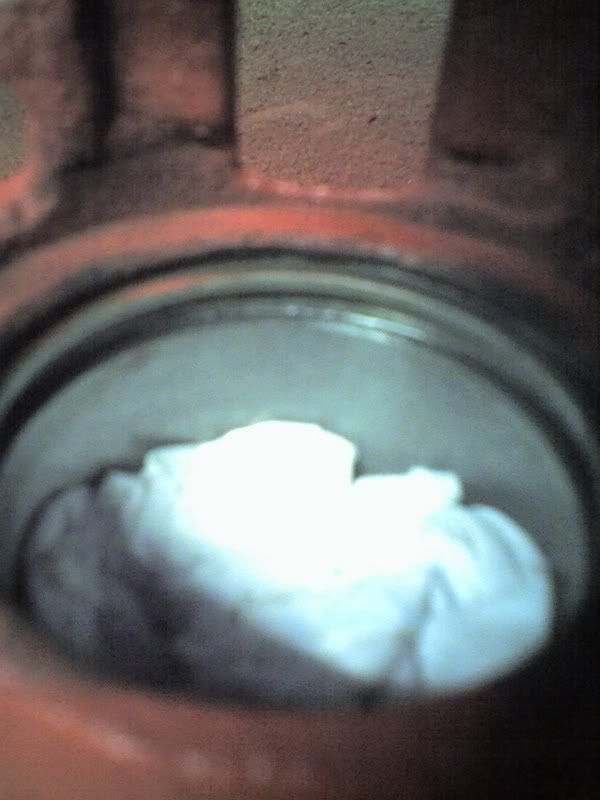
10. Cover the piston and bore in brake fluid (aids fitment)
11. Fit the piston, you'll need to manipulate the dust seal around it, don't use excessive force at first, once its in you can push it down by hand.
Its a good idea to use an airline in the pipe fitting to push the piston out and then push it back by hand to ensure the dust seal is sitting right and the piston moves in the bore smoothly
Your done

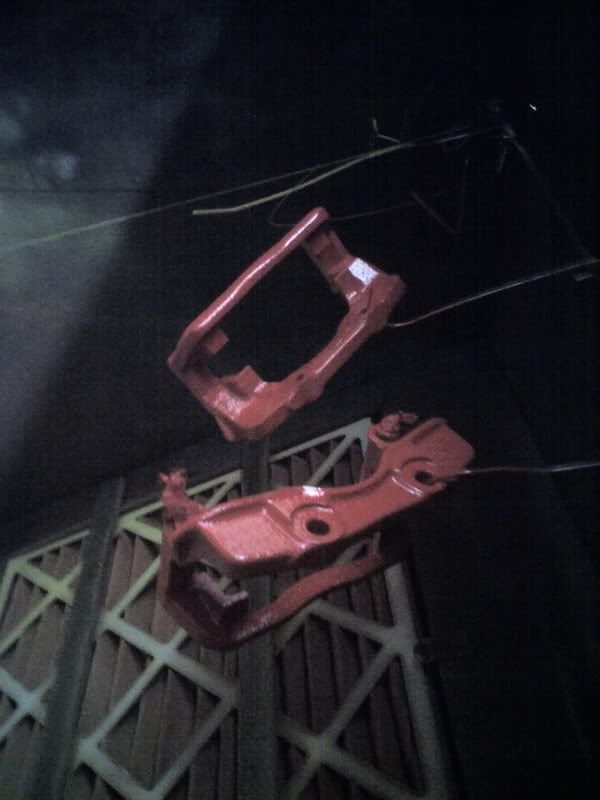
Fit your nice shiny calipers and carriers to the car
Thankyou Please
Sorry about pic quality people, not allowed cameras at work!
Stealthly VRAZR!

________________________________________
Cress87 wrote:
This place is getting beyond a joke. There's been an enormous influx of bellends signing up recently
Team 205 1.9 GTi �
Team: Hmm�