displaying posts 1 to 25 of 285

Pages (12): [1] 2 3 .. last

Author Subject: Marco's 3rd 6 but 1st project
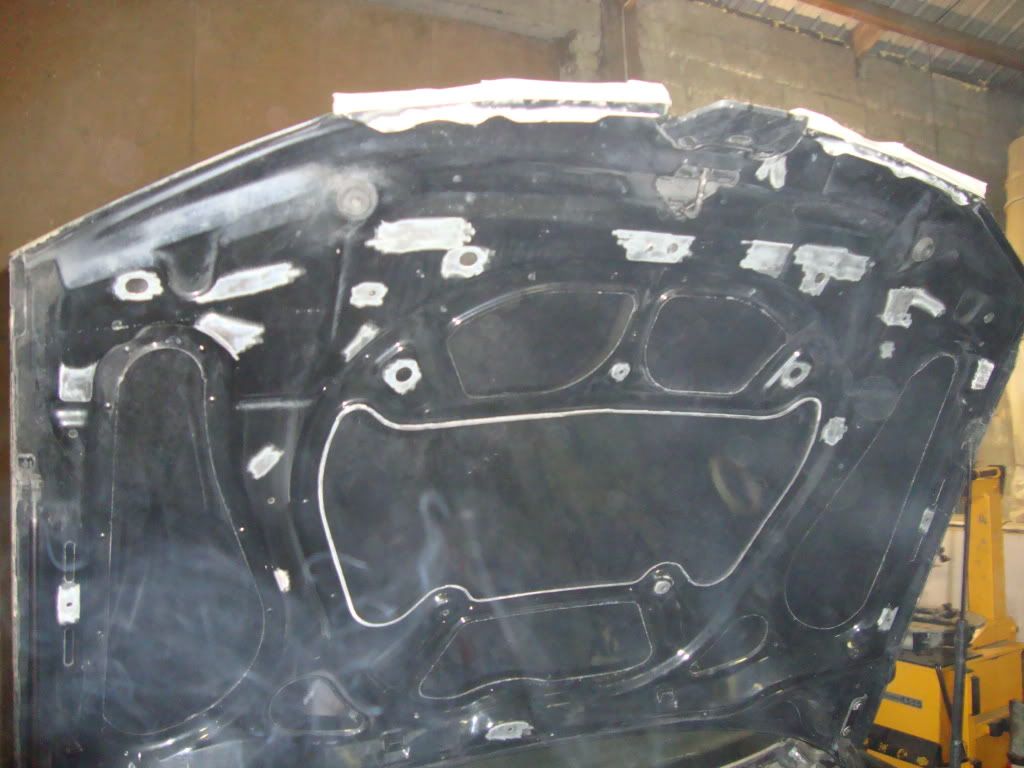
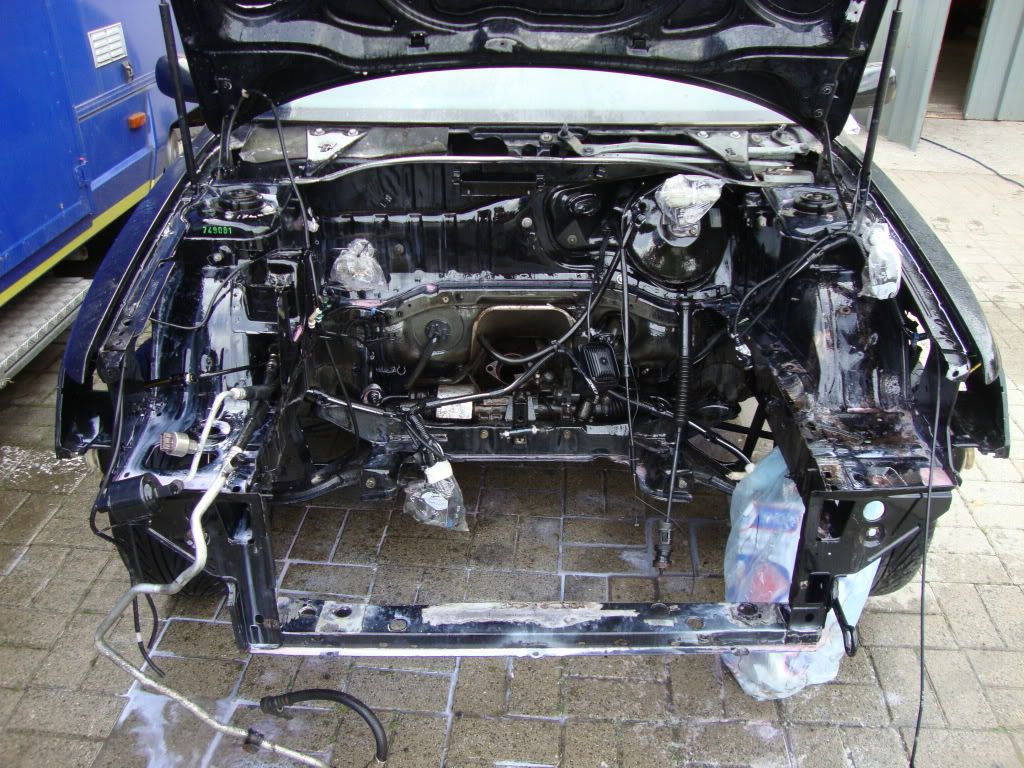
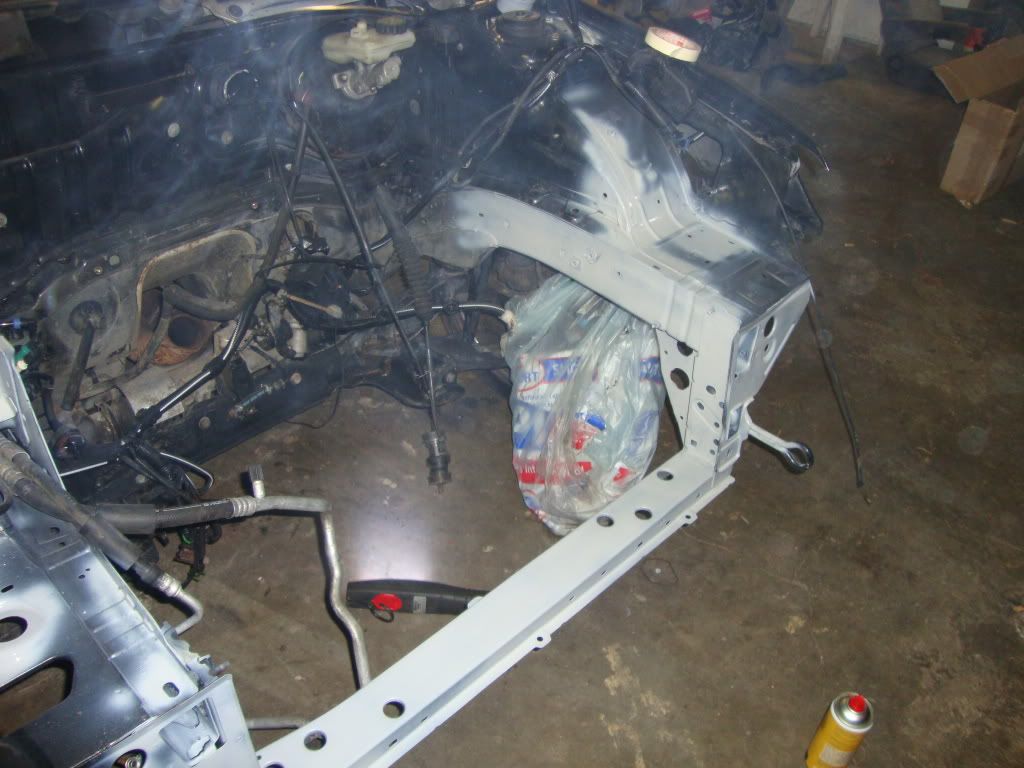
marco gti6

Seasoned Pro

Location: Troisvierges

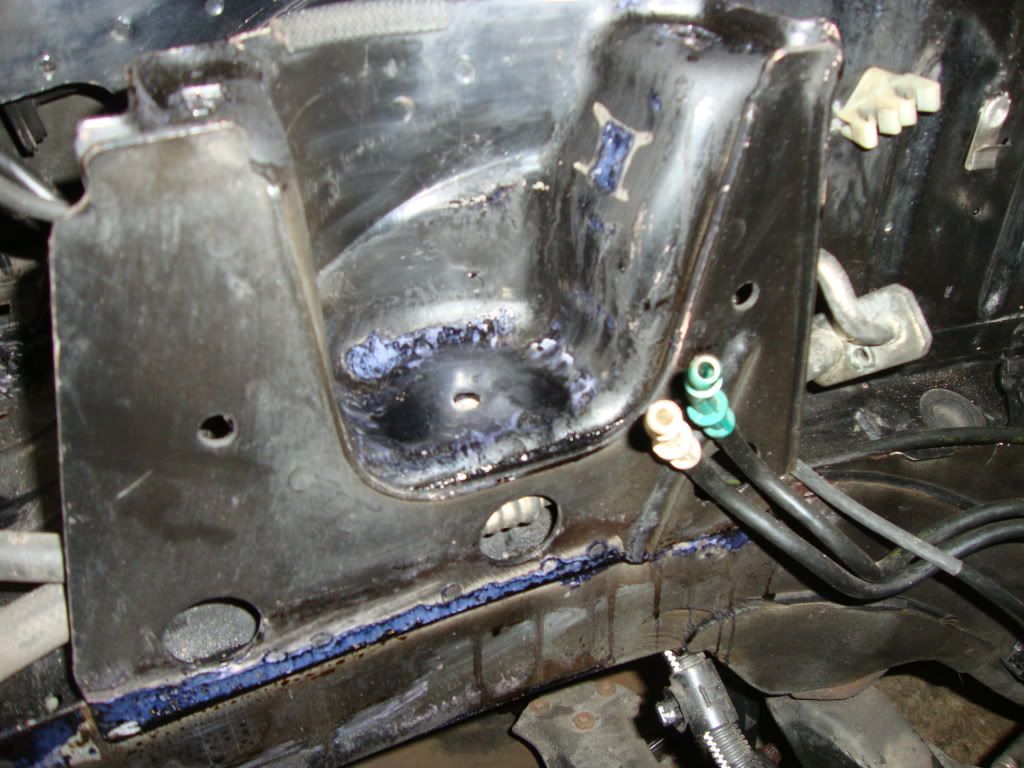
Registered: 09 Mar 2009

Posts: 1,350

Status: Offline

Post #1
Hello everyone and welcome to my first project thread here on our lovely forum.

After signing up in March 2009 i have spent quite some time in reading other peoples fantastic project threads. And now is the time for me to start my own.

Actually i got my diablo6 written of by a belgium chick on a crossroad as i explained in a thread in the general section. But as i live for the 306 i searched the internet in order to find a nice shell. The only thing it needed to find was a 1997 shell due to our modification laws here in Luxembourg. Also it should not bee blaze or diablo as i had already owned 2 6es in that colour.

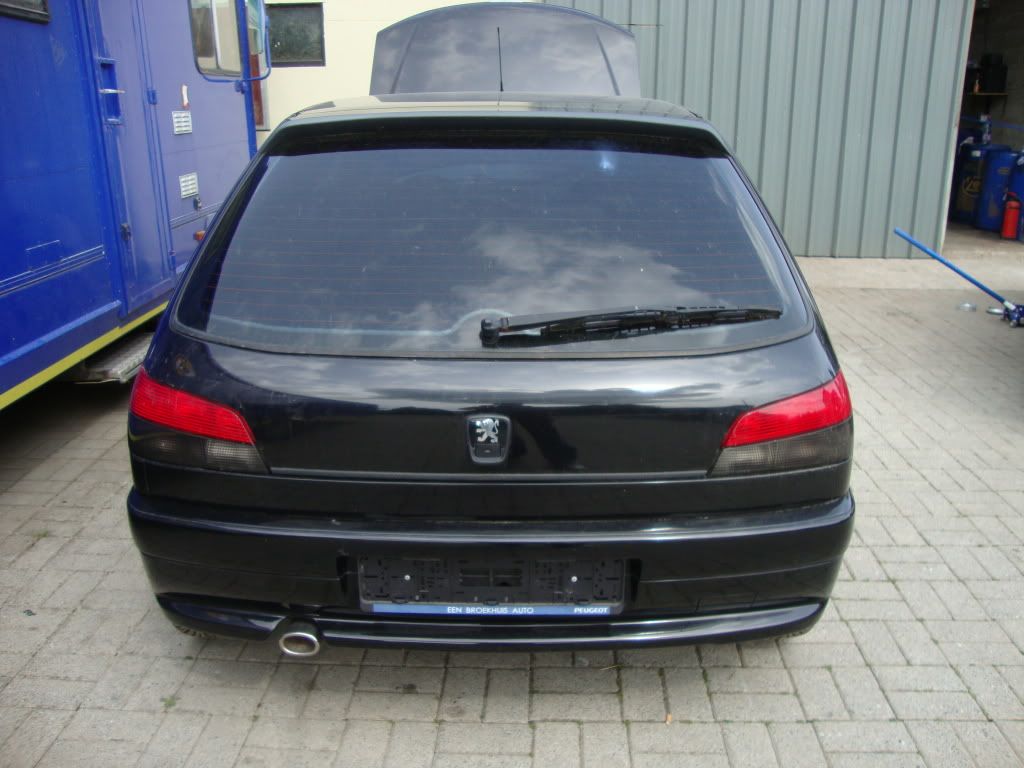
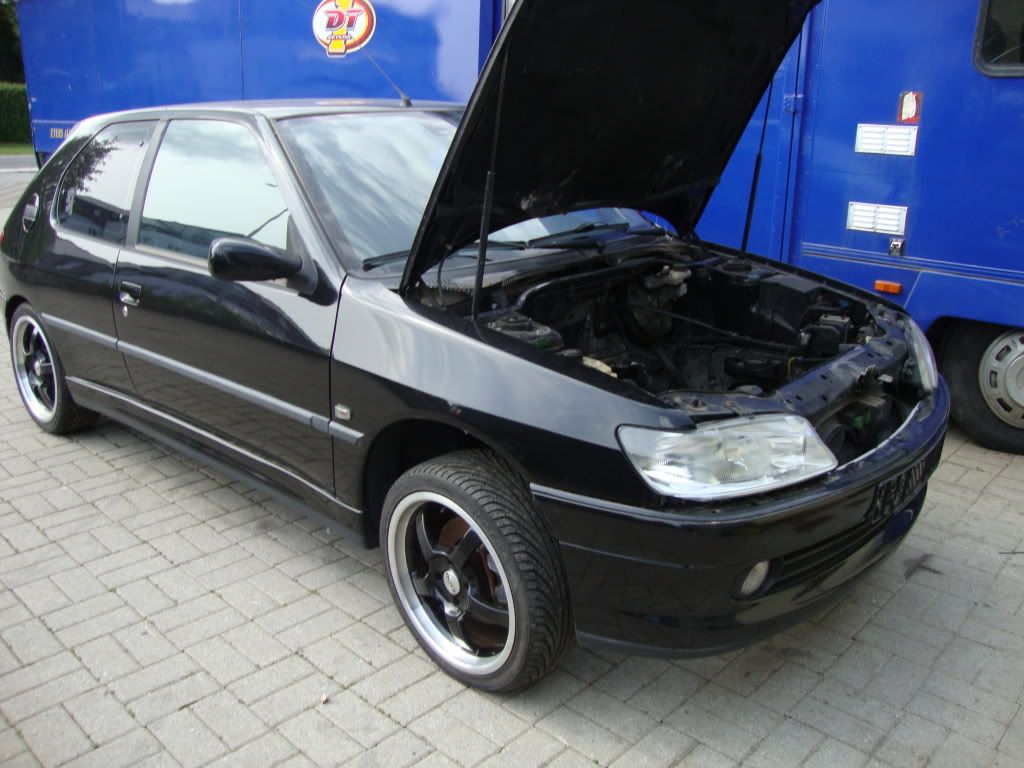
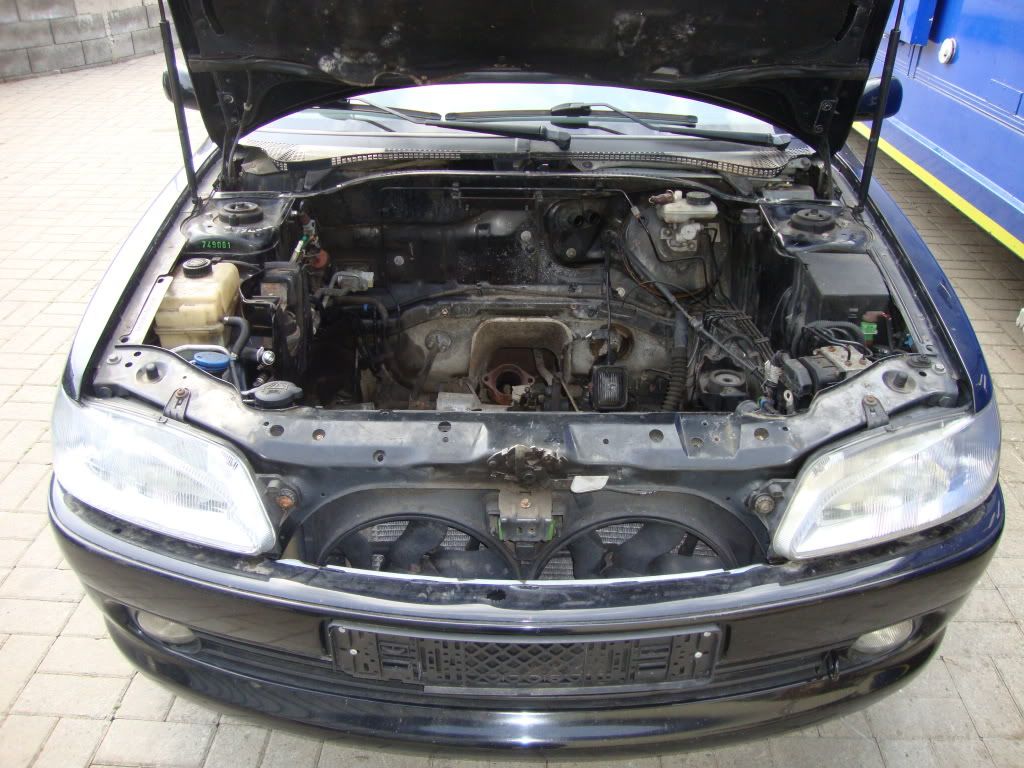
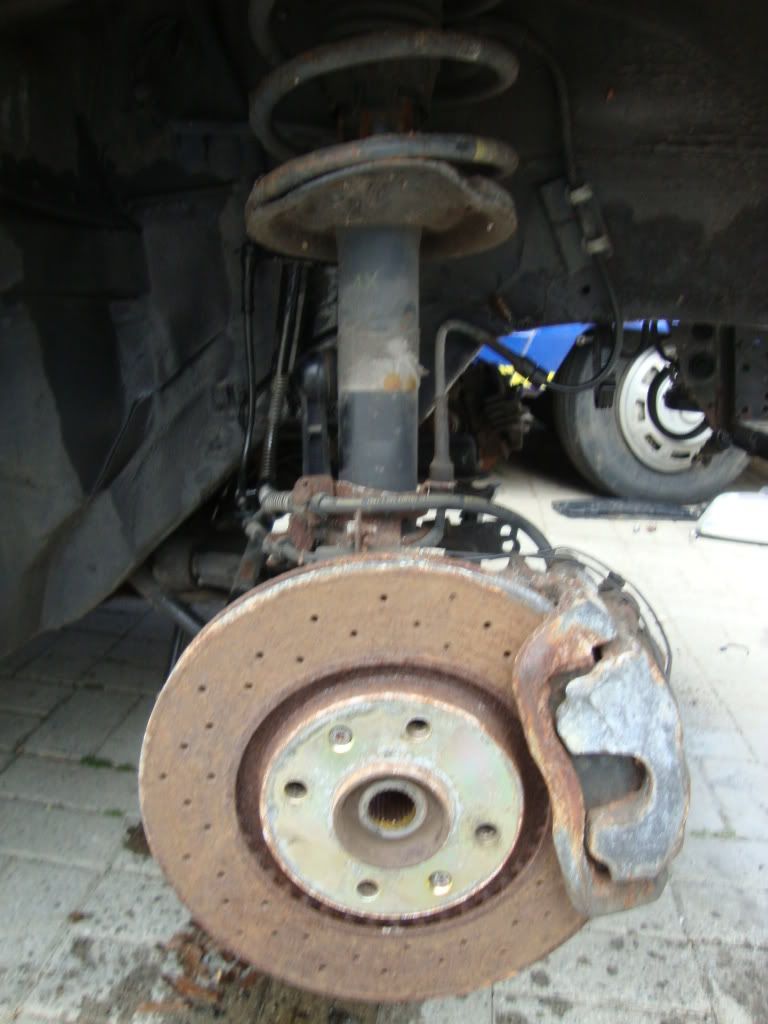
So 1,2k € and 600kms later i found myself with this at our garage:


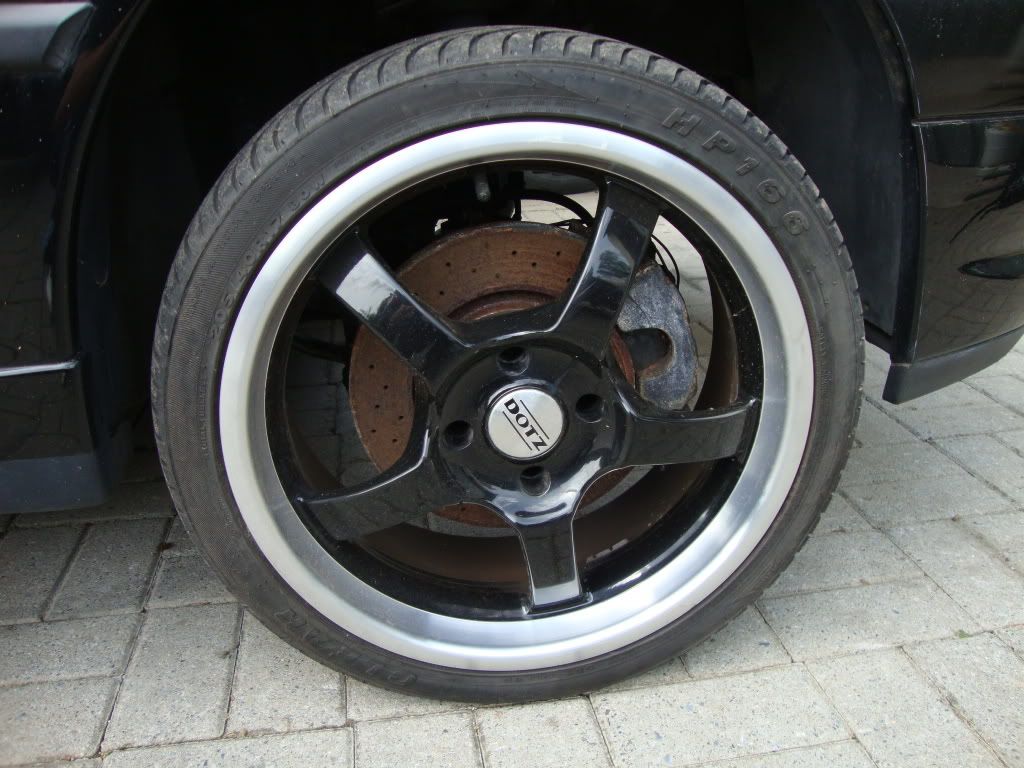
I know that it is a ridiculous price for a GTI6 shell in the UK but over here the prices for these car or spares are a lot higher. The guy who sold it said he had bought the shell with a T16 engine that needed to be rebuilt. So he bought the whole although he was only interested in the engine to put it in one of his track 205. He told me straight away that it had stood for almost 1 year in front of his house which seems obvious seeing the state of the brakes.
Posted 27th Jun 2011 at 22:38
prism7guy

Seasoned Pro

Location: DoncastAAAAARGH

Registered: 13 Jan 2008

Posts: 4,640

Status: Offline

Post #2
Nice one marco, i'll keep a close eye on this thread Thumbs up

________________________________________

Goldie the track car.
Posted 27th Jun 2011 at 22:50
marco gti6

Seasoned Pro

Location: Troisvierges

Registered: 09 Mar 2009

Posts: 1,350

Status: Offline

Post #3
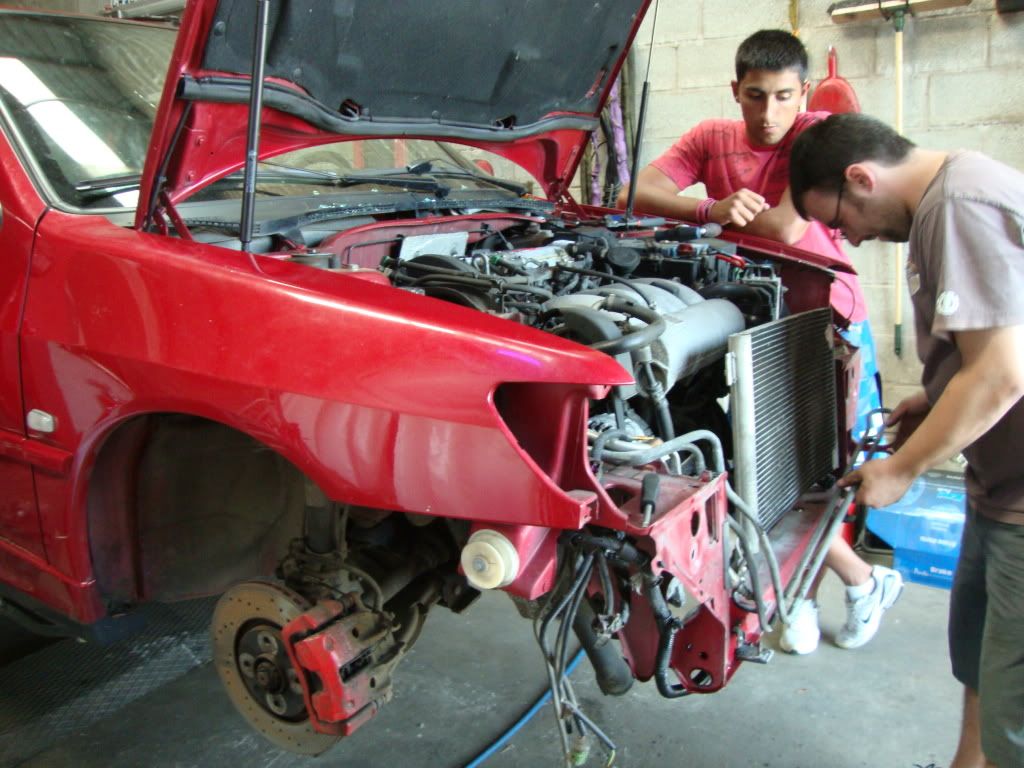
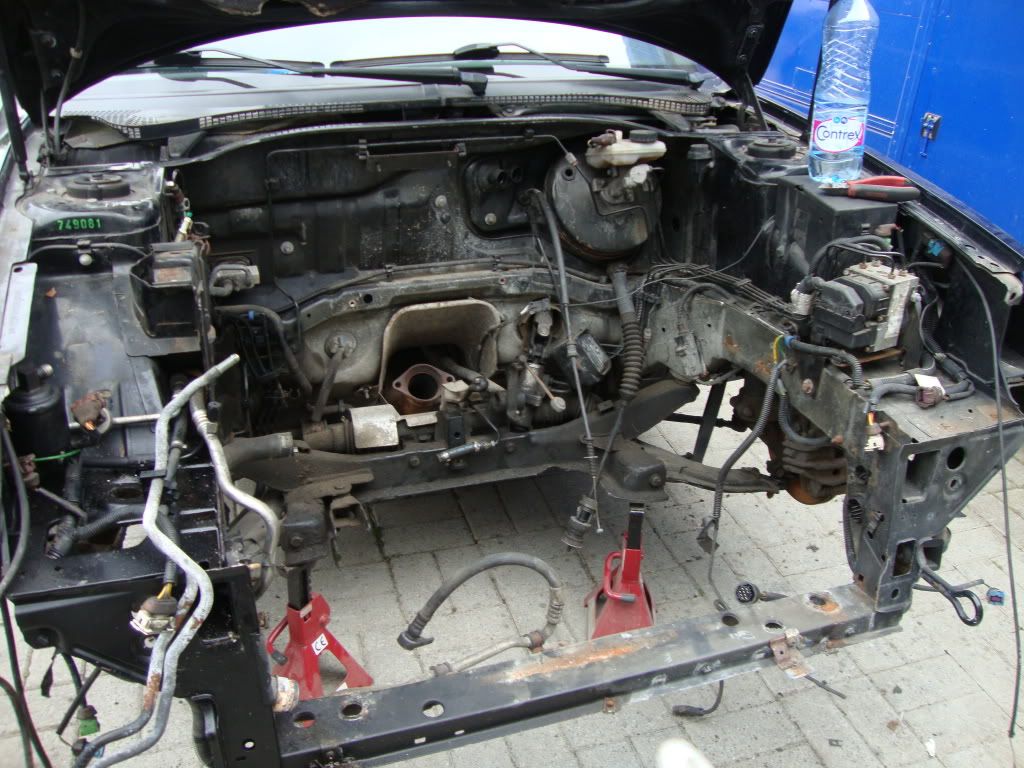
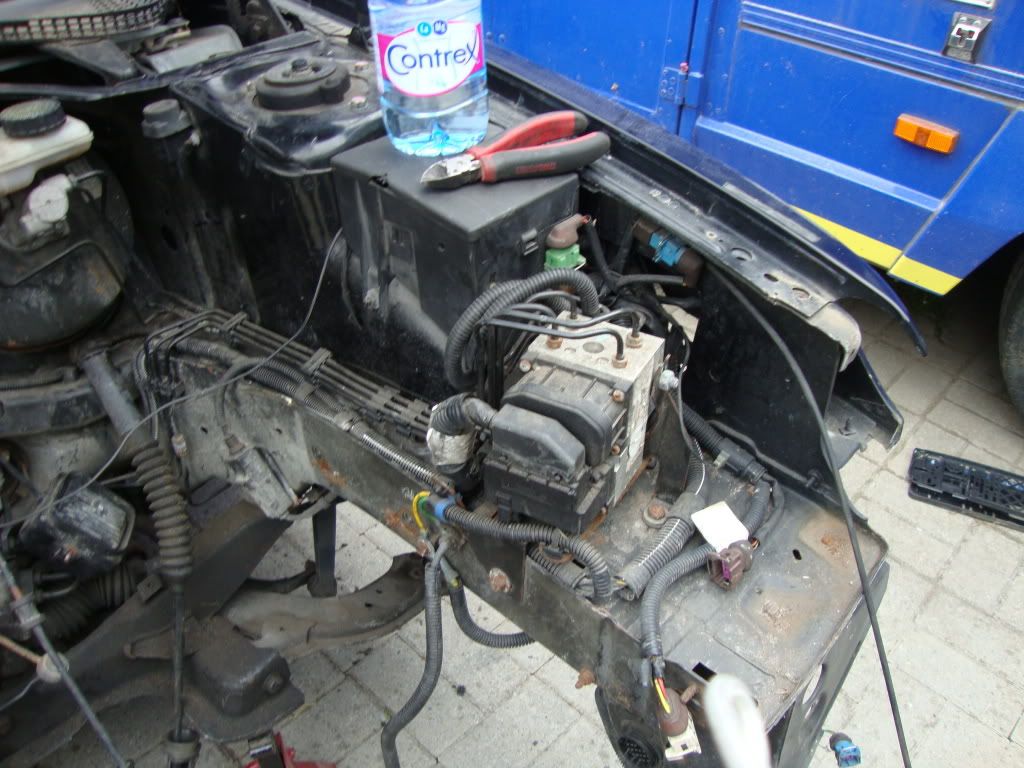
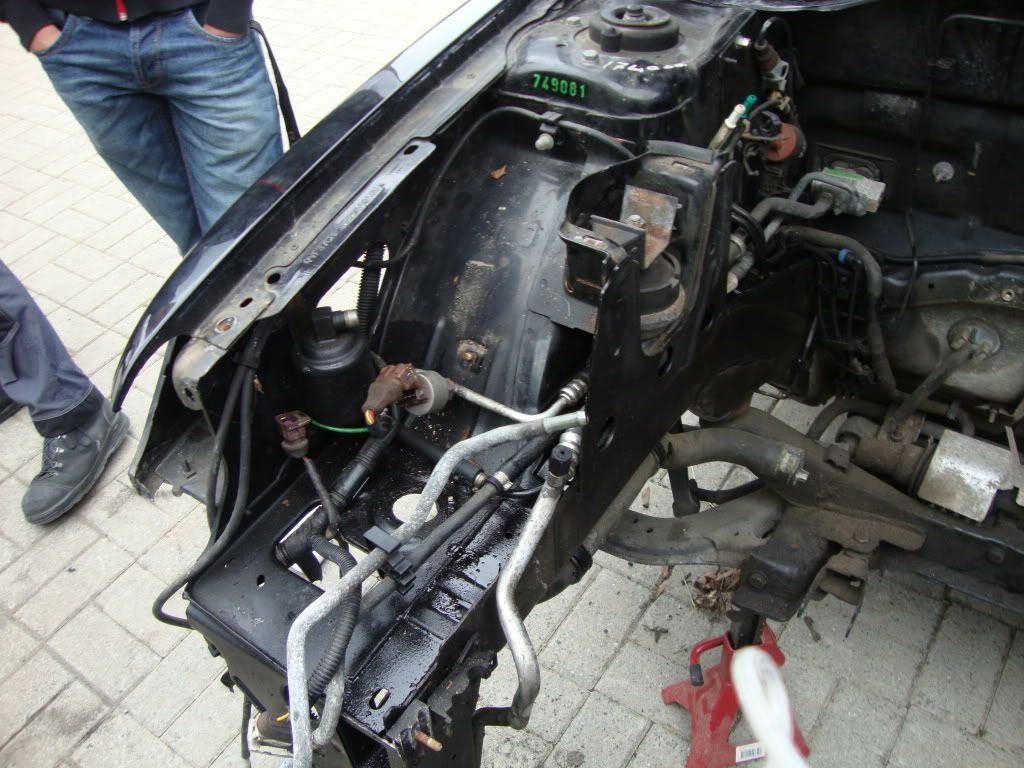
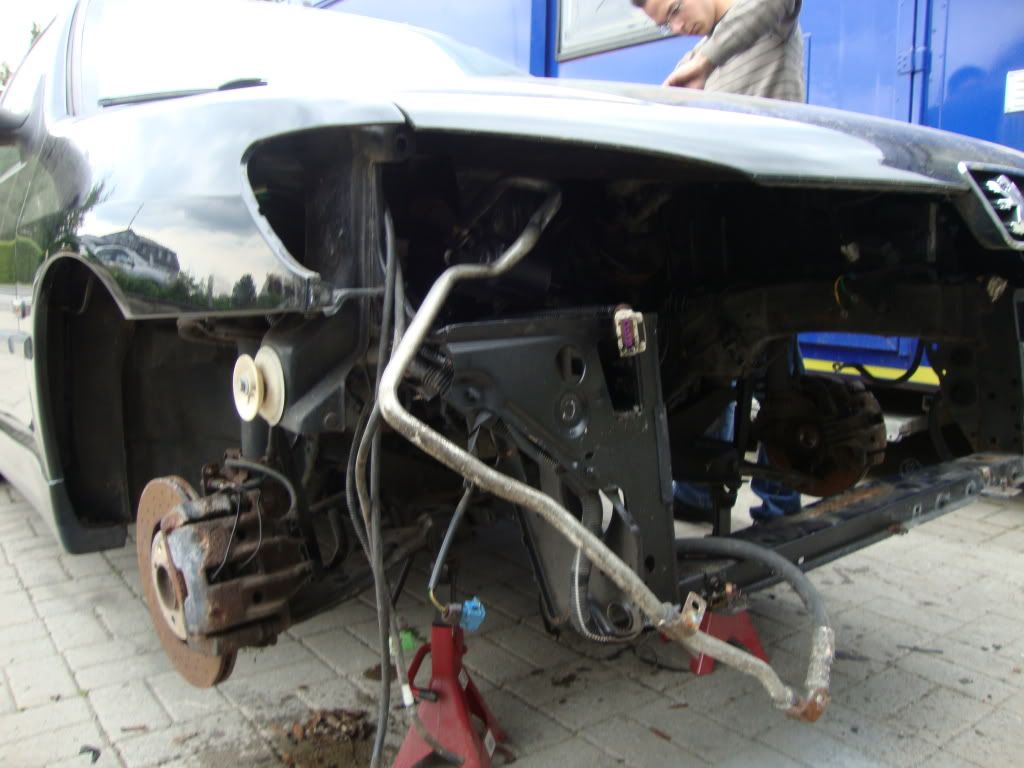
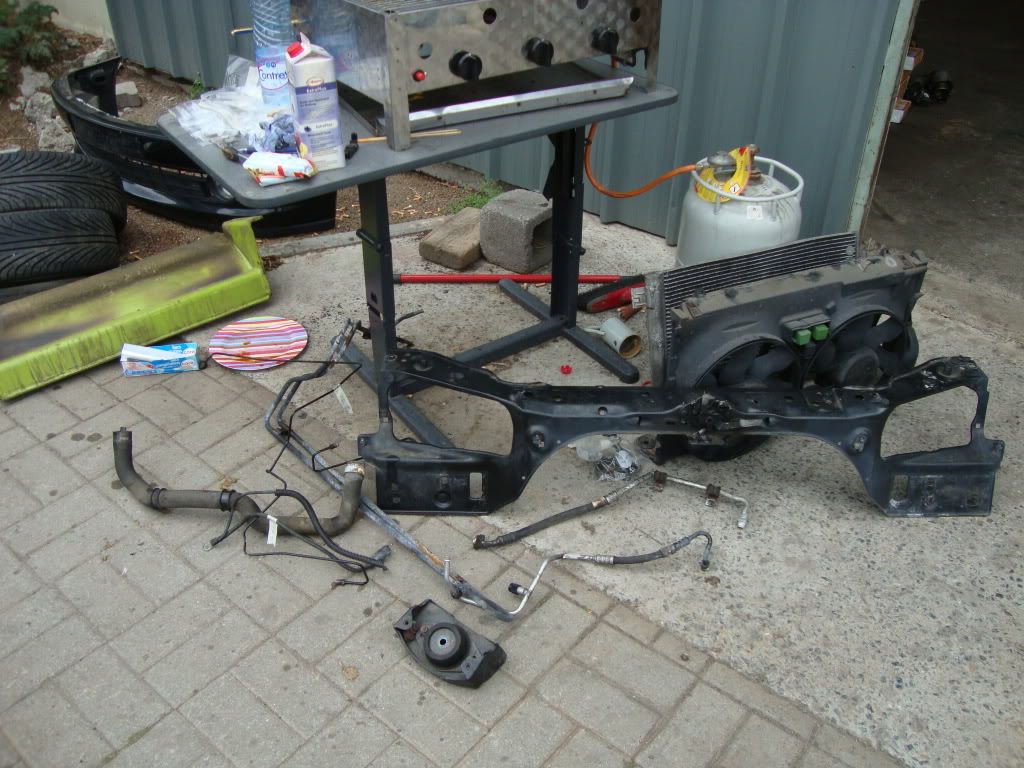
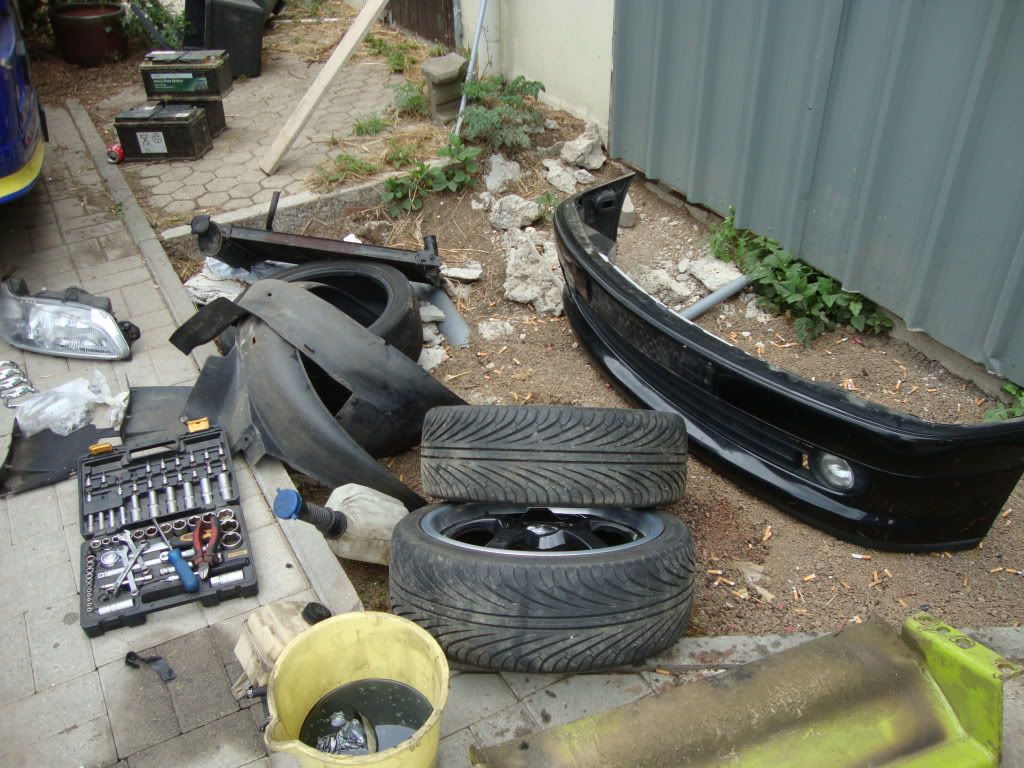
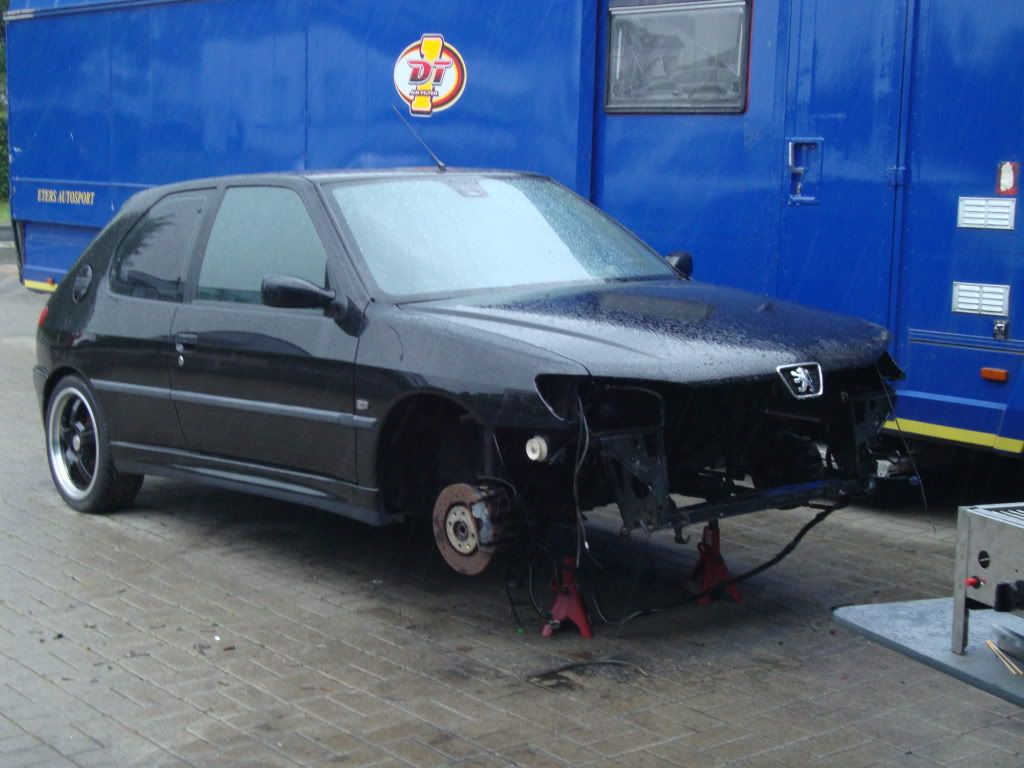
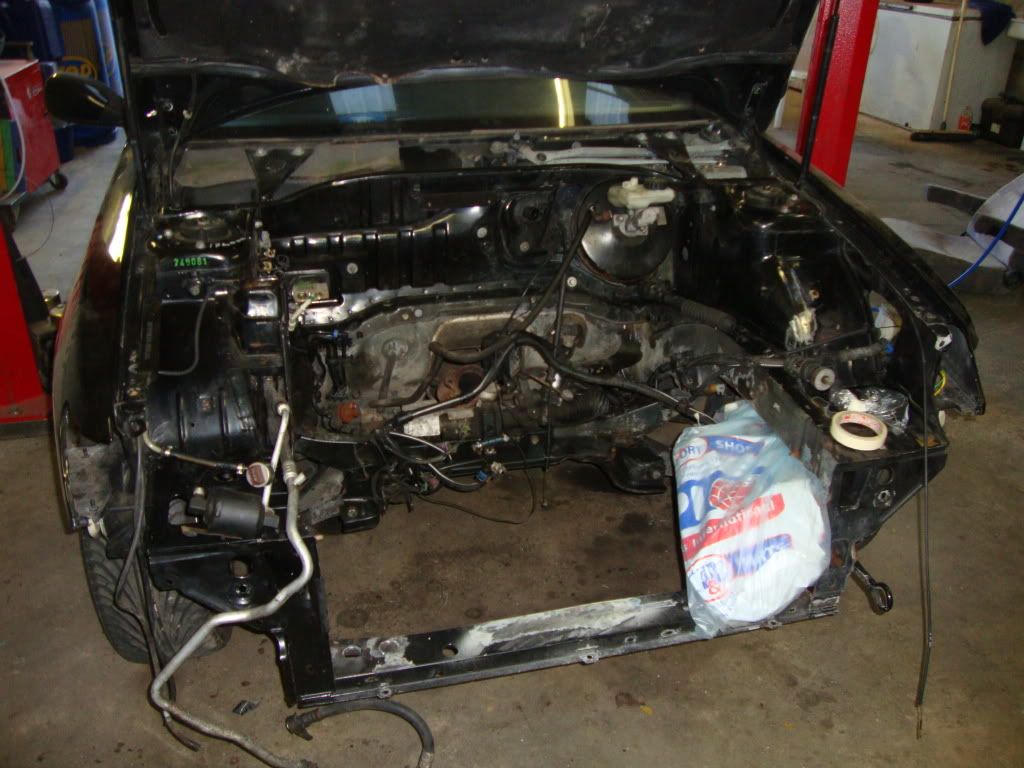
So first thing was to take of the bumper and rads as well as the slam panel so i could see if there was much rust hidden in the usual places. Massive thanks to the people who wrote all the useful guides on how to remove the front bumper and other things Thumbs up


And then the rain started and as my mates were busy in the garage with other cars i could not roll it inside to continue working on it so it staid like that.


Thanks for looking Wink
Posted 27th Jun 2011 at 22:50
honestly3k

Seasoned Pro

Location: Berkhamsted

Registered: 06 Apr 2009

Posts: 2,390

Status: Offline

Post #4
You certainly have a job on your hands - good luck with it! Smile

Did you get your diablo back from the insurance and its simply a case of transferring all the parts over?

Will cost a ridiculous amount if you are sourcing all new used parts though Unsure

________________________________________

''Oh, it does handle like a golf!'' Why drive a Golf....when you can drive a GTi-6?
Posted 27th Jun 2011 at 23:06
marco gti6

Seasoned Pro

Location: Troisvierges

Registered: 09 Mar 2009

Posts: 1,350

Status: Offline

Post #5
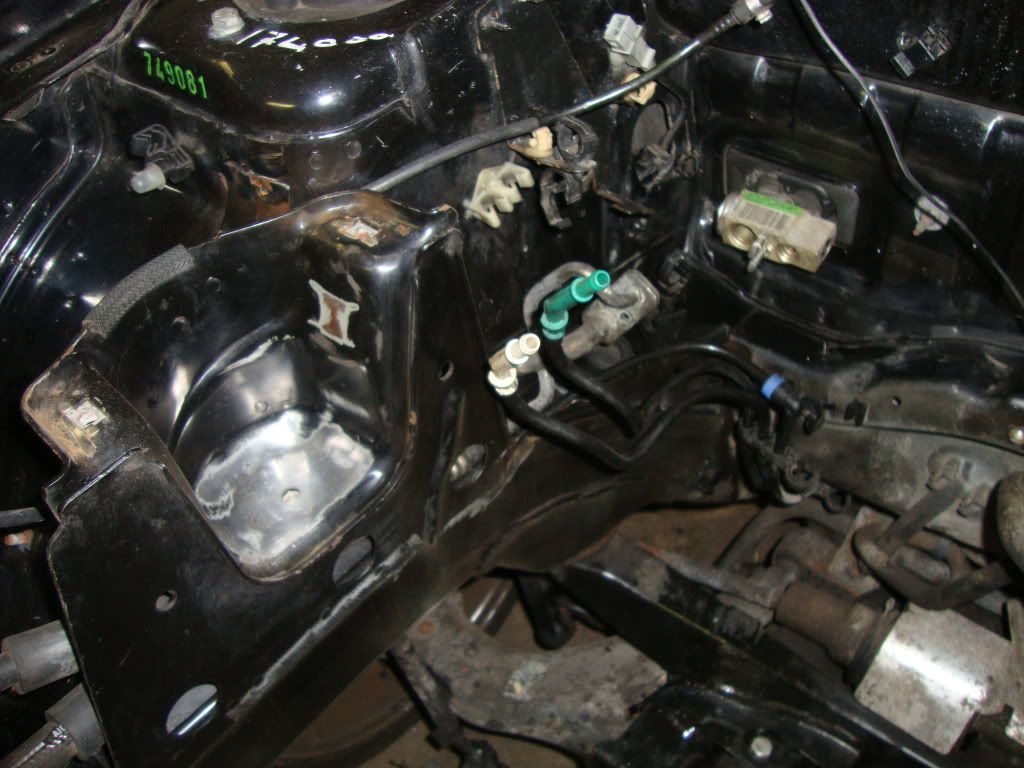
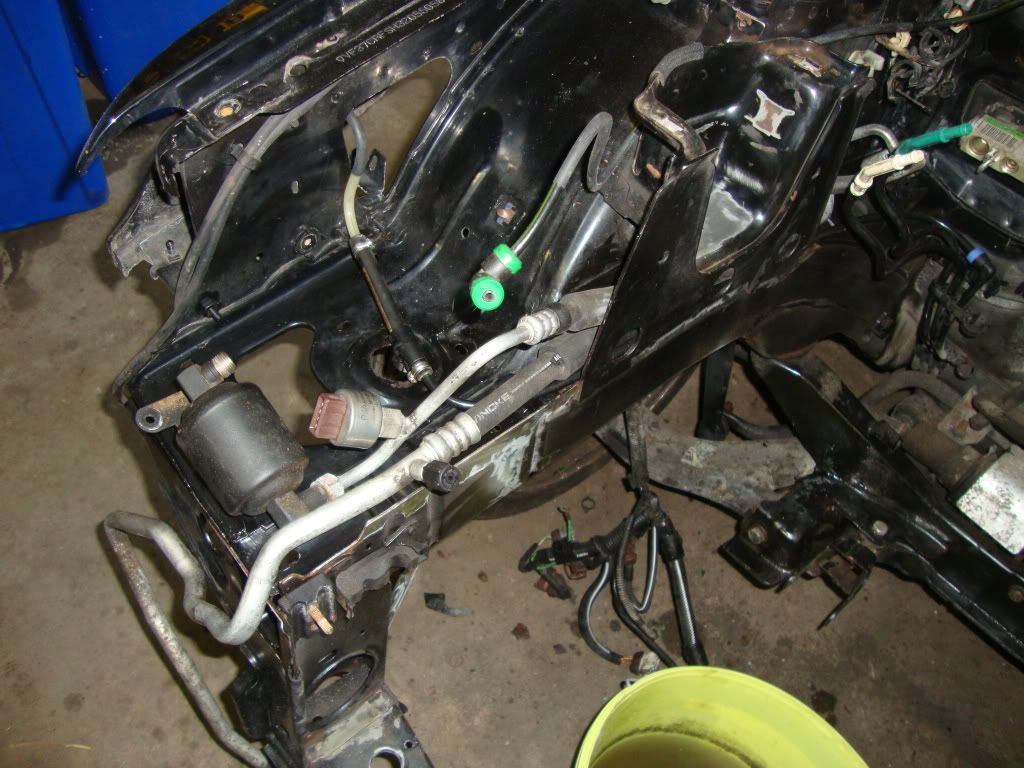
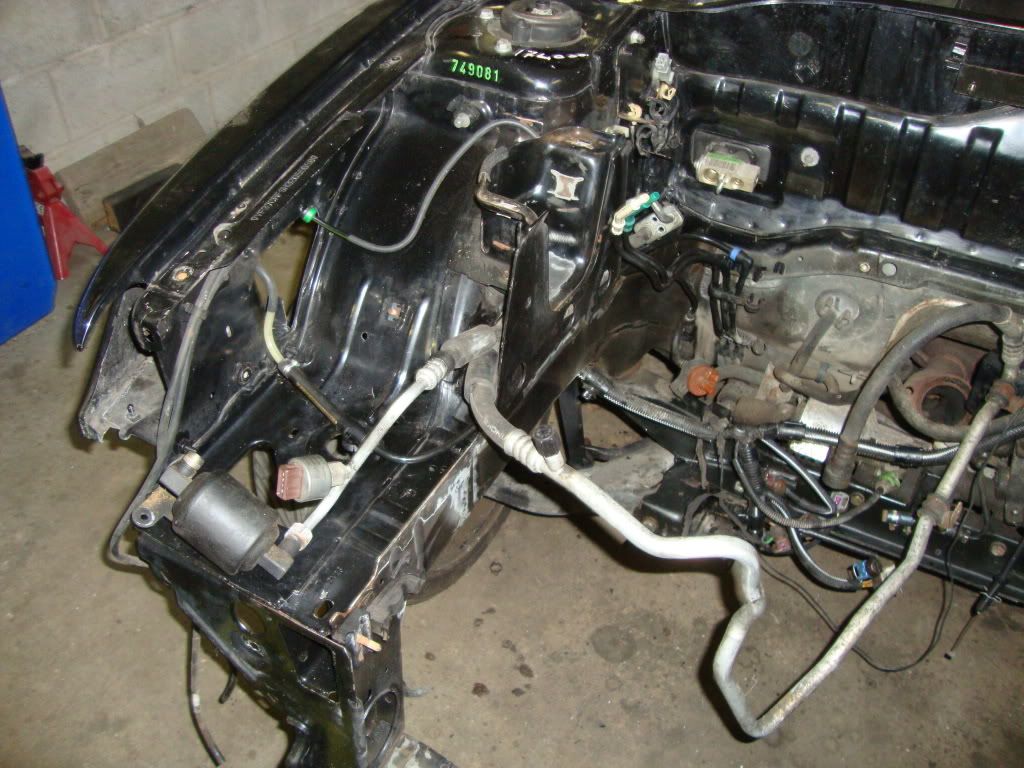
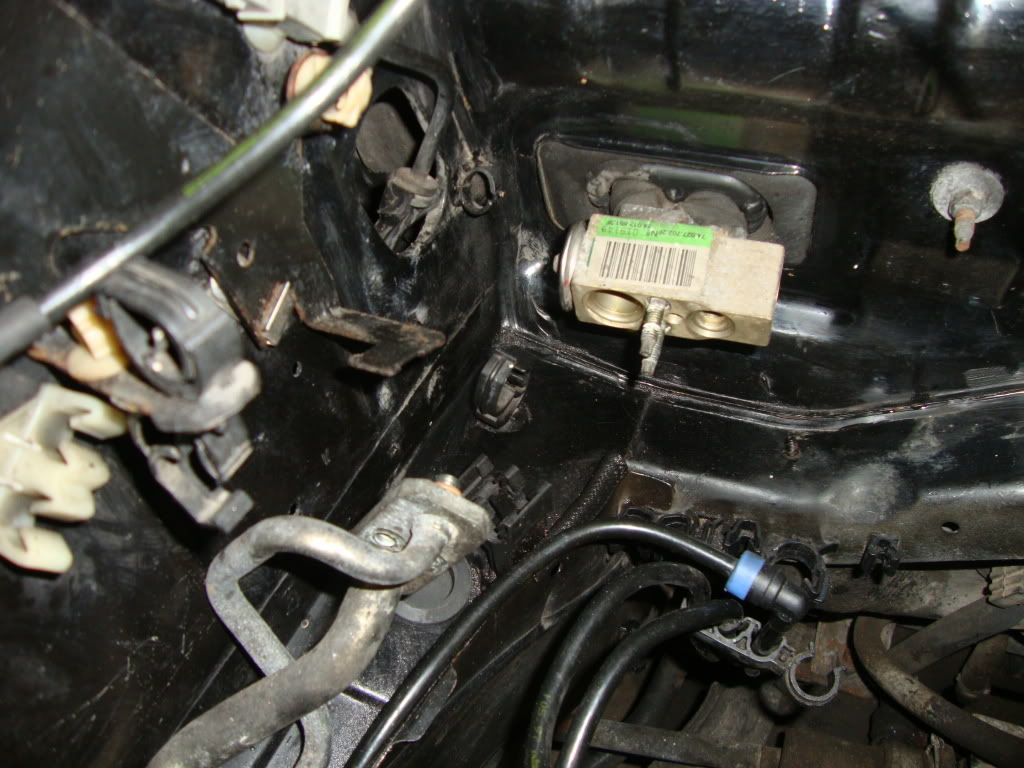
I tried to strip the engine bay as much as possible but there are things where i have no clue how to remove them as for example the ac pipes that go underneath the engine mount, so i left them on there.

Next step was rust removal, i wanted to use the famous deox gel that a lot of members have used on their projects but as i would need to get it shipped over here and also because funds where tight as i haven't got one cent back from the insurance so far i used a french brownish liquid that a mate still had at home when he rebuilt his old audi.


This are the pipes i could not figure out how to remove them, i think these might be routed differently on LHD cars


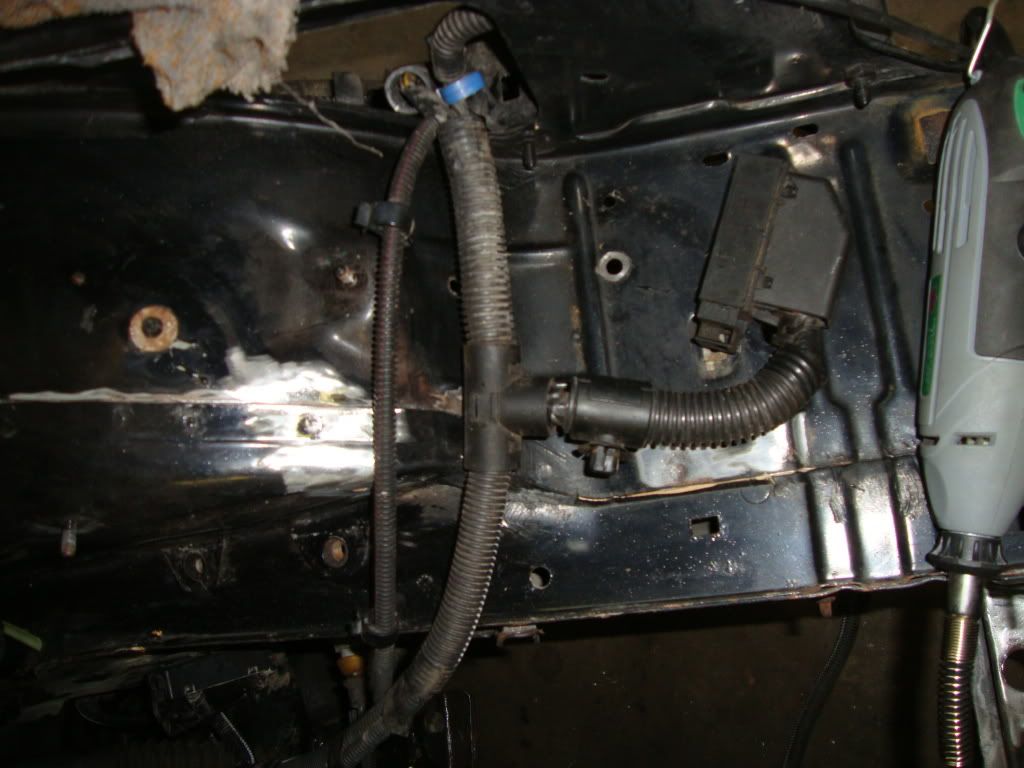
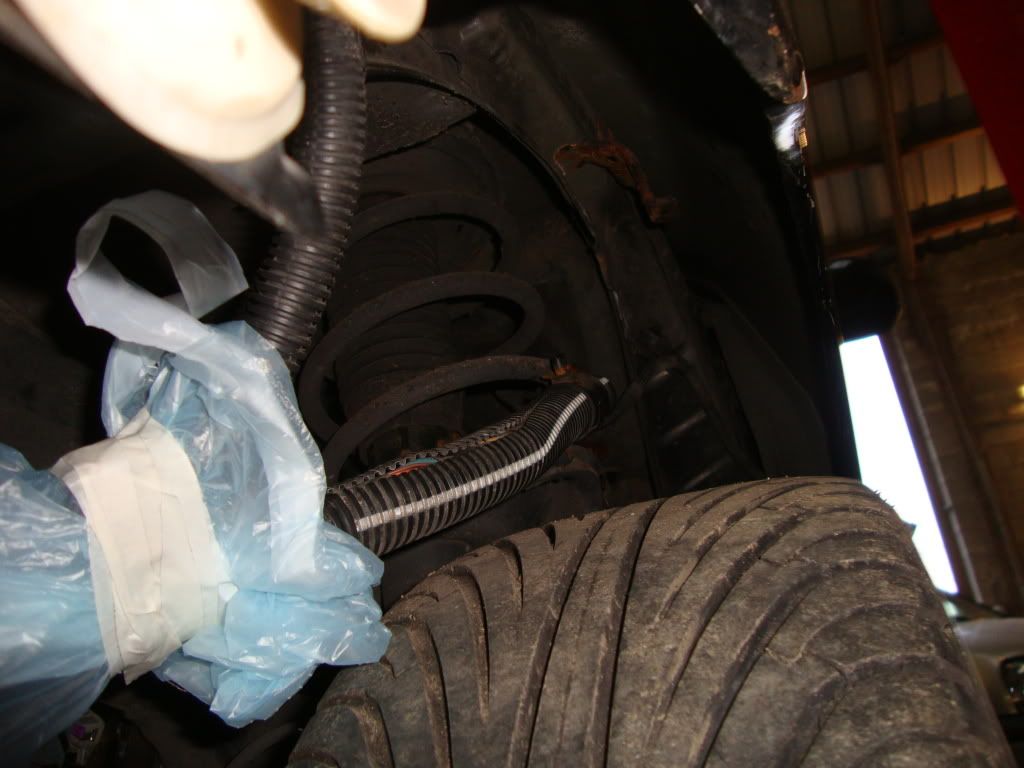
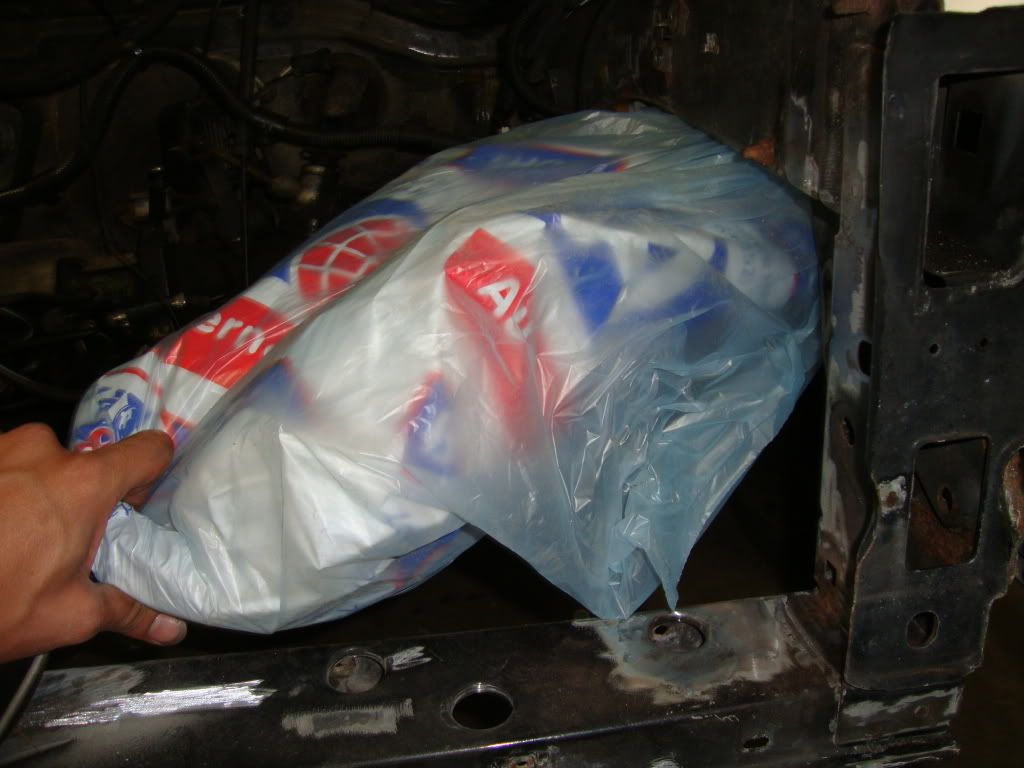
I then started to put all the electrical connectors in plastic bags to prevent them of being soaked in water or touched by the rust removing stuff


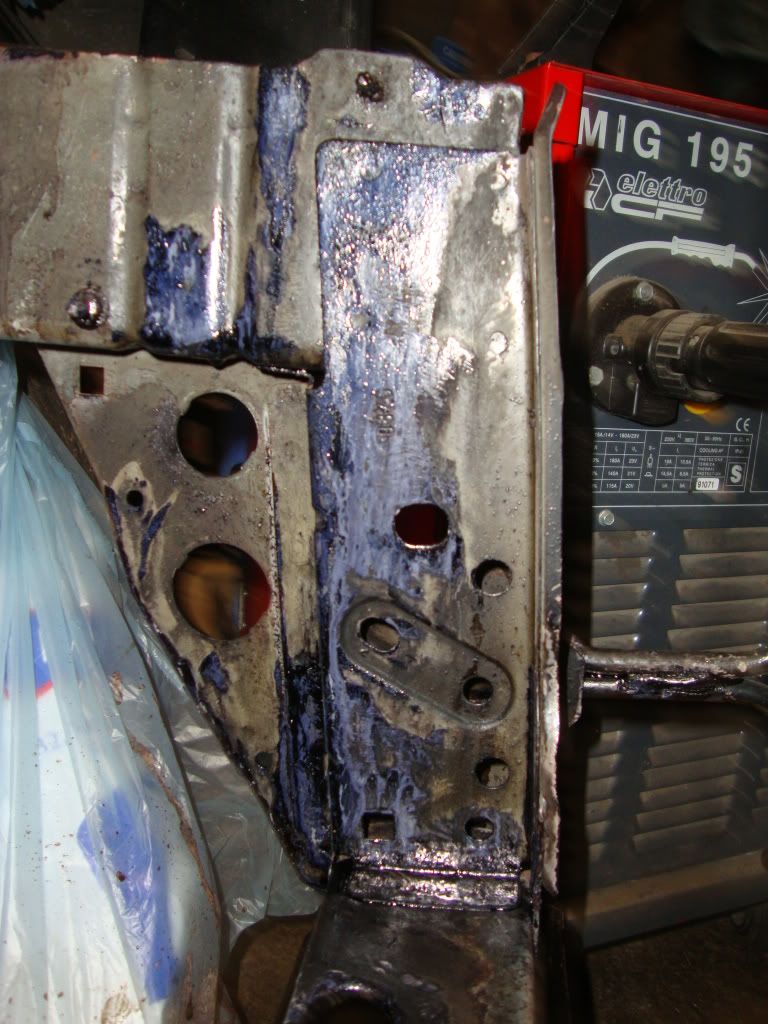
This is how the treated places looked like after 24hrs:


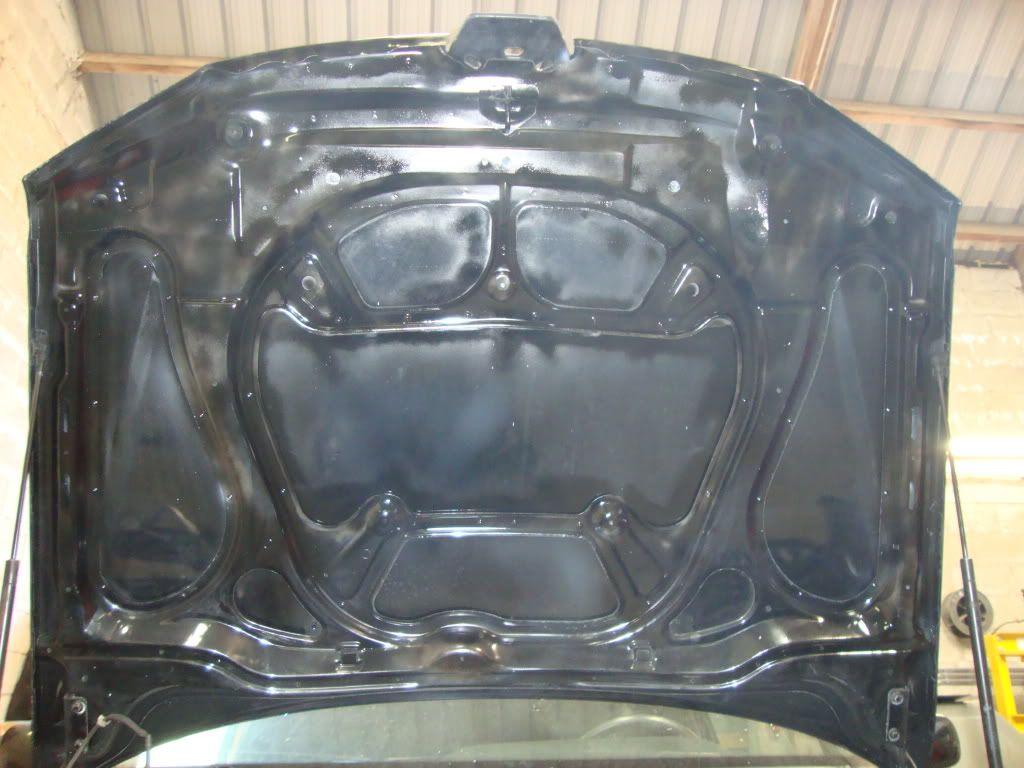
The inside of the bonnet also had some little rust places so i thaughtt while i'm there i miight as well correct these little spots too


Next i gave the whole engine bay a good clean with KALTREINIGER which is a chemical MPC.


Ready to put the primer on


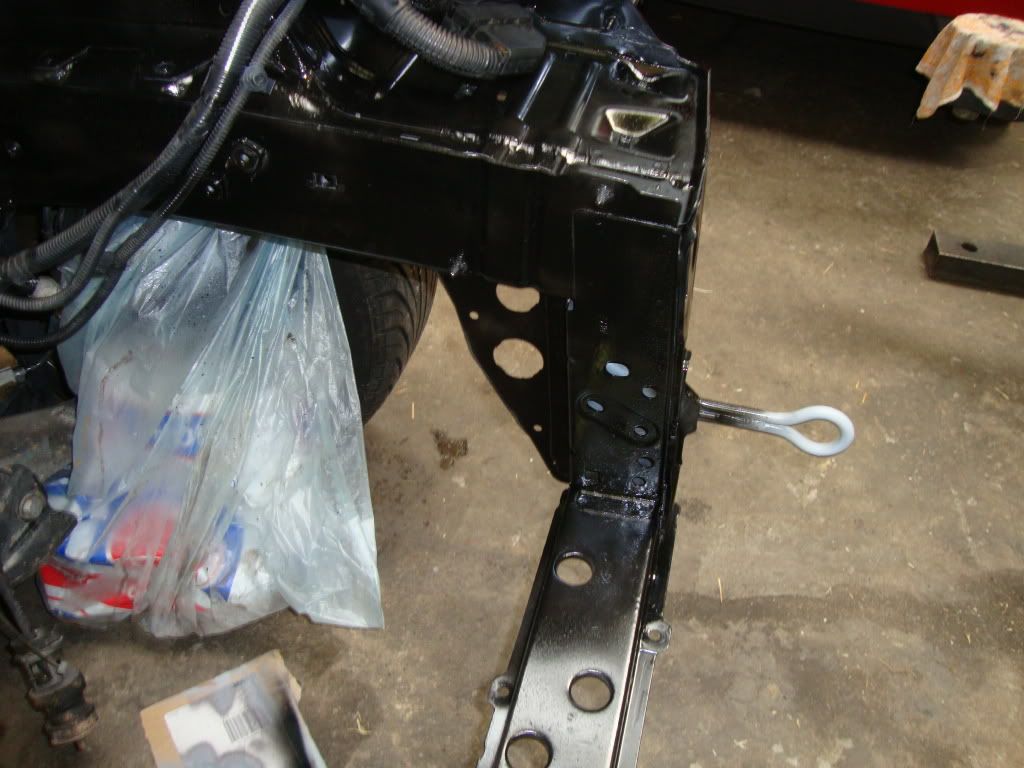
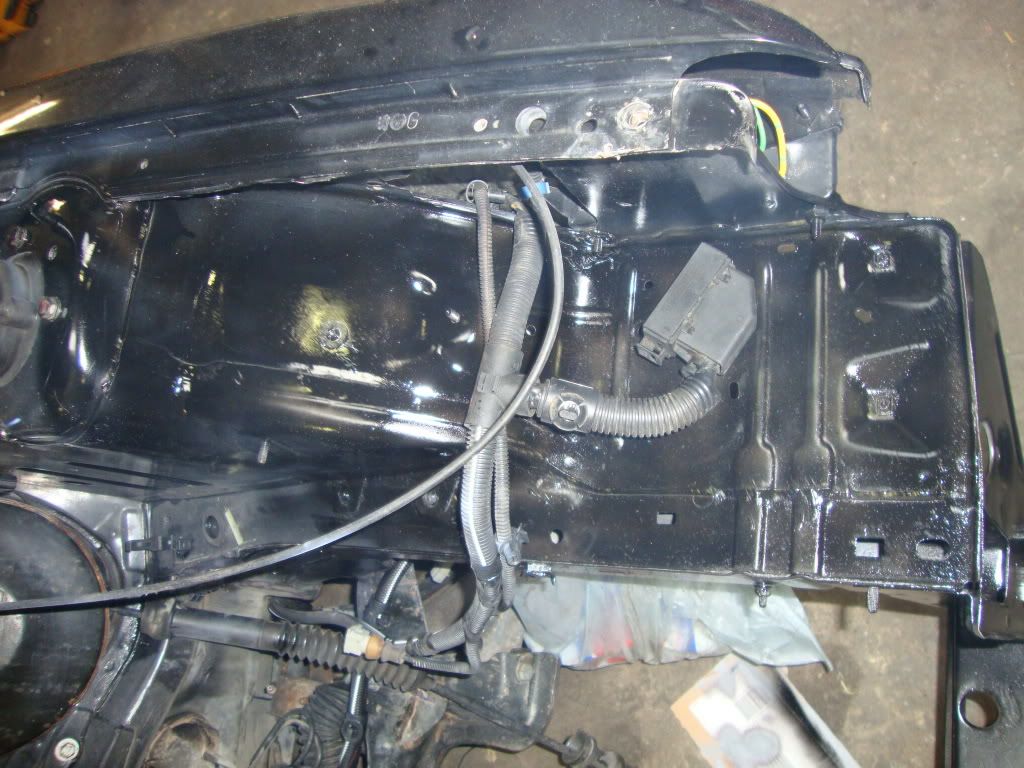
And then with black paint


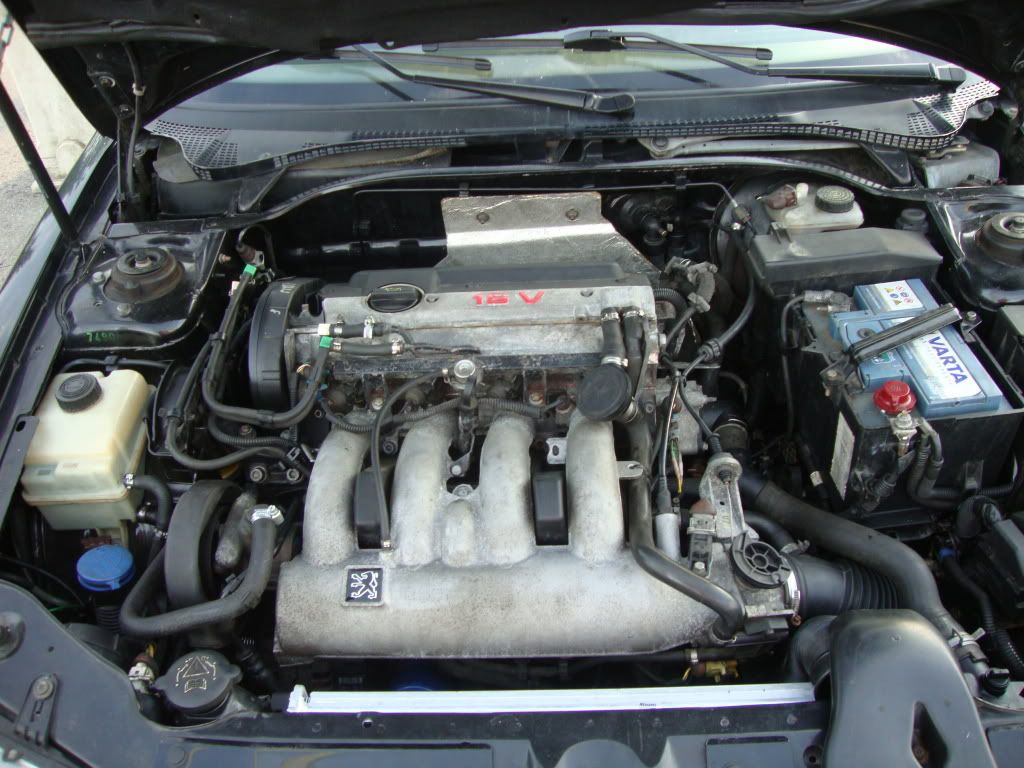
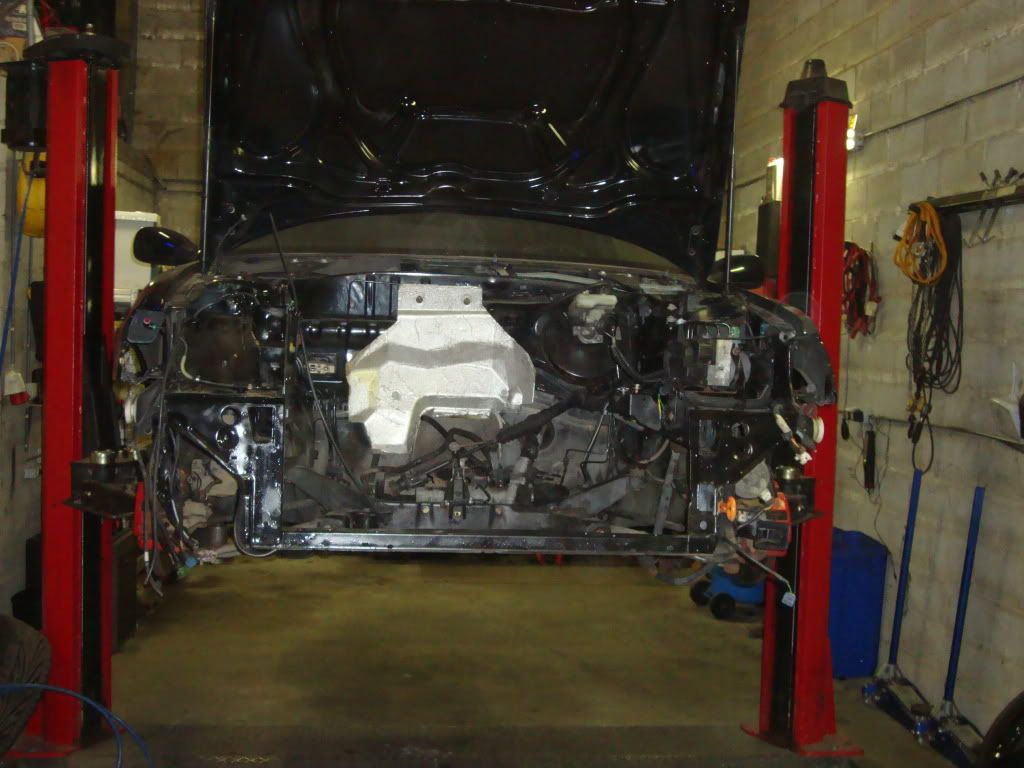
This is how the engine bay is ath the moment as i'm not yet allowed to get the engine and other parts out of the diablo to swap them in the black one.

Posted 28th Jun 2011 at 00:46
marco gti6

Seasoned Pro

Location: Troisvierges

Registered: 09 Mar 2009

Posts: 1,350

Status: Offline

Post #6
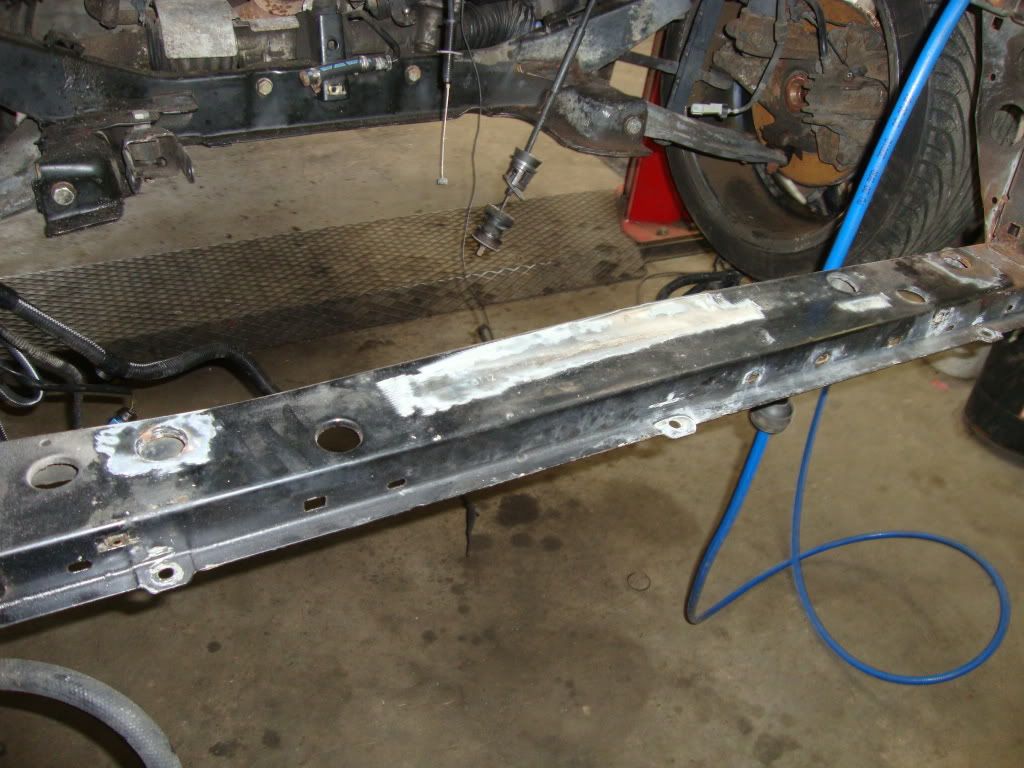
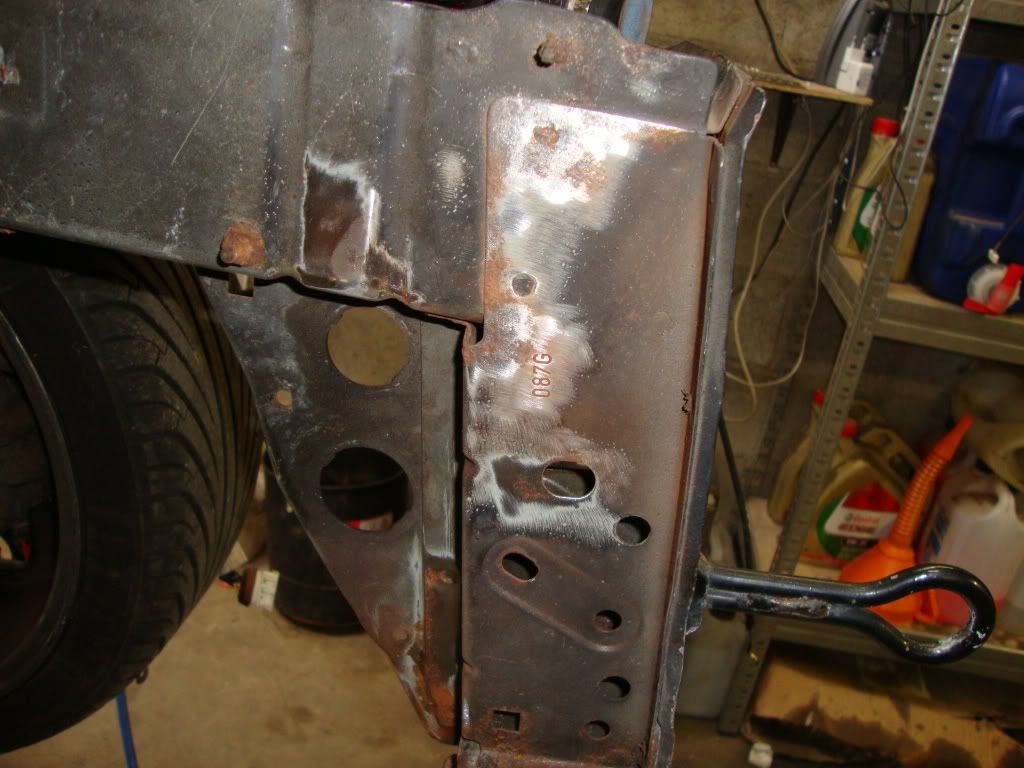
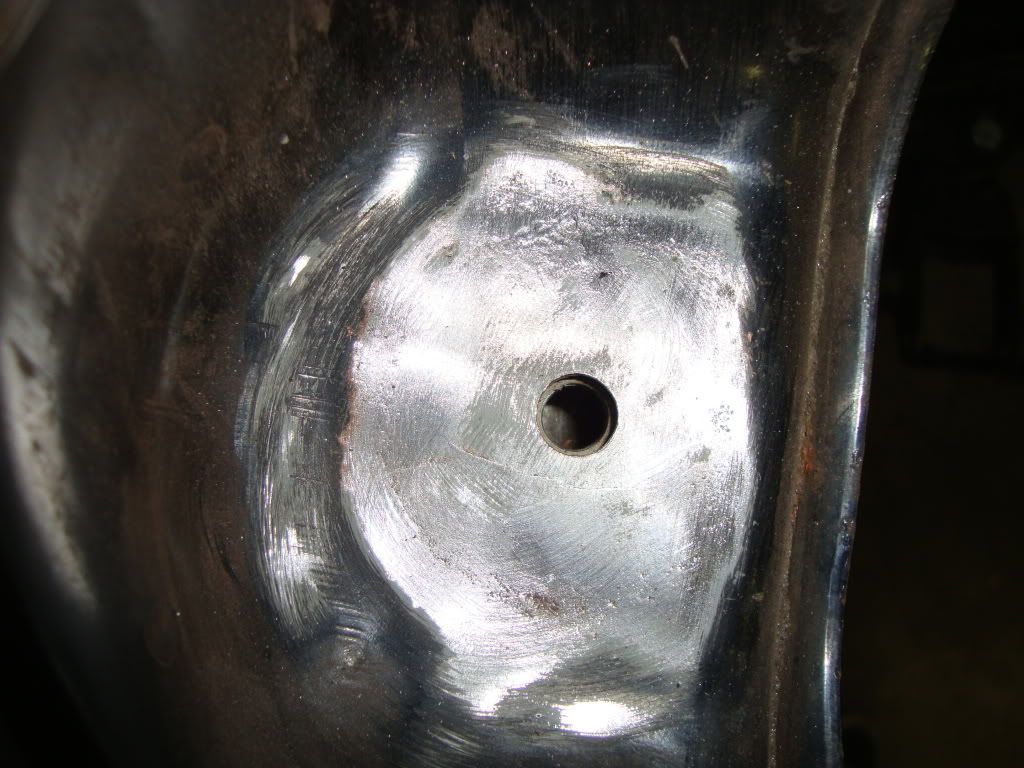
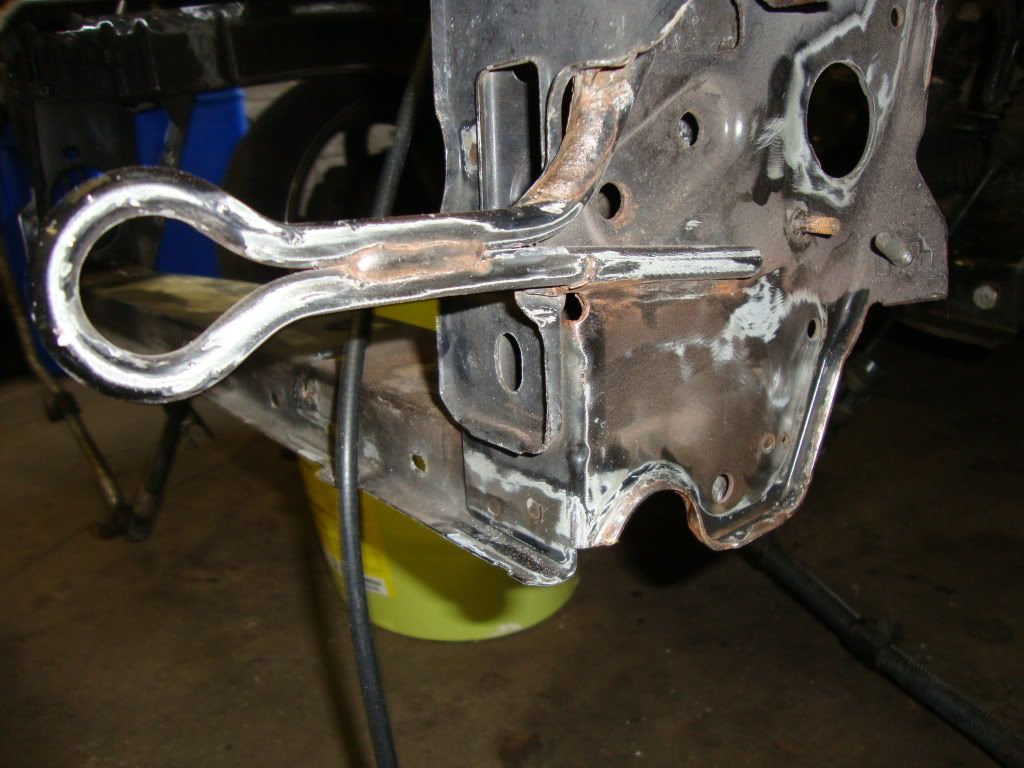
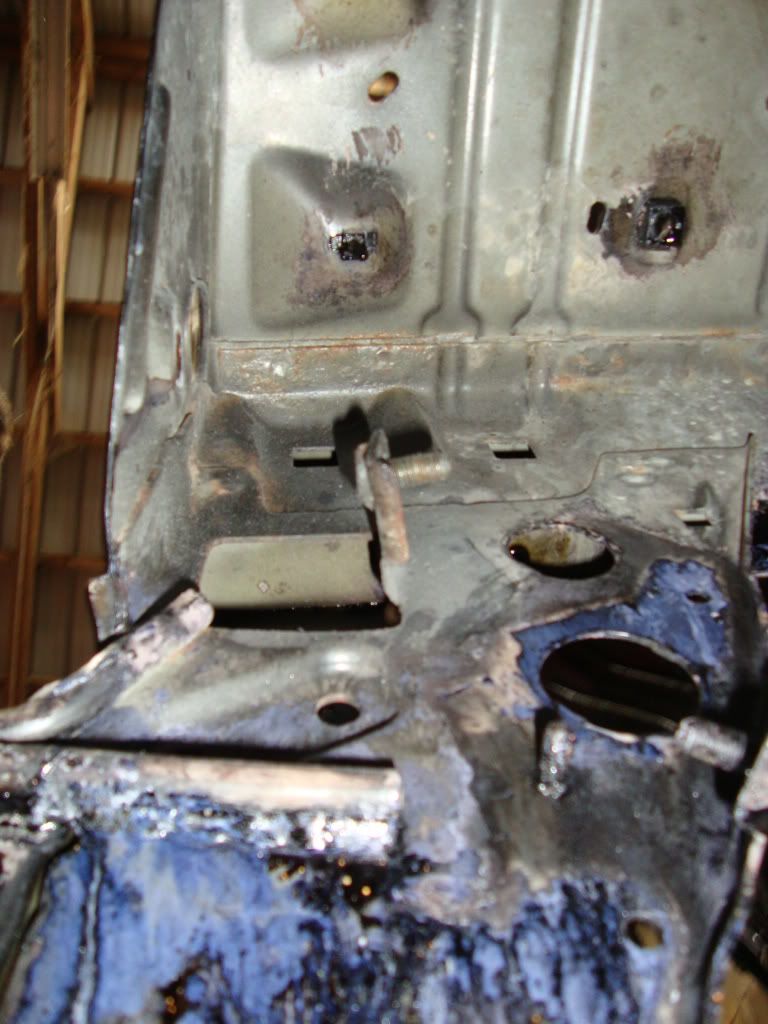
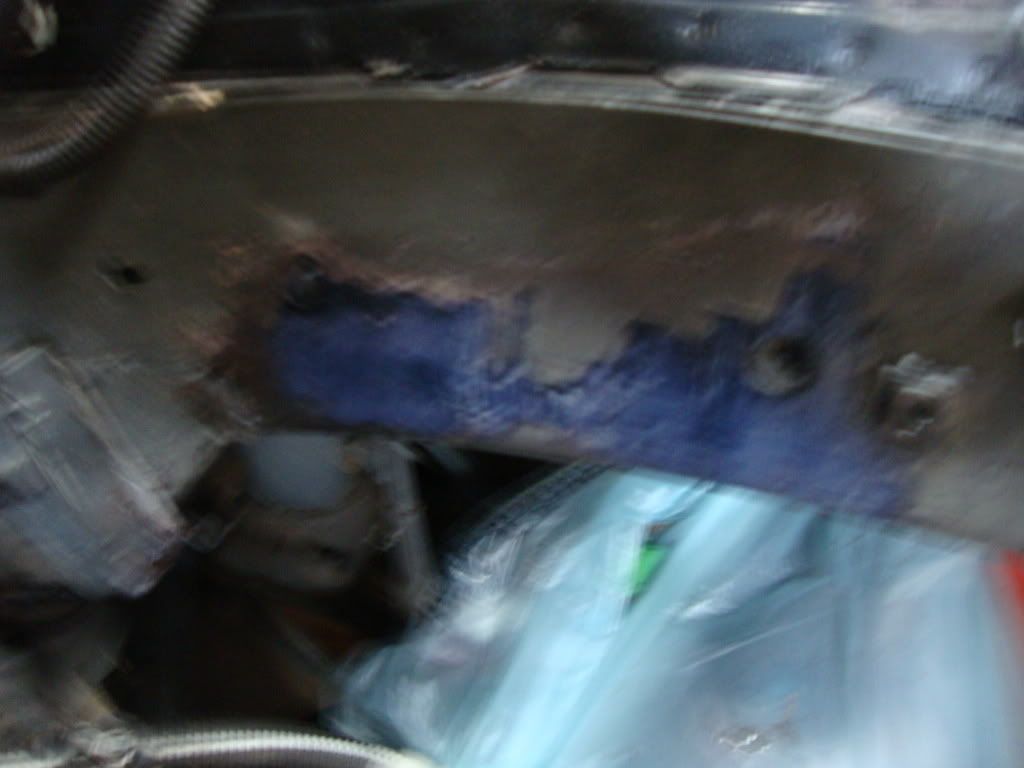
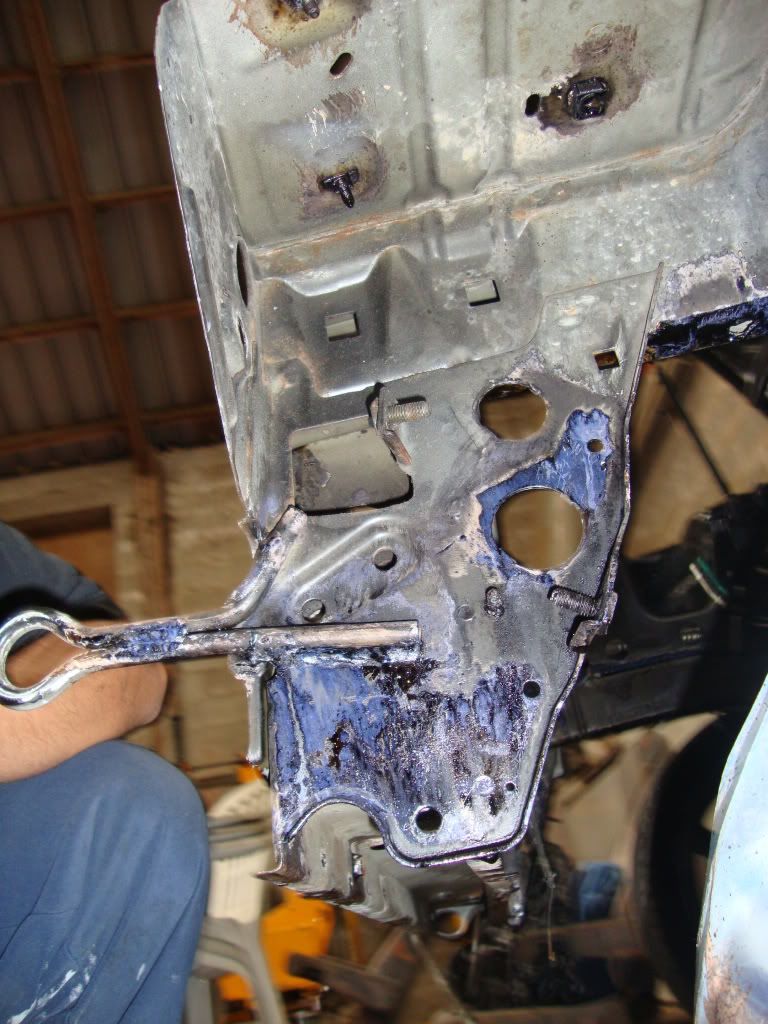
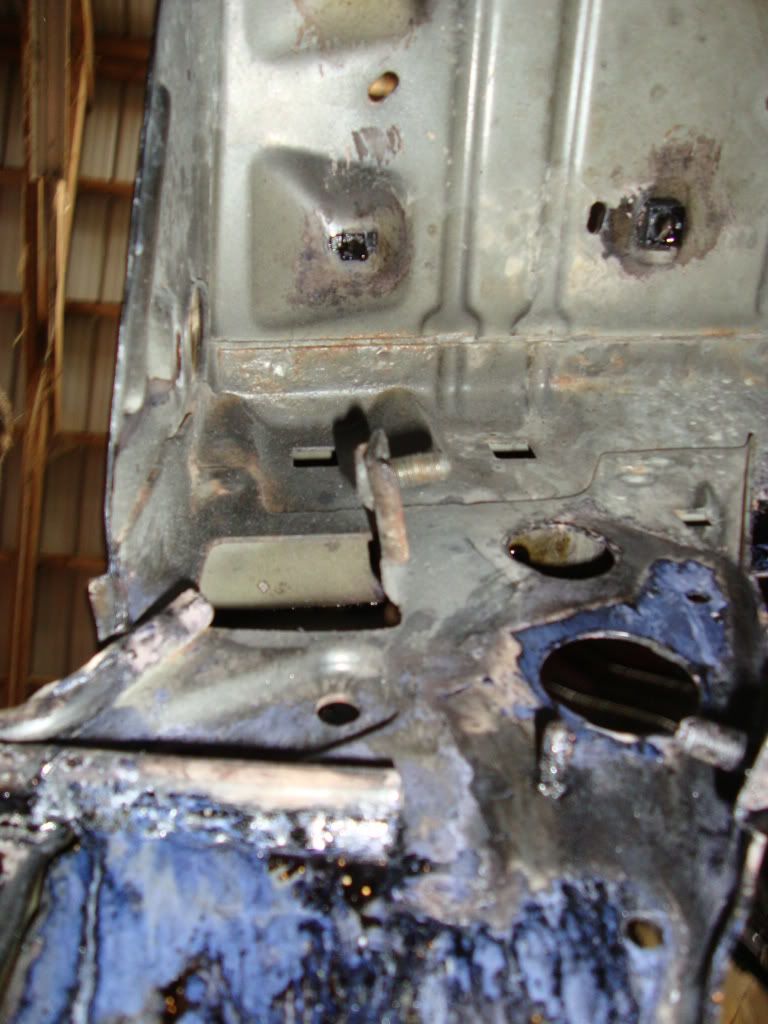
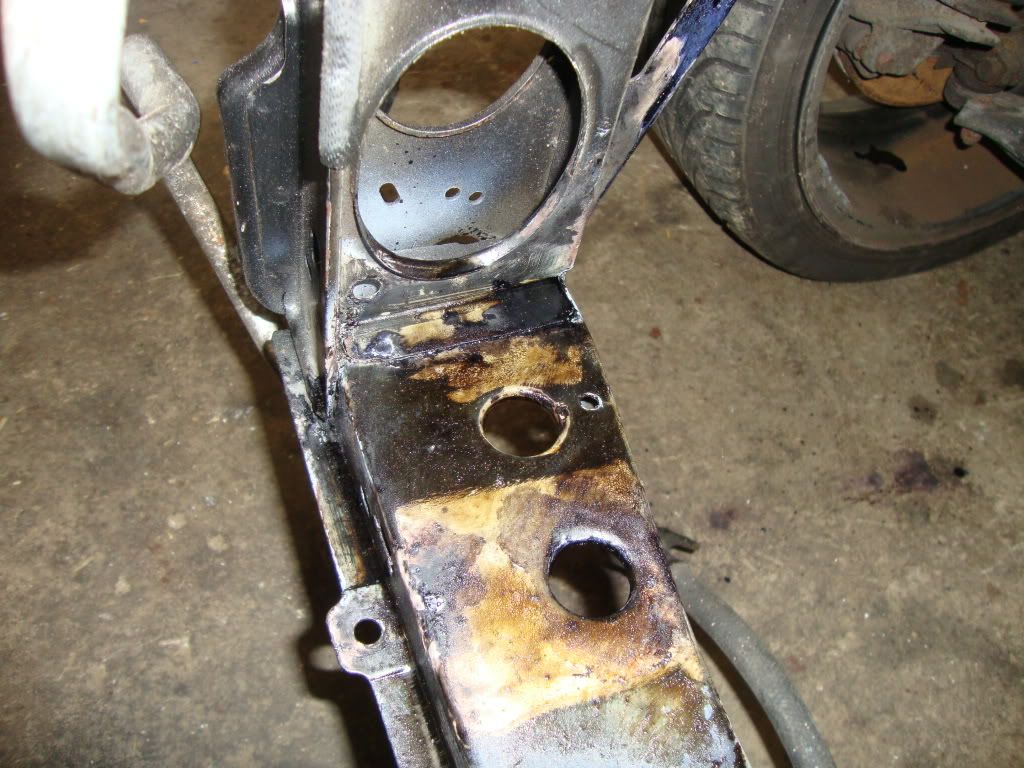
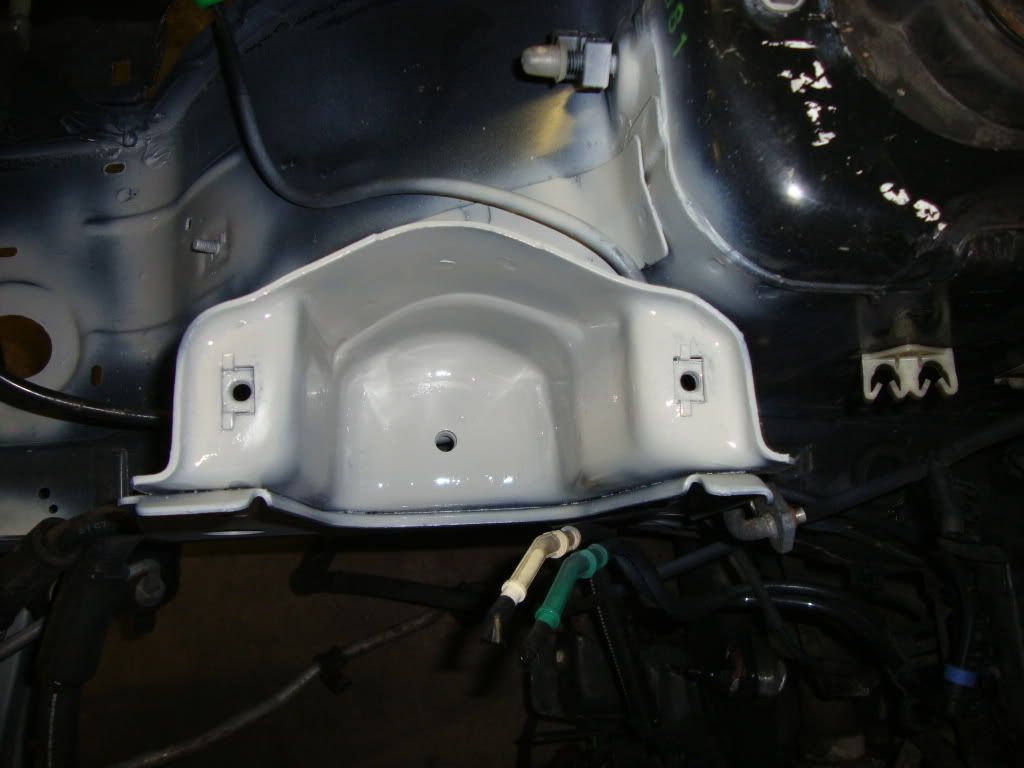
Here is a quick one for the pros:

Does the engine mount look like its about to crack?? Unsure

Posted 27th Jun 2011 at 23:24
marco gti6

Seasoned Pro

Location: Troisvierges

Registered: 09 Mar 2009

Posts: 1,350

Status: Offline

Post #7
honestly3k wrote:
You certainly have a job on your hands - good luck with it! Smile

Did you get your diablo back from the insurance and its simply a case of transferring all the parts over?

Will cost a ridiculous amount if you are sourcing all new used parts though Unsure


I am waiting on the letter from the insurance to know how much i will have to pay to buy my car back, which i certainly will do. I posted a tread on the wanted section with a few parts i would like. Although i will need to buy a few new parts like a nissens radiator and probably a few pipes from the AC system Crazy
Posted 27th Jun 2011 at 23:29
marco gti6

Seasoned Pro

Location: Troisvierges

Registered: 09 Mar 2009

Posts: 1,350

Status: Offline

Post #8
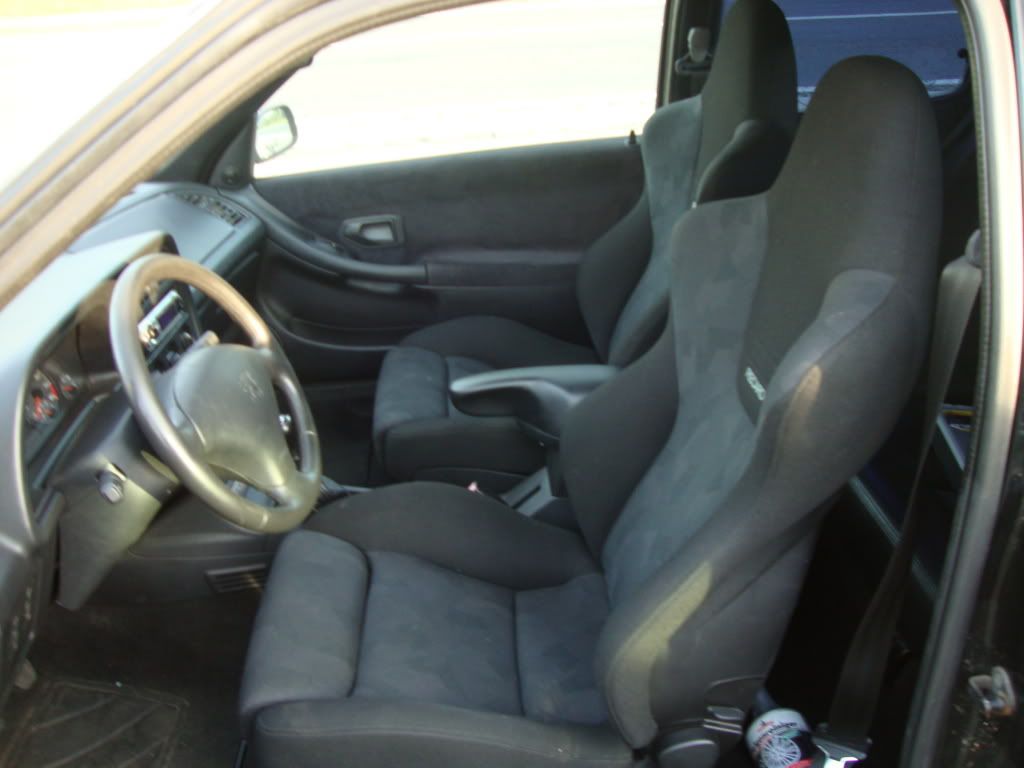
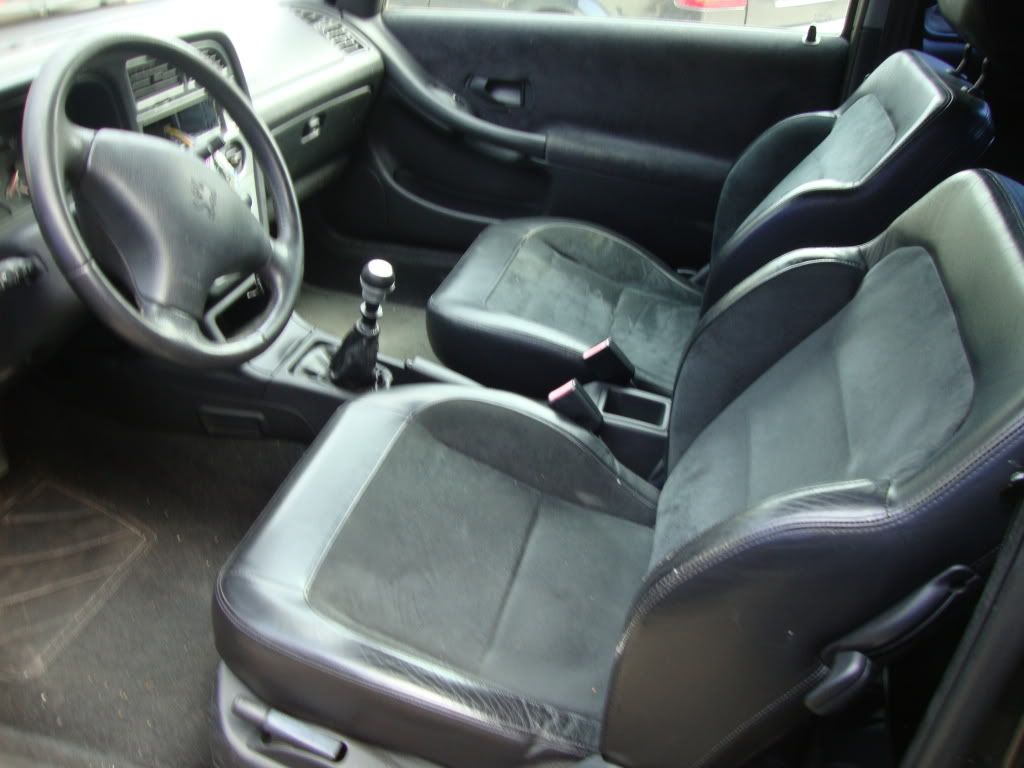
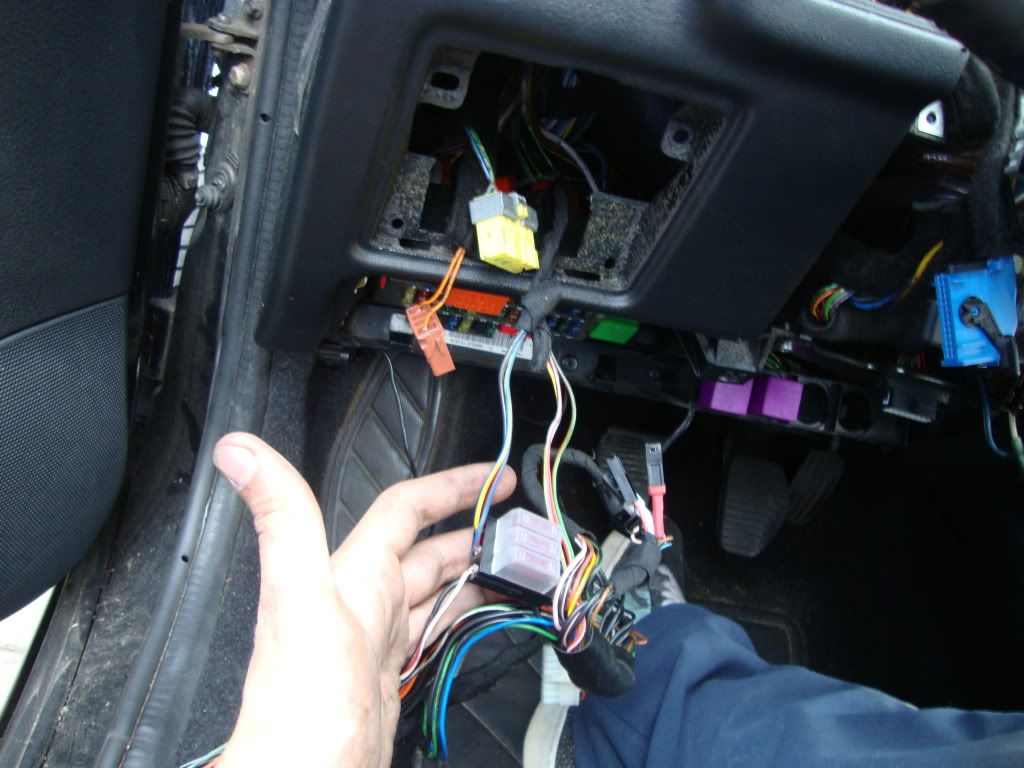
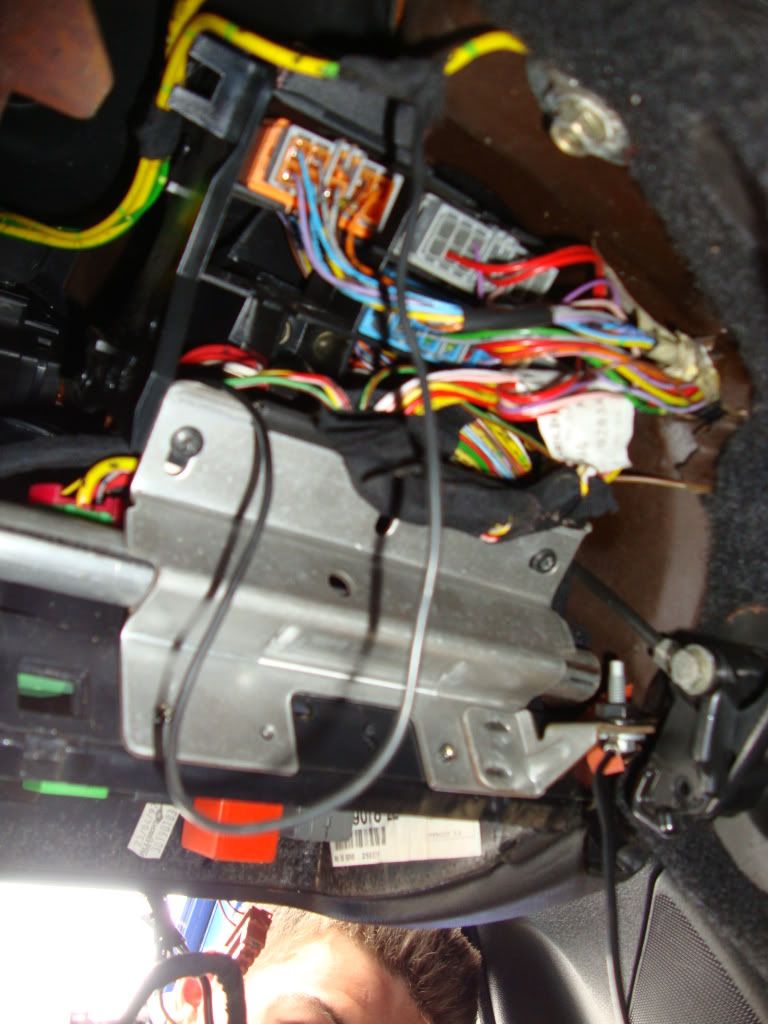
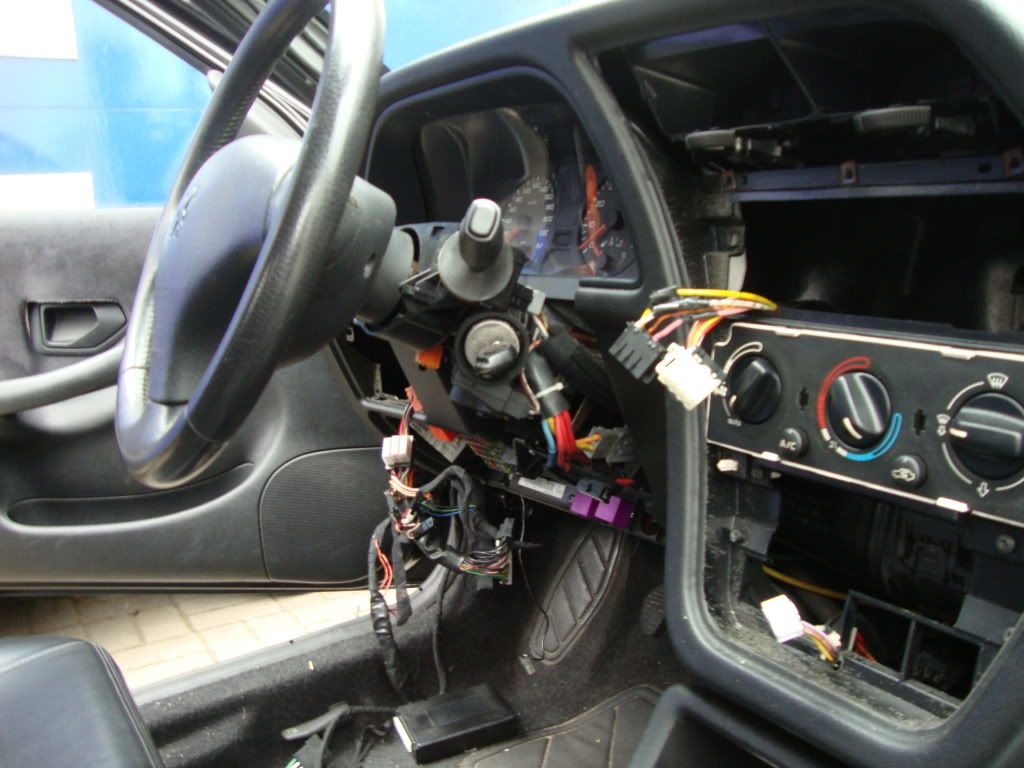
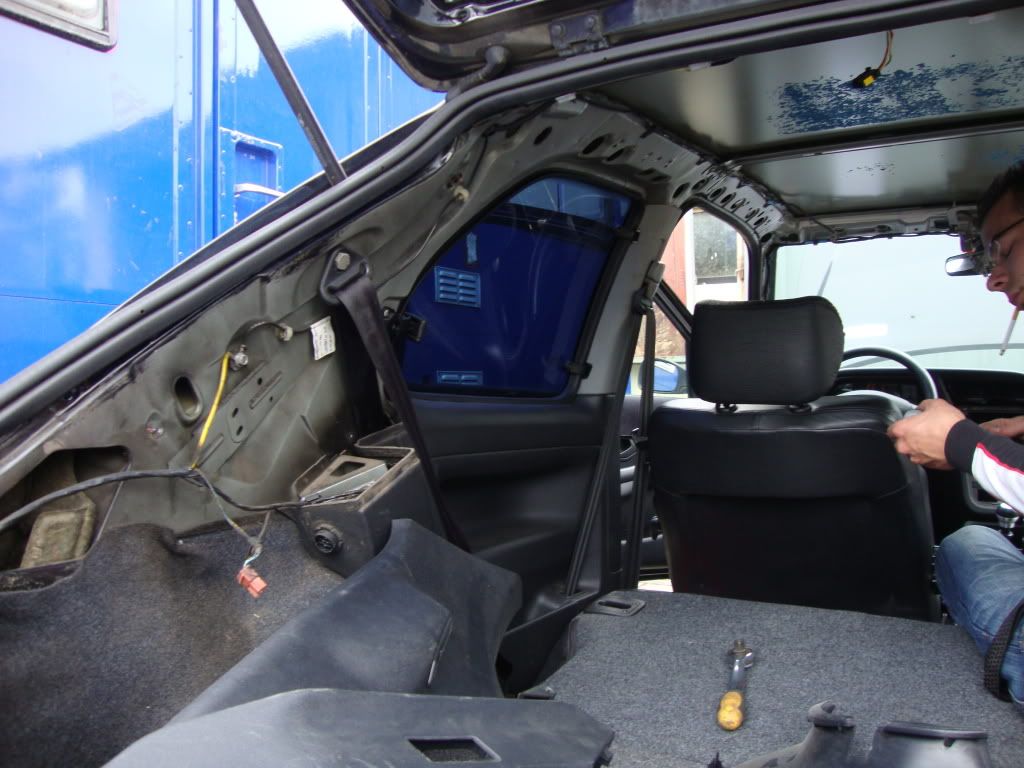
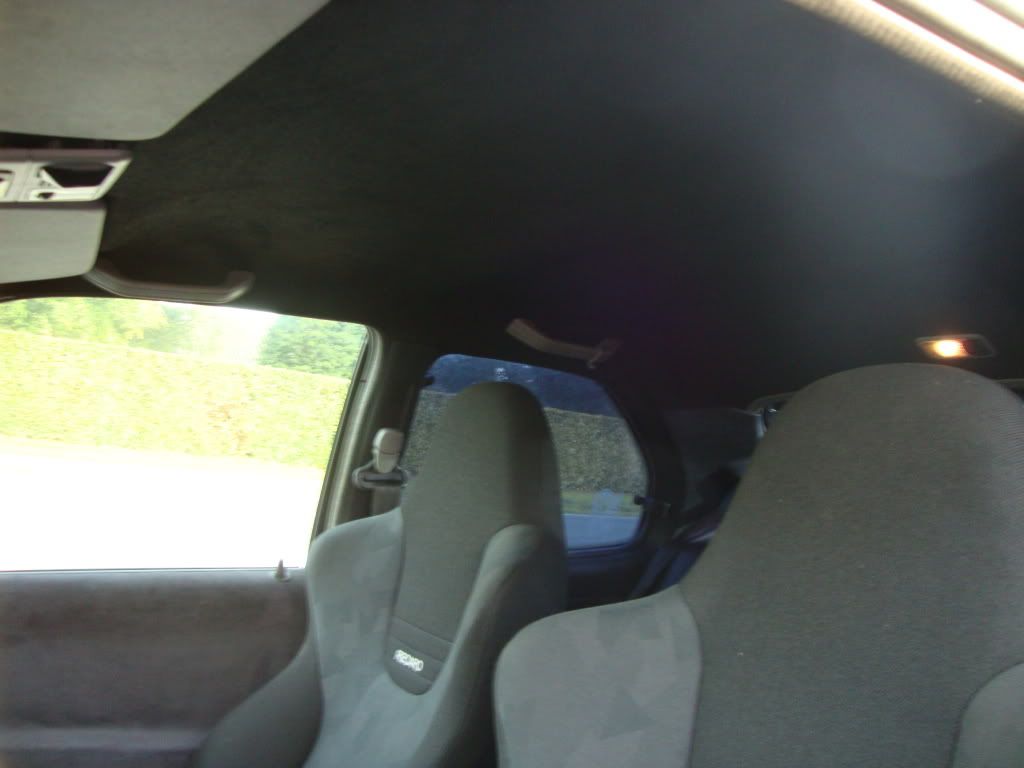
After i was done with the engine bay i decided to start on the interior. The plan is to dye the head liner black, put my recaro sport recliners in there and maybe carbon fiber skin the center fascia and some plastics in the engine bay through water transfer printing.

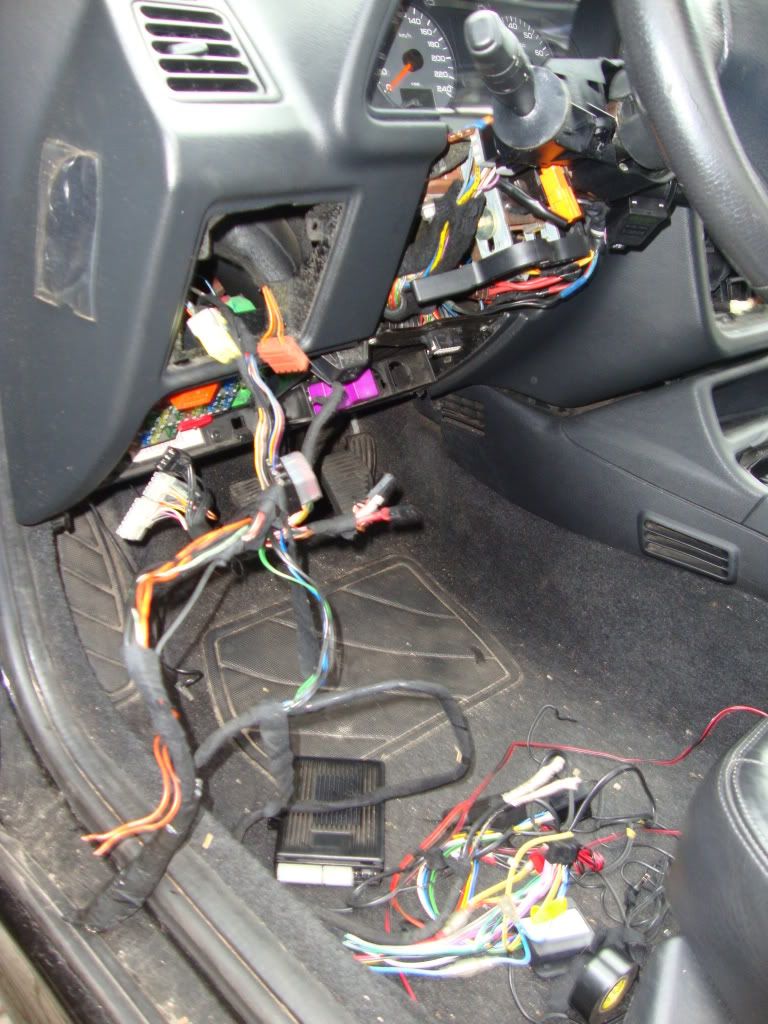
However, this is when i noticed that one of the previous owners had installed an aftermarket alarm system which left me with this:


Another thing is that he put a fuse in the airbag cable Blink After a quick search on the net i found some pics of this car in it's former glory and i noticed that he had put an aftermarket steering wheel with one of those snap off systems which explains the fuse.
Posted 27th Jun 2011 at 23:39
davedgti6

Seasoned Pro

Location: whiston, prescot

Registered: 28 May 2006

Posts: 1,651

Status: Offline

Post #9
Looks ok that, rust not too bad at all in the engine compartment, certainly better than mine and I thought mine was quite good, as for the cradle ask Daveyboy on here he is the expert

________________________________________

Team Supercharged Gti-6 Ninja
Posted 27th Jun 2011 at 23:49
prism7guy

Seasoned Pro

Location: DoncastAAAAARGH

Registered: 13 Jan 2008

Posts: 4,640

Status: Offline

Post #10
The A/C pipes look different to the RHD ones that i've seen so you may have some trouble sourcing 2nd hand ones from off here.

I think i saw a nissens rad with a bottom hose in the parts for sale on here earlier today, cant remember the seller but it was about £60 for them and they werent old at all from memory.
Hope thats some use, they may well have sold by now though mate.

________________________________________

Goldie the track car.
Posted 27th Jun 2011 at 23:52
marco gti6

Seasoned Pro

Location: Troisvierges

Registered: 09 Mar 2009

Posts: 1,350

Status: Offline

Post #11
I then grabed the black PH3 pllars i had bought on here to put them on. Can anyone tell me how to remove the front belt pillars without breaking the levers Dry As one of them got ripped out and broken by some other morron of mate


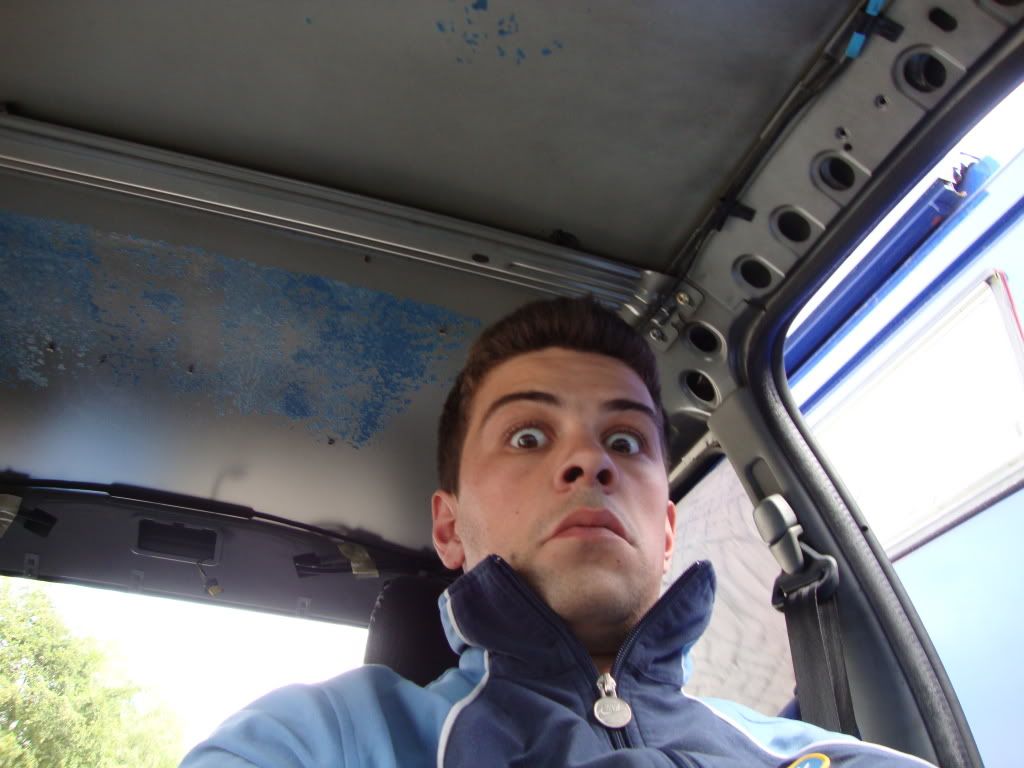
And this picture of me pretty much describes the way i feel at the moment...
Since i started the work on this car i made sure to meticulously label all nuts and screws to know where everything came from. But by now i feel like this is way too much for me when i see parts and screws in the corner of the garage. I am no mechanic but i consider myself technicaly minded and up to the job but right now i don't know what to do next..... what a first project, but i think this is normalor isn't it fellas Unsure

Posted 27th Jun 2011 at 23:53
daveyboy

aka Jim Davey

Location: Southampton

Registered: 01 Oct 2007

Posts: 8,648

Status: Offline

Post #12
marco gti6 wrote:
Here is a quick one for the pros:

Does the engine mount look like its about to crack?? Unsure


Yes Marco, definitely cracked.

________________________________________

R H Davey Welding Supplies. I sell new and used welding equipment in the Hampshire area. I take on welding jobs in the evenings, ally casting repairs are one of my specialities but I can weld pretty much anything. PM me with your requirements.

Some of my services: (See my for sale threads)
Engine mount/chassis repair
Solid Beam Mounts BACK IN PRODUCTION
Harness bars
Posted 29th Jun 2011 at 18:06
poogiepug1

Seasoned Pro

Location: Dover

Registered: 24 Nov 2004

Posts: 1,666

Status: Offline

Post #13
Good one Marco. Enjoyed reading that and will look forward to the finished resultThumbs up

________________________________________


Posted 30th Jun 2011 at 00:40
marco gti6

Seasoned Pro

Location: Troisvierges

Registered: 09 Mar 2009

Posts: 1,350

Status: Offline

Post #14
daveyboy wrote:
marco gti6 wrote:
Here is a quick one for the pros:

Does the engine mount look like its about to crack?? Unsure


Yes Marco, definitely cracked.


Do you think there is an alternative to drill out the cradle and weld a new one in? As it is only a single straight small crack?

The problem i can't think of anyone able to weld in a new one properly Unsure
Posted 30th Jun 2011 at 02:23
daveyboy

aka Jim Davey

Location: Southampton

Registered: 01 Oct 2007

Posts: 8,648

Status: Offline

Post #15
marco gti6 wrote:
daveyboy wrote:
marco gti6 wrote:
Here is a quick one for the pros:

Does the engine mount look like its about to crack?? Unsure


Yes Marco, definitely cracked.


Do you think there is an alternative to drill out the cradle and weld a new one in? As it is only a single straight small crack?

The problem i can't think of anyone able to weld in a new one properly Unsure


Alternatively gring/drill out the crack and weld repair it, I saw a 195 amp set in one of the pics so I know you have the tools dfor the job. Just look at my chassis repair thread and add some of the mount chocks either side of the cup while you're at it. The mount is'nt in bad shape at all, if you repaair it right, then grind off the welds flush and add the chocks, it won't crack again Smile

________________________________________

R H Davey Welding Supplies. I sell new and used welding equipment in the Hampshire area. I take on welding jobs in the evenings, ally casting repairs are one of my specialities but I can weld pretty much anything. PM me with your requirements.

Some of my services: (See my for sale threads)
Engine mount/chassis repair
Solid Beam Mounts BACK IN PRODUCTION
Harness bars
Posted 30th Jun 2011 at 02:29
marco gti6

Seasoned Pro

Location: Troisvierges

Registered: 09 Mar 2009

Posts: 1,350

Status: Offline

Post #16
Thanks for this valuable advice daveyboy Thumbs up much apreciated
Posted 30th Jun 2011 at 02:33
daveyboy

aka Jim Davey

Location: Southampton

Registered: 01 Oct 2007

Posts: 8,648

Status: Offline

Post #17
marco gti6 wrote:
Thanks for this valuable advice daveyboy Thumbs up much apreciated


Best way to stop the cracks is to drill the ends with a 4mm drill, the countersink, and grind a 'V-prep' in the crack itself nearly all the way through to the bottom of the crack(about 3-3.5mm) that way when you weld it you will get good penetration instead of the weld sitting uselesley on top leaving no strength at all once you grind it flat. Hope this makes sense? Do a test piece on a piece on some metal the same thickness first, that way you can adjust if it's too hot/cold. A die grinder with a tungsten carbide burr is really the ideal tool for veeing out the cracks by the way.

________________________________________

R H Davey Welding Supplies. I sell new and used welding equipment in the Hampshire area. I take on welding jobs in the evenings, ally casting repairs are one of my specialities but I can weld pretty much anything. PM me with your requirements.

Some of my services: (See my for sale threads)
Engine mount/chassis repair
Solid Beam Mounts BACK IN PRODUCTION
Harness bars
Posted 30th Jun 2011 at 03:32
marco gti6

Seasoned Pro

Location: Troisvierges

Registered: 09 Mar 2009

Posts: 1,350

Status: Offline

Post #18
Ok mate i'll have a chat with the person i think is going to do the job and forward your advice Wink
Posted 30th Jun 2011 at 03:13
matt evans

Seasoned Pro

Location: Stourbridge

Registered: 16 Sep 2009

Posts: 2,290

Status: Offline

Post #19
Looks like you are making impressive progress Marco.

Good sound advice from Daveyboy as well. Someone who obviously knows his stuff.

I cant get over how mint your passanger seat is.... It would lovely as my Drivers seat in mine..... LOL

________________________________________

1999 Astor Grey GTi-6 OEM+ (now gone...)
2004 Aegean Blue 206 GTi 180 (also gone...)
2006 Skoda Fabia vRS in Sprint Yellow

honestly3k wrote:
Do you wrestle for a living matt? You sound like a monster LOL


owain wrote:
Nothing involving a 306 can be considered worthwhile.

Posted 1st Jul 2011 at 14:56
marco gti6

Seasoned Pro

Location: Troisvierges

Registered: 09 Mar 2009

Posts: 1,350

Status: Offline

Post #20
matt evans wrote:
Looks like you are making impressive progress Marco.

Good sound advice from Daveyboy as well. Someone who obviously knows his stuff.

I cant get over how mint your passanger seat is.... It would lovely as my Drivers seat in mine..... LOL


I will be putting my Recaro's in the front so i don't know yet what i am going to do with both front seats. How was your trip to Spa Francorchamps actually Matt?
Posted 1st Jul 2011 at 15:26
matt evans

Seasoned Pro

Location: Stourbridge

Registered: 16 Sep 2009

Posts: 2,290

Status: Offline

Post #21
marco gti6 wrote:
matt evans wrote:
Looks like you are making impressive progress Marco.

Good sound advice from Daveyboy as well. Someone who obviously knows his stuff.

I cant get over how mint your passanger seat is.... It would lovely as my Drivers seat in mine..... LOL


I will be putting my Recaro's in the front so i don't know yet what i am going to do with both front seats. How was your trip to Spa Francorchamps actually Matt?


We go to Spa on the 17th of July!! Cant wait. You ought to pop down and say hi.

________________________________________

1999 Astor Grey GTi-6 OEM+ (now gone...)
2004 Aegean Blue 206 GTi 180 (also gone...)
2006 Skoda Fabia vRS in Sprint Yellow

honestly3k wrote:
Do you wrestle for a living matt? You sound like a monster LOL


owain wrote:
Nothing involving a 306 can be considered worthwhile.

Posted 1st Jul 2011 at 18:03
marco gti6

Seasoned Pro

Location: Troisvierges

Registered: 09 Mar 2009

Posts: 1,350

Status: Offline

Post #22
matt evans wrote:
marco gti6 wrote:
matt evans wrote:
Looks like you are making impressive progress Marco.

Good sound advice from Daveyboy as well. Someone who obviously knows his stuff.

I cant get over how mint your passanger seat is.... It would lovely as my Drivers seat in mine..... LOL


I will be putting my Recaro's in the front so i don't know yet what i am going to do with both front seats. How was your trip to Spa Francorchamps actually Matt?


We go to Spa on the 17th of July!! Cant wait. You ought to pop down and say hi.


If the 6 is back on the road by then Wink
Posted 1st Jul 2011 at 18:05
marco gti6

Seasoned Pro

Location: Troisvierges

Registered: 09 Mar 2009

Posts: 1,350

Status: Offline

Post #23
Sooooooo good to be back!!! Update on the way

Sneak preview: Cool


Posted 8th Sep 2011 at 21:50
marco gti6

Seasoned Pro

Location: Troisvierges

Registered: 09 Mar 2009

Posts: 1,350

Status: Offline

Post #24
Update!!

So while the forum was offline there has been a lot of work carried out on my new 6. The car is now running and also passed the MOT without a single problem, which is very good for an old french car from 1997 that has standed nearly 2 years outside.

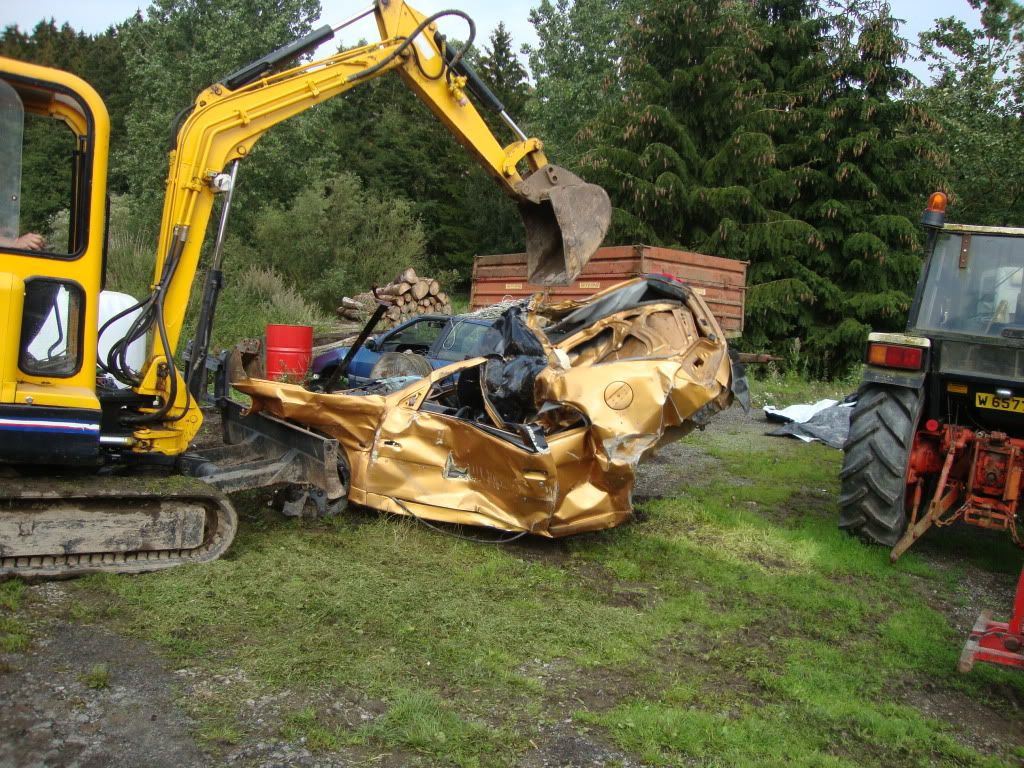
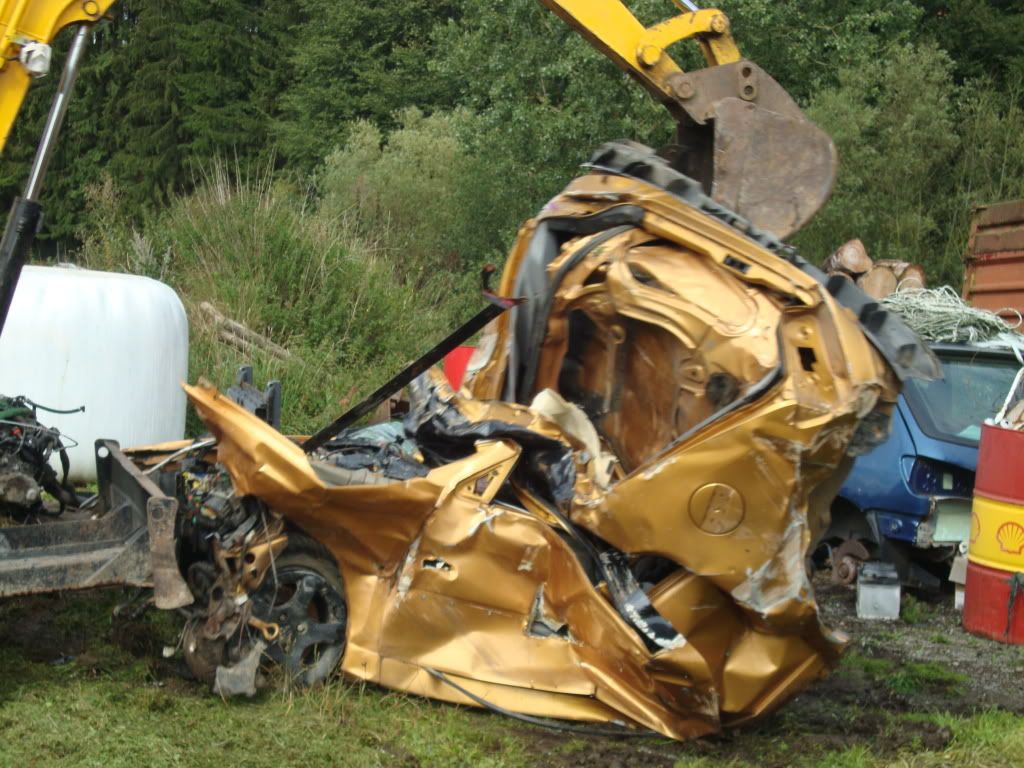
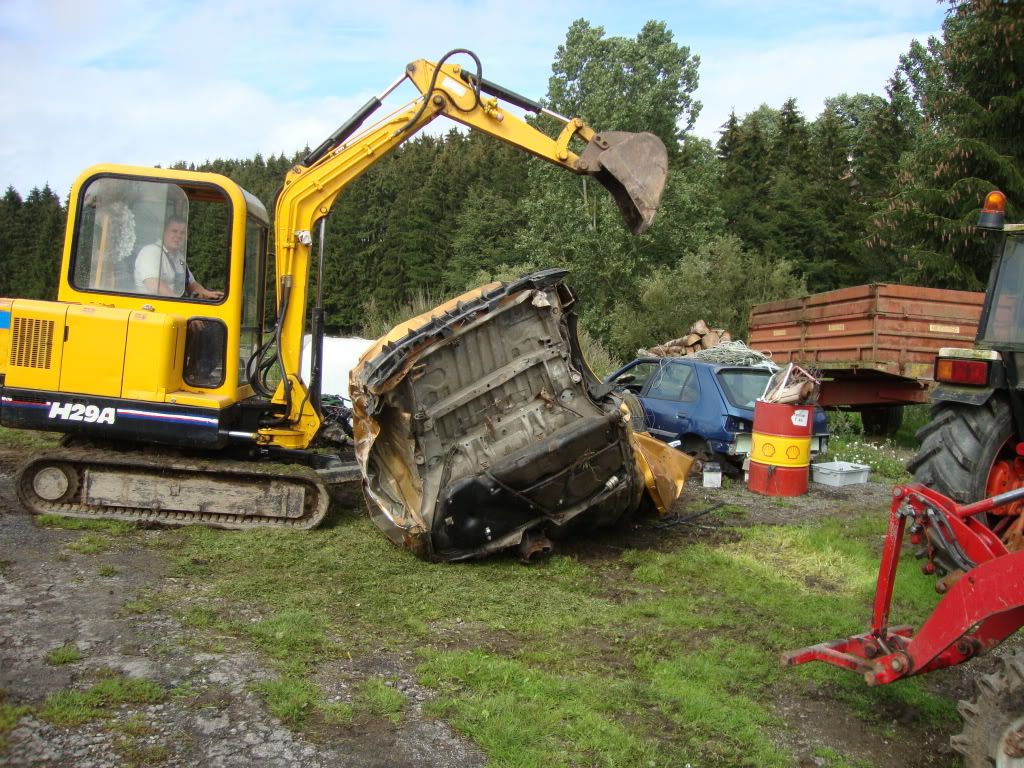
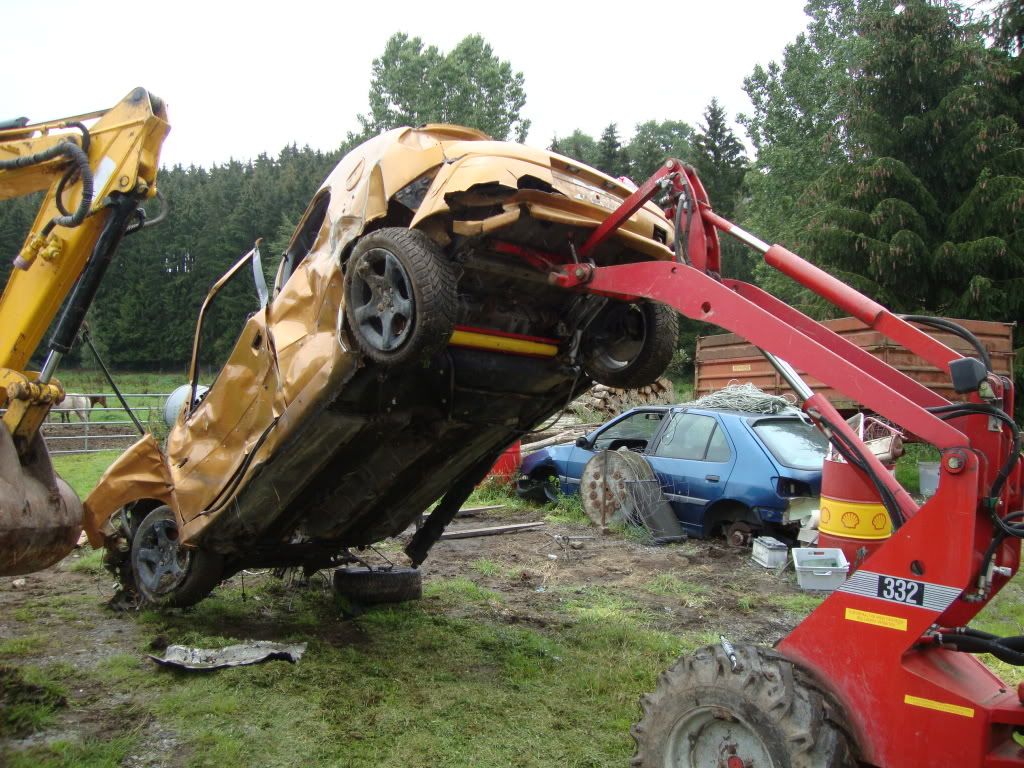
SO where to start, after preparing the shell of the black one to drop in the parts from my diabolo we sat about breaking my brothers blaze 6 for anything that could be still of use after he had binned it the same weekend i got mine written off.

WARNING! THE FOLLOWING PICTURES MAY CONTAIN PAINFUL IMAGES FOR GTI6 & RALLYE ENTHUSIASTS Sad

My brother now being part of the dark side and driving a Golf MK3 GT TDI EDITION 110 bhp, he and the Mate where the car had stood who also is a VAG fool (Audi RS4, Golf VR6 etc.) were delighted to rip apart what was left from the once so nice looking blaze 6. All i could do was look and feel sorry for the old 6 Cry

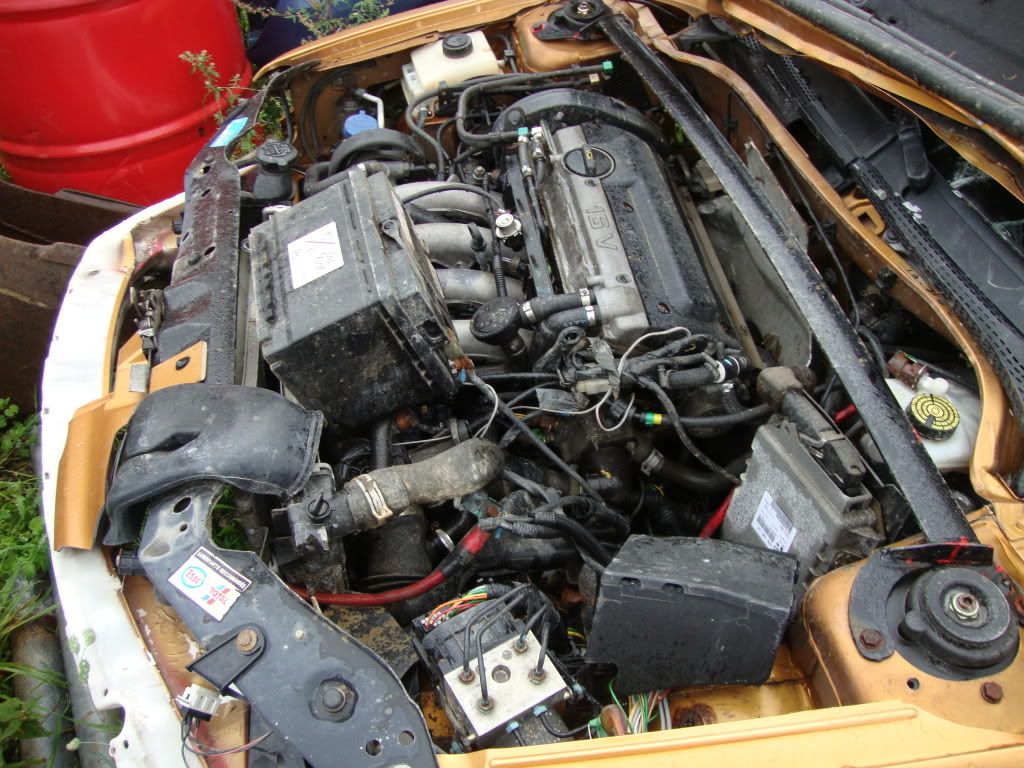
This is how the car looked when we got there, obviously it had already served as some sort of anger management item to someone as the hood was not open after the crash
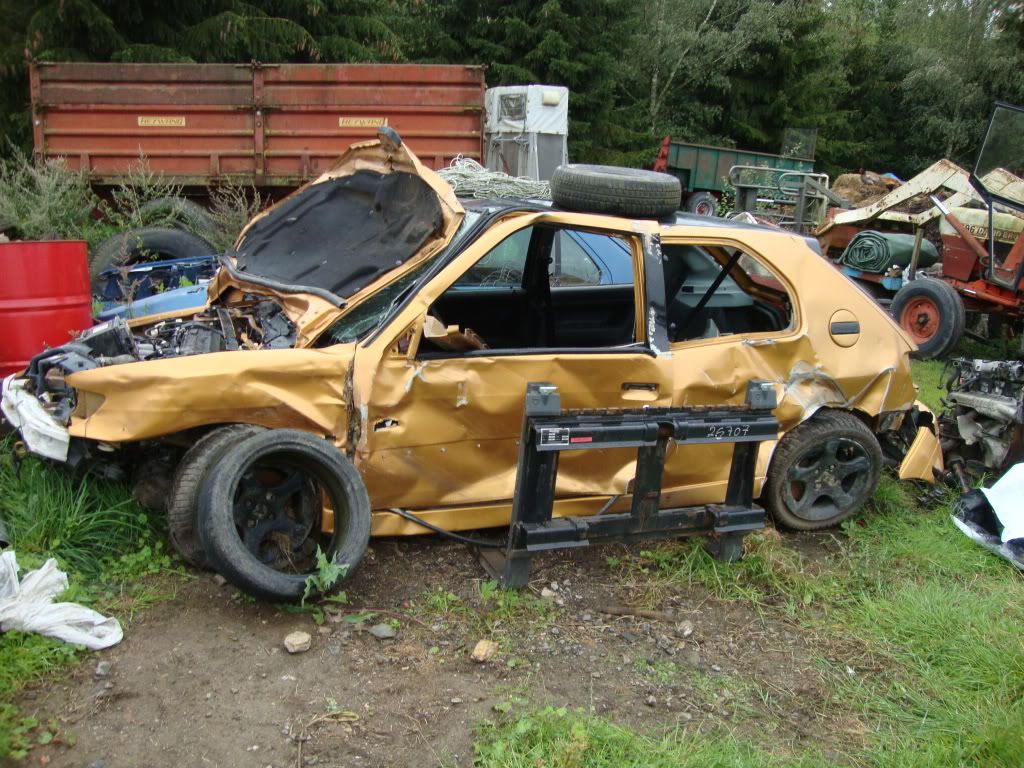
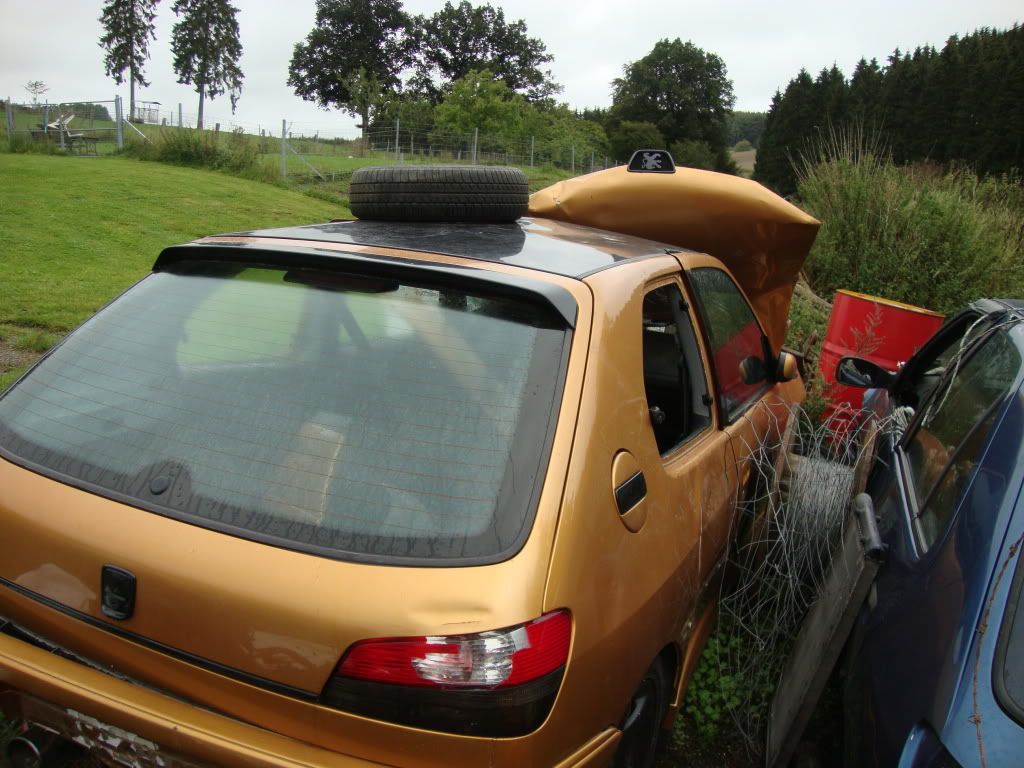


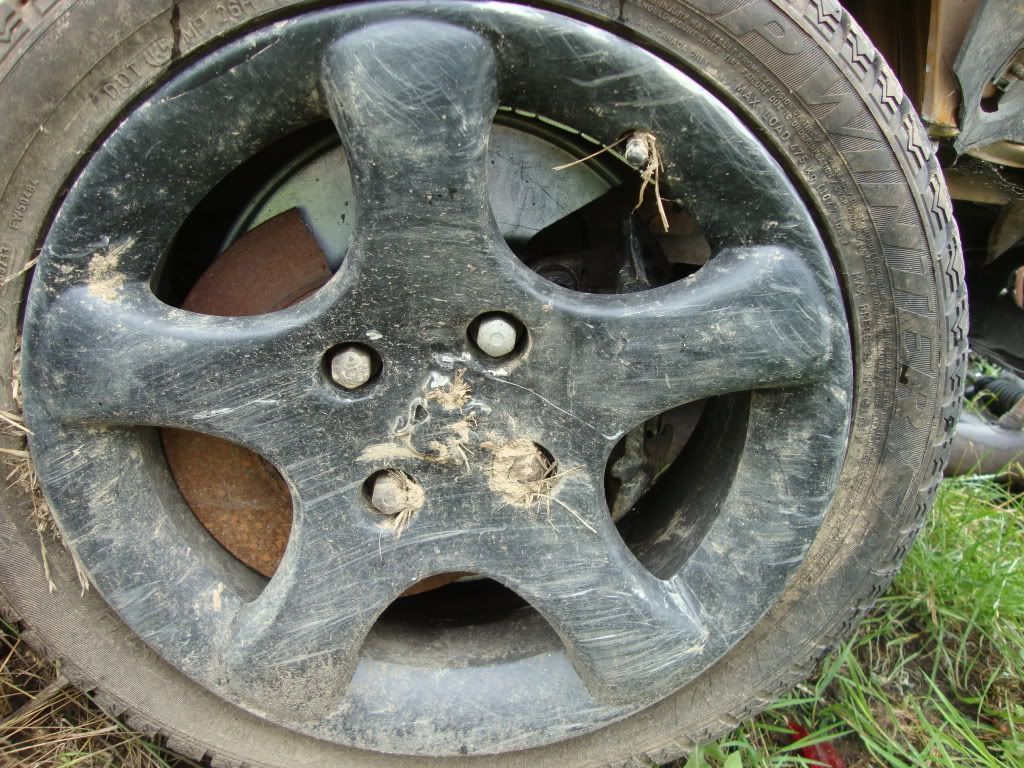
broken brake disk

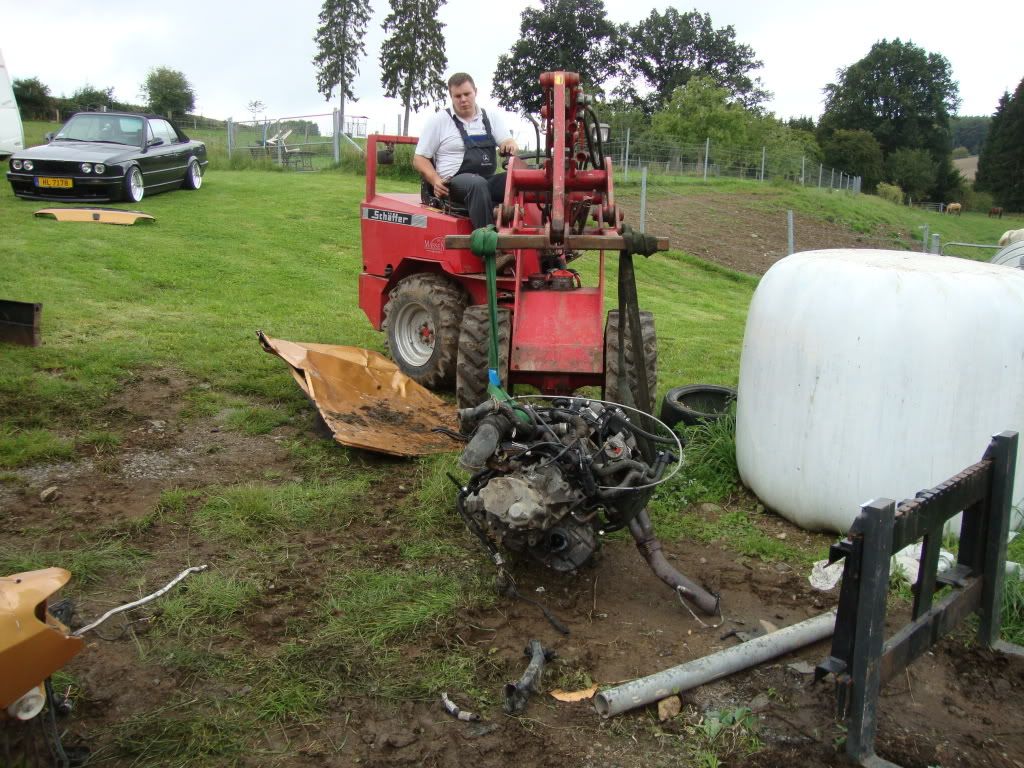
I took the engine out with gearbox, the rear beam, 2 cyclones with neaarly new winter tyres and some other smal pieces
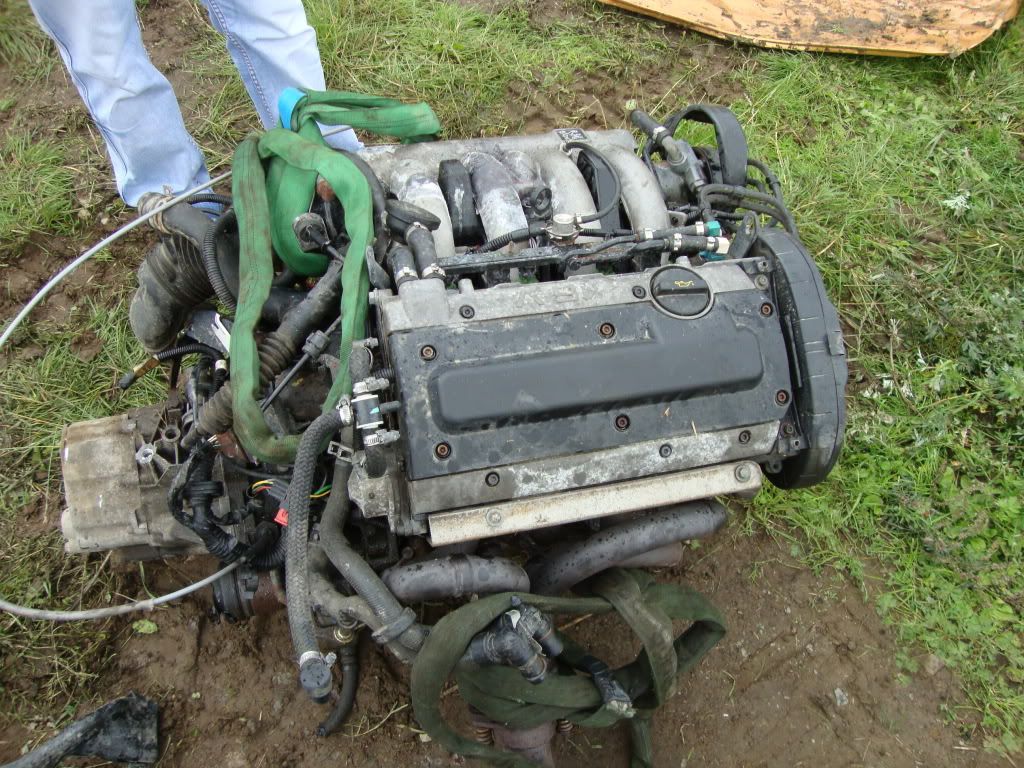


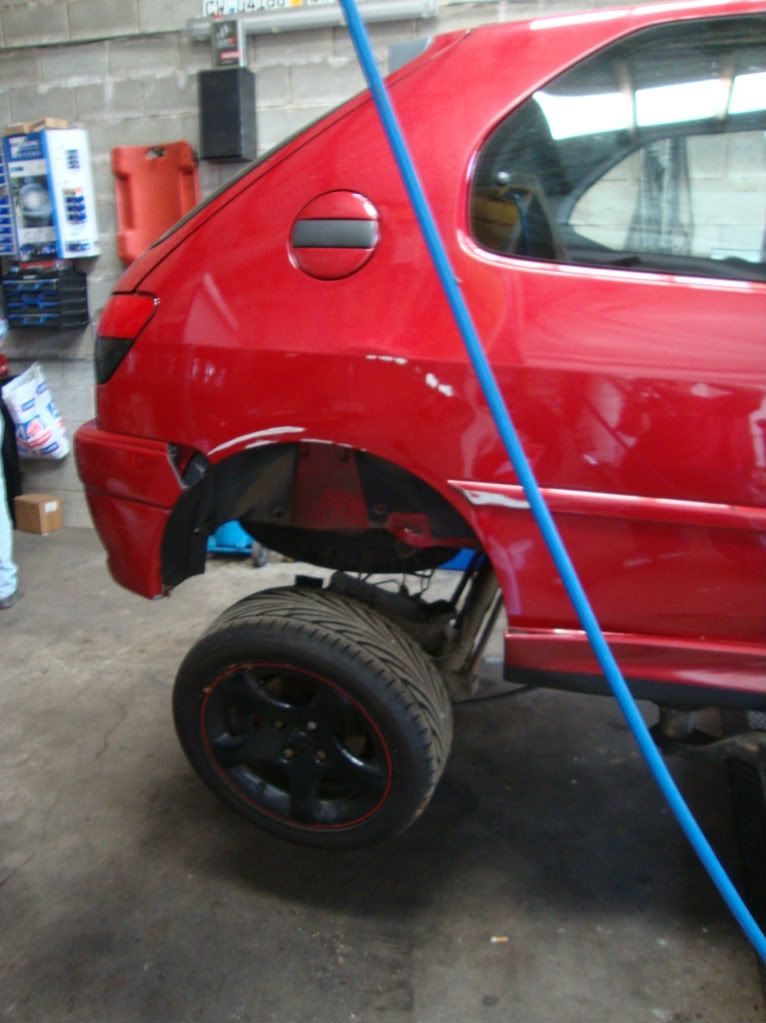
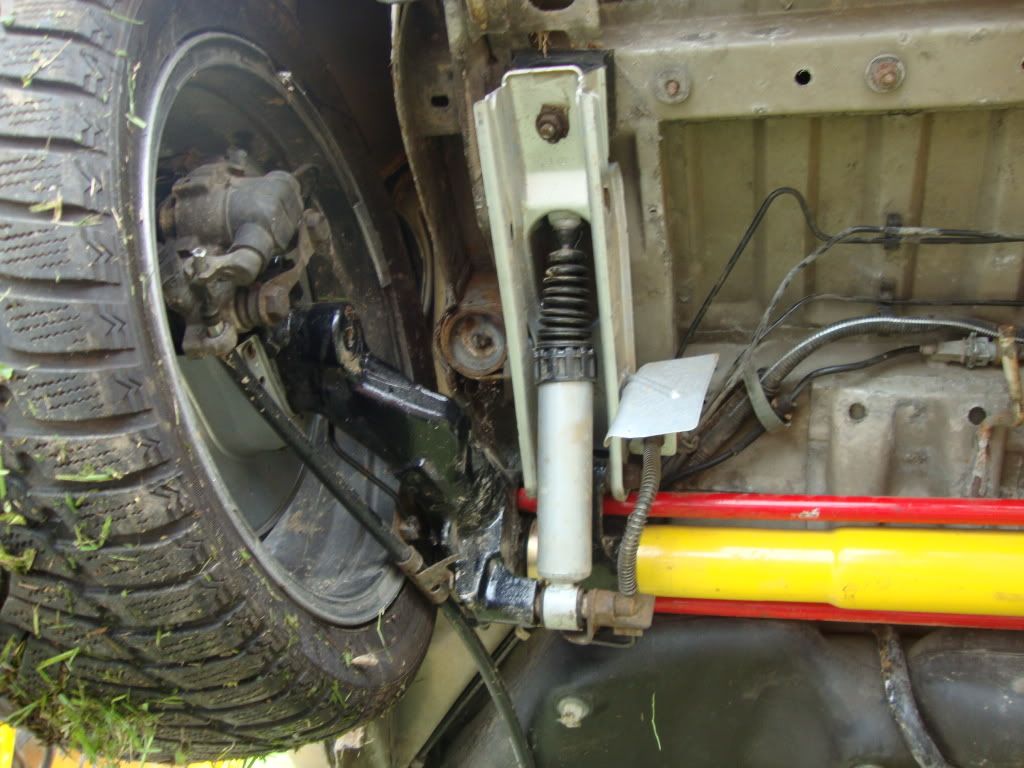
Freshly rebuilt rear beam by Carl (Aka MechRepairs) I drove the whole way to Folkstone to get this and my Recaro recliners just so my little twat of brother could demolish it a few weeks later. Dunno


We had to replace this trailing arm with one from the old beam that was on the black 6 as it was too much bent.
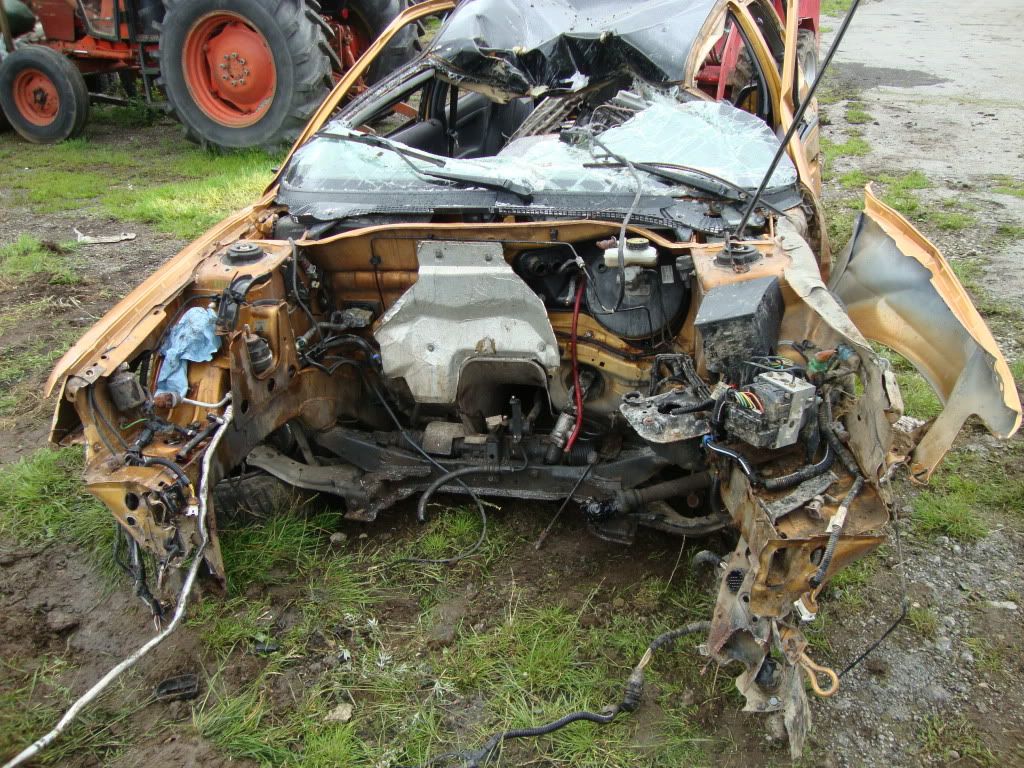


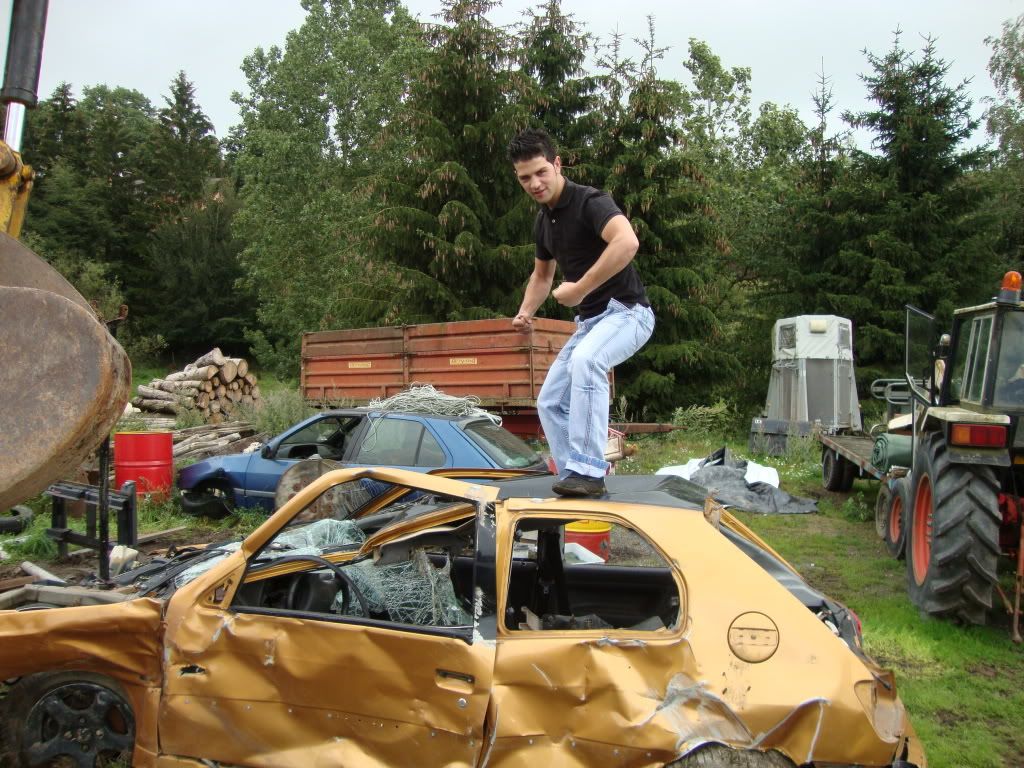
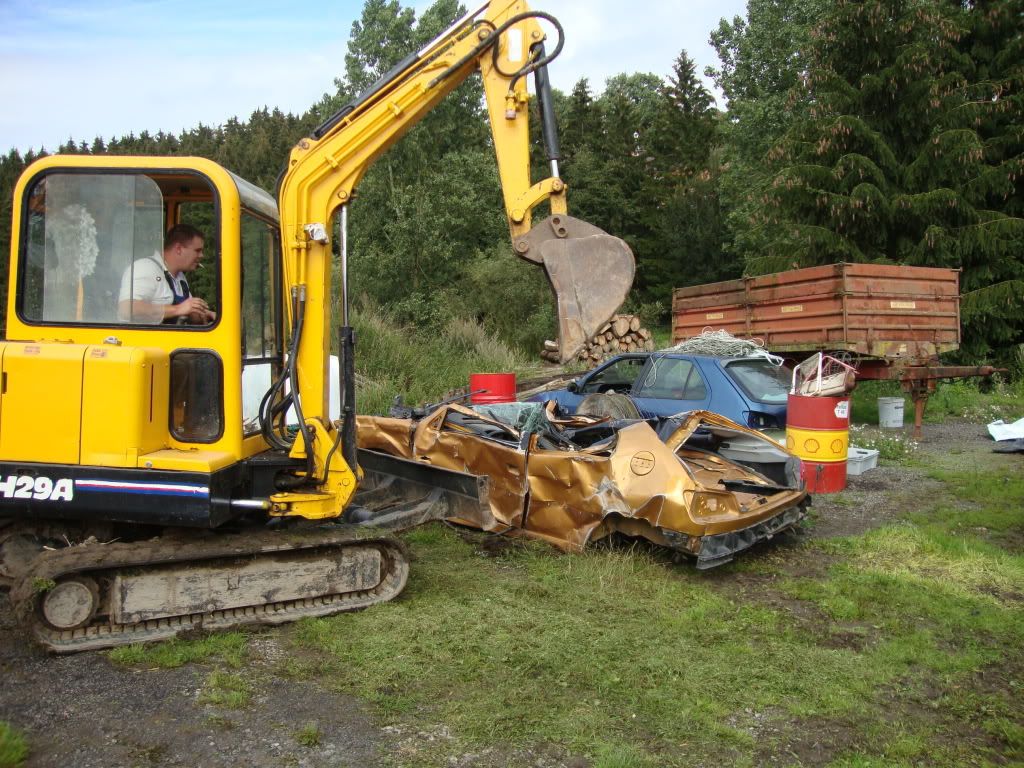
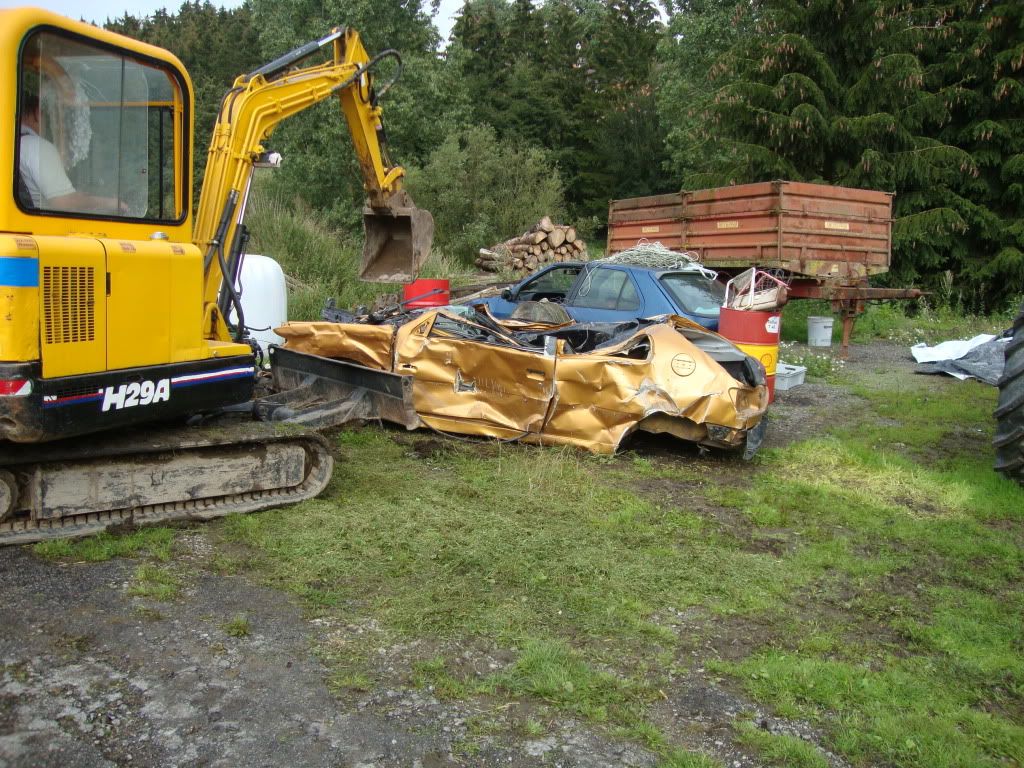
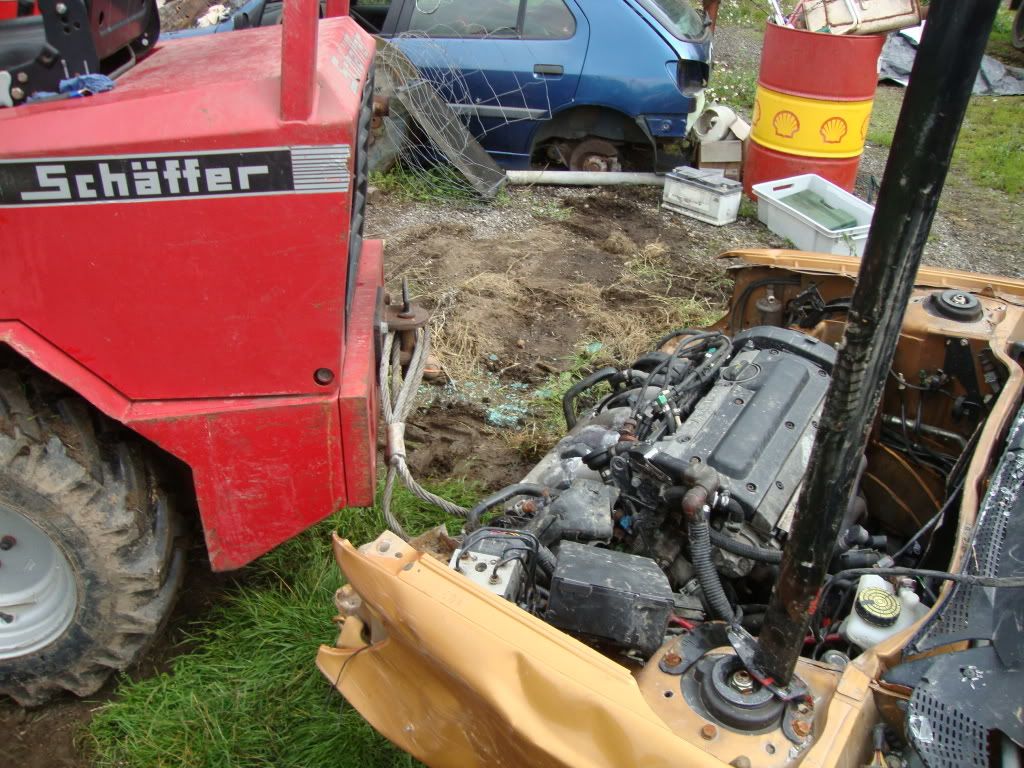
After those parts were retrieved and put aside both of the VAG twats started to abuse the remains of the 6. I insist on telling you people that i did not find this funny or cool but that i watched this with a certain pain. So here goes...

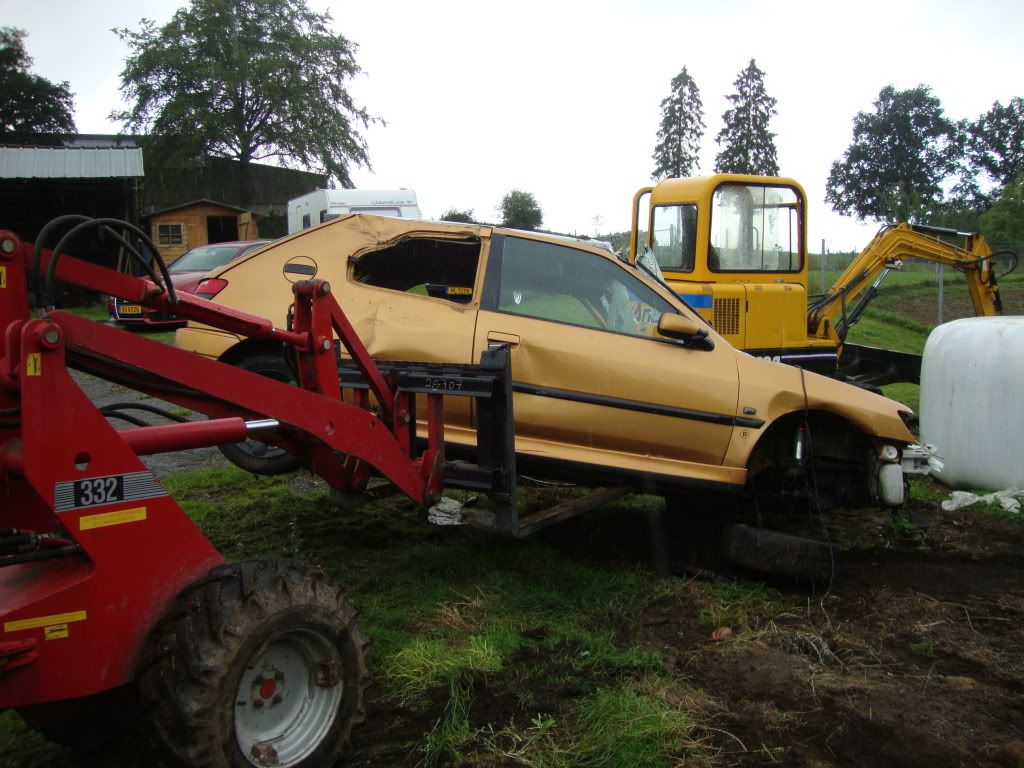
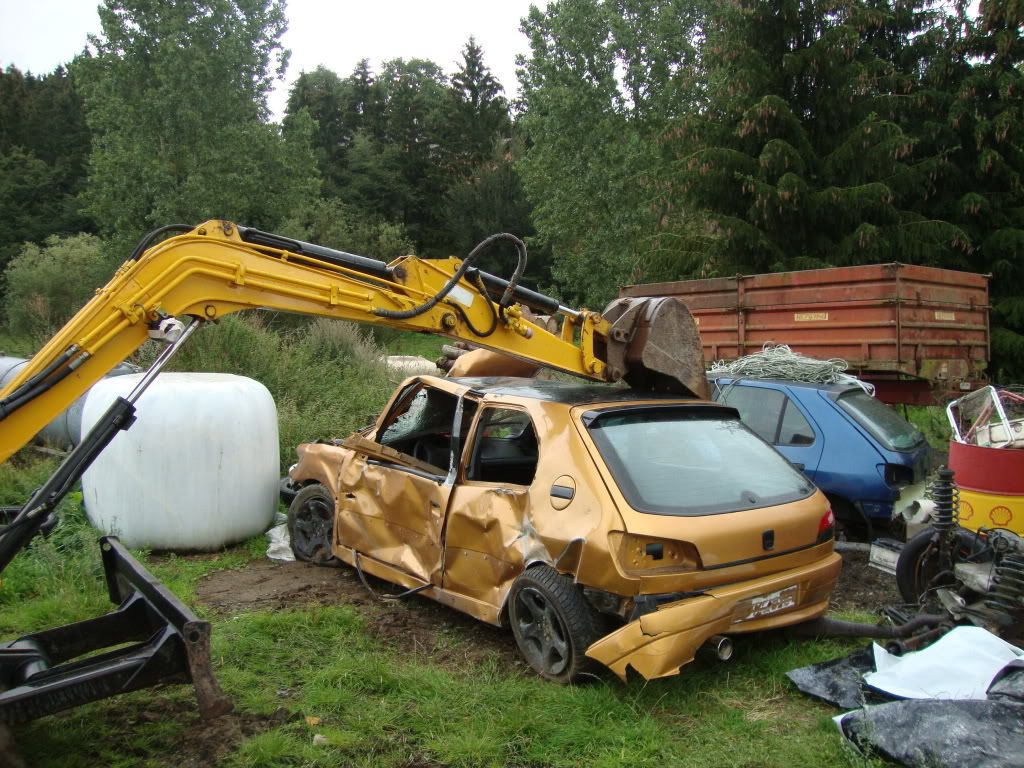
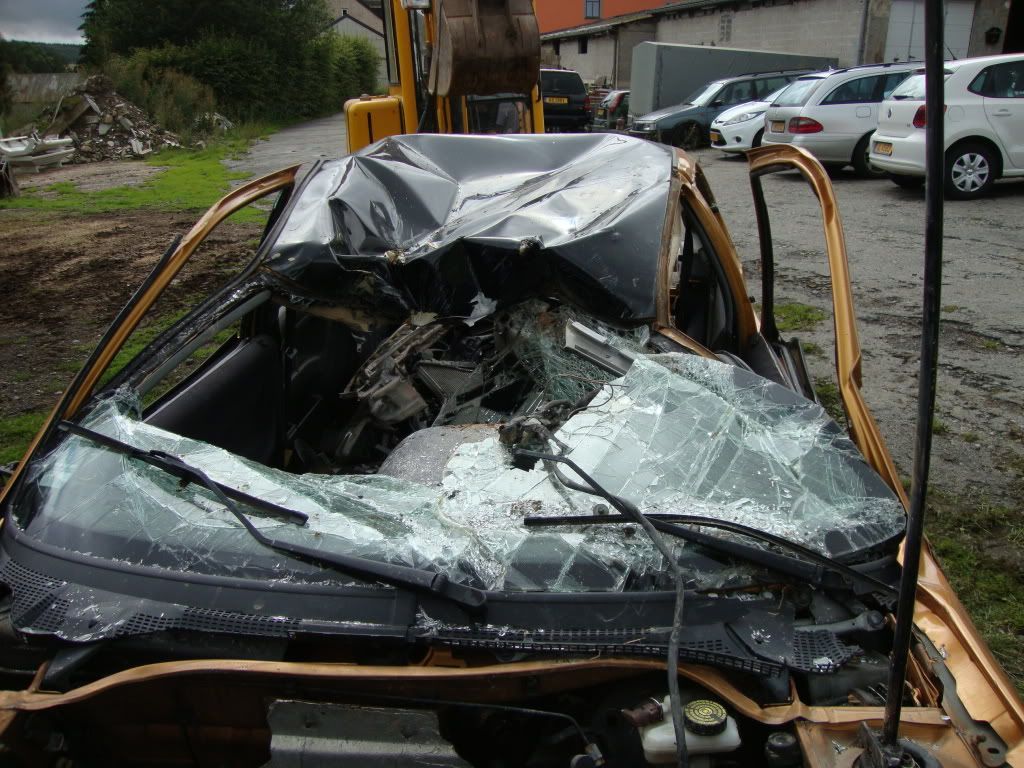


What a dickhead Thumbs down


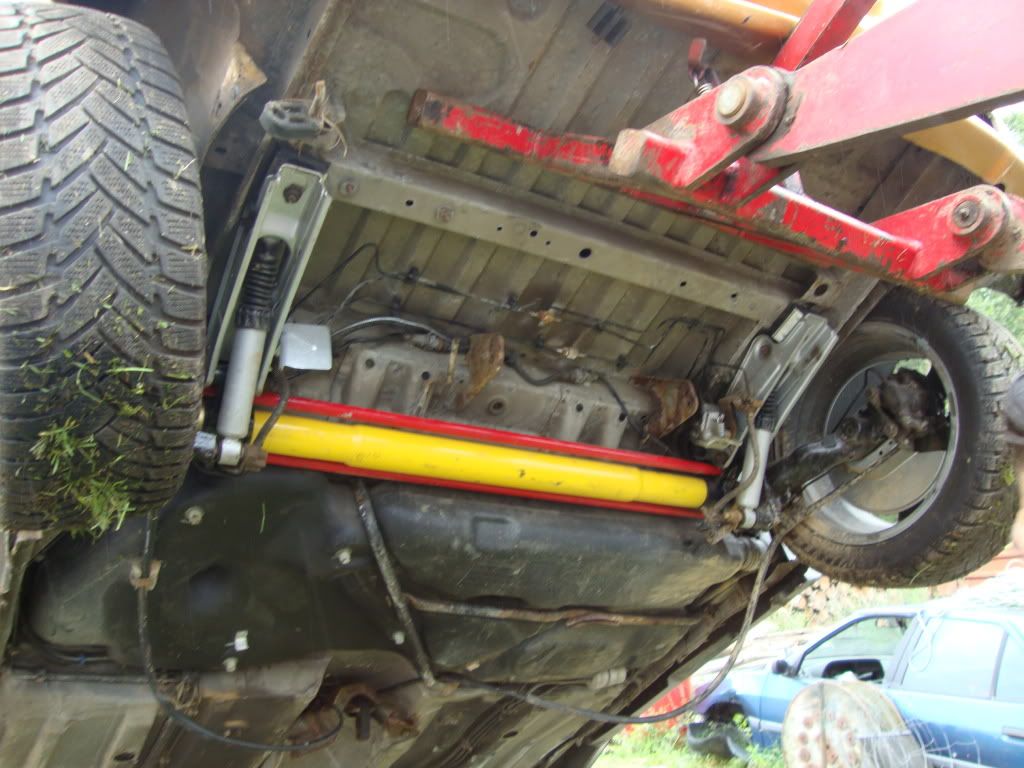
After this sad day, we then got my diabolo 6 on the....... Hebebühne (sorry Fellas don't remember the the English name for this) to extract the engine and gearbox from it to put it in the black one.

Notice how bad the rear beam has been hit Sad And someone come tell me that she was driving 50km/h Angry


Me and my mechanic/nurse mate


Engine out ready to be dropped in
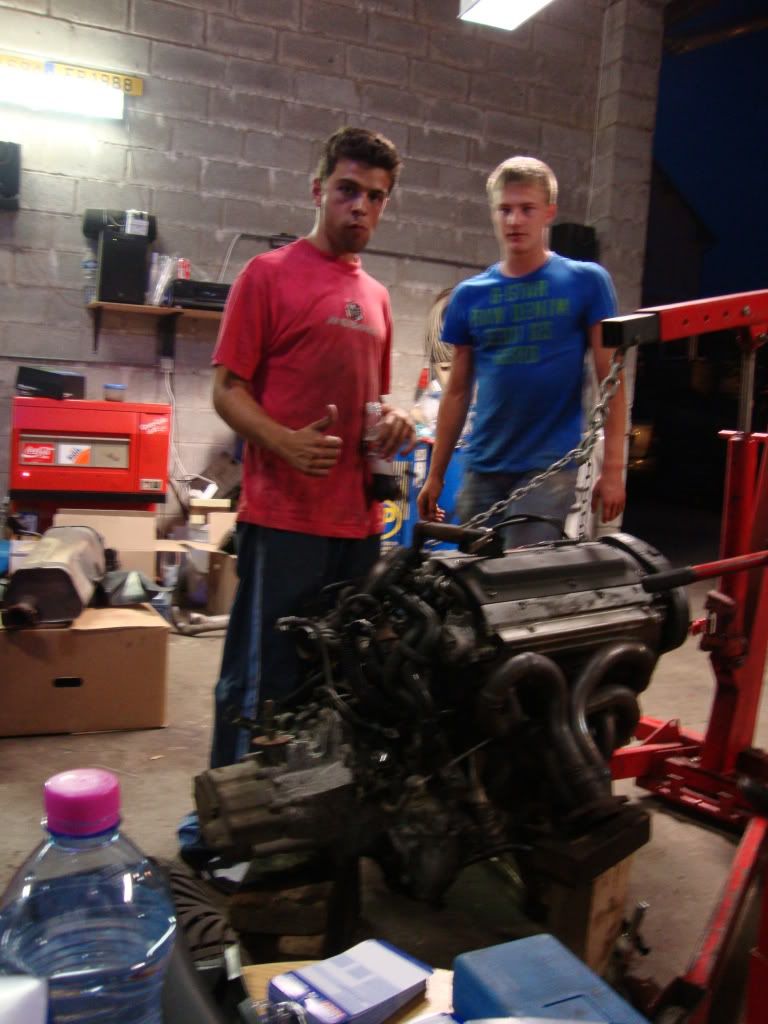

Black 6 ready for transplant

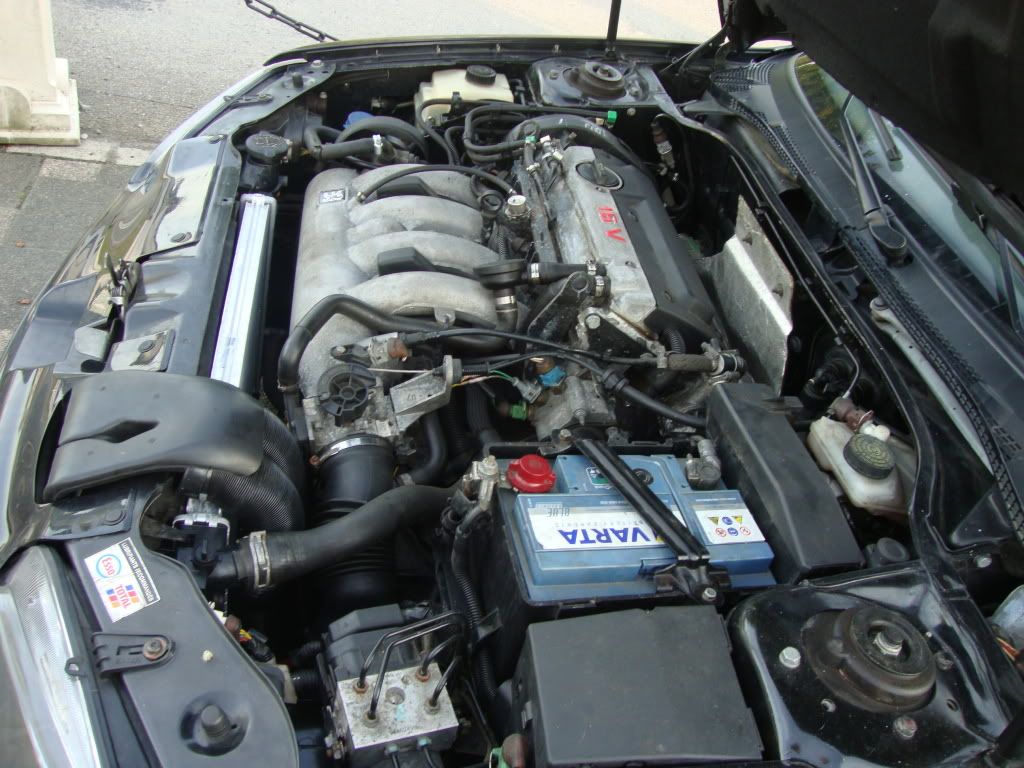
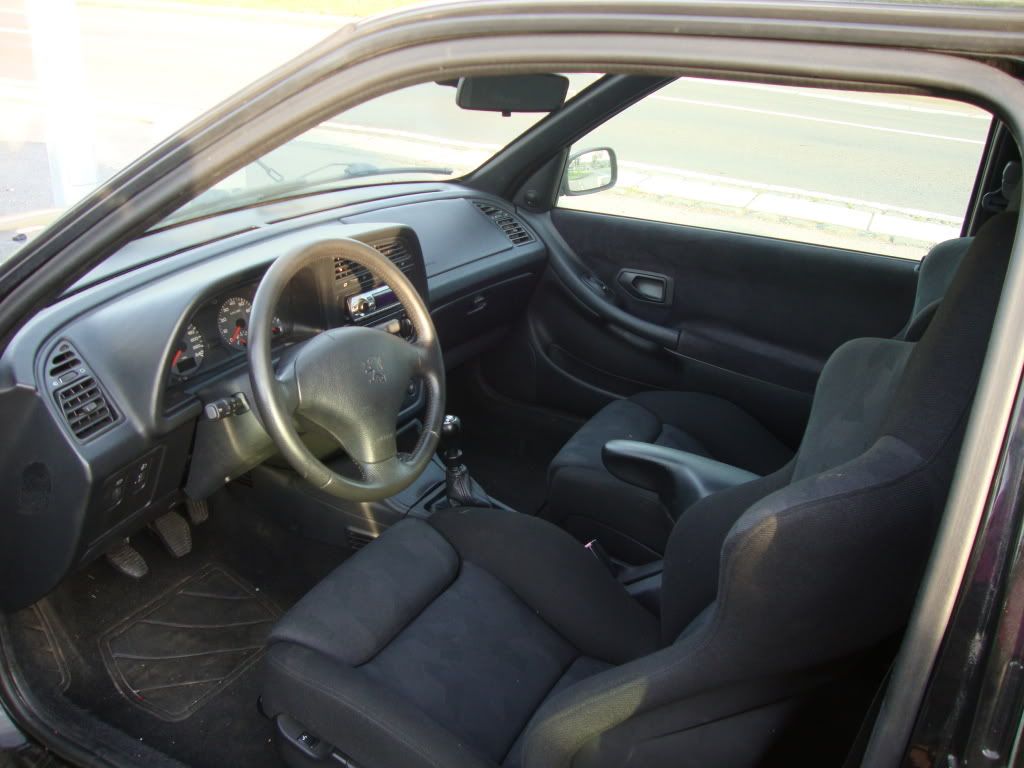
Unfortunately I have no more pictures of the engine transplant, but it was a b*tch of a Job in general as I had to swap all the locks as well as the ignition from my diablo to the black one because of just having 1 key from the black one. We also swapped my brakes and suspension, the new rear beam of my brothers blaze after changing the knackered trailing arm, I also changed the drivers side window motor as when i pushed the buttons they always worked the other way around so when pushing down the window went up and vice versa. It turned out the motor had already been changed at some point as the connector was not the same as the one on my blaze. Furthermore I dyed the ceiling black and put some PH3 black A,B,C pillars together with my Recaros.

For the rest we put new mounts all around (GBmount, lower engine mount, engine mount, and i made a mount choke out of a Powerflex thingi that are used to put inside the rear beam mounts after the cradle had been repaired. I'll get a pic of this later. New oils and filters, waterpump, cambelt and tensioners, no more A/C which i allreday regret as this summer was quite warm but maybe i'll get a new one when funds alow to. And a new Nissens Rad which was a pain in the Ass to sort out ass we ordered 4 different ones and none seemed to fit. In the end we simply swaped the lower hose with the one that was on my brother's 6 which was one of the quick fit ones and used the first rad that had been send to us.

Basicly i think we did a good job, specially when i keep in mind that the budget was very tight as i still haven't heard anything from the insurance company who ought to give me 3 k.
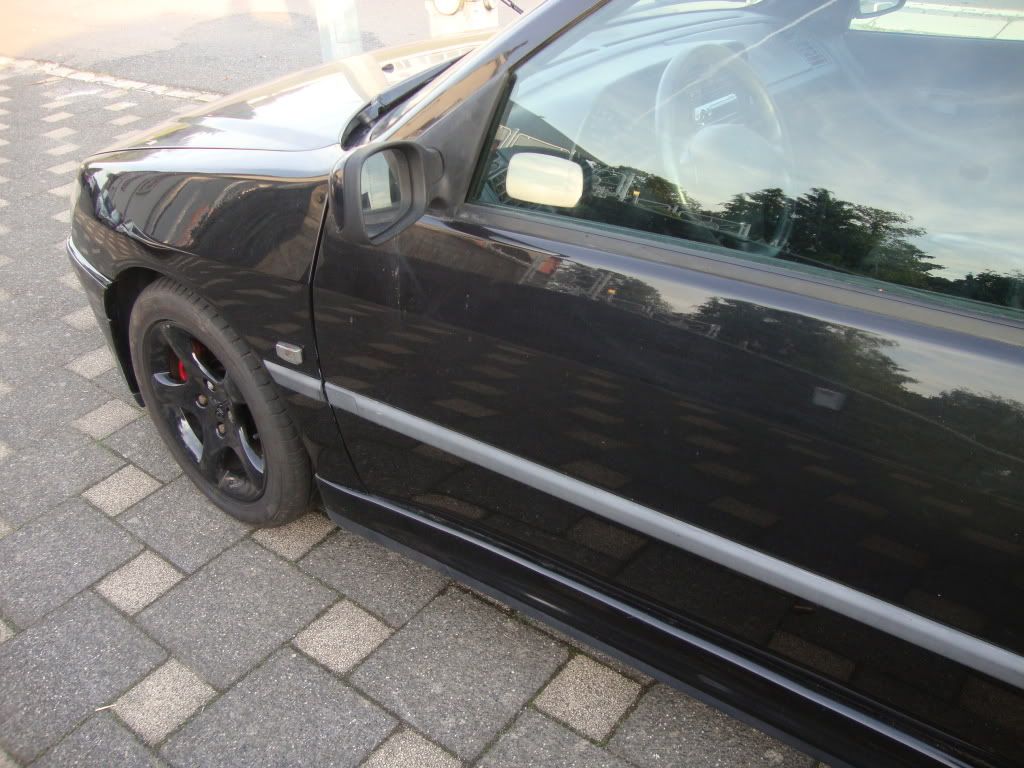
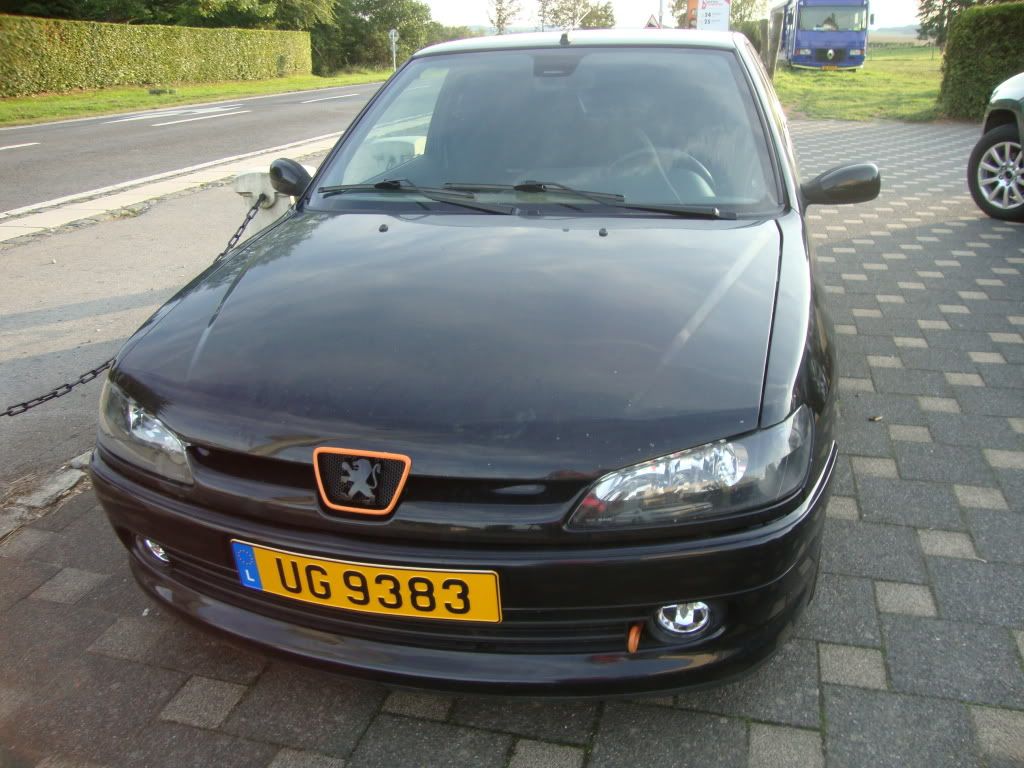
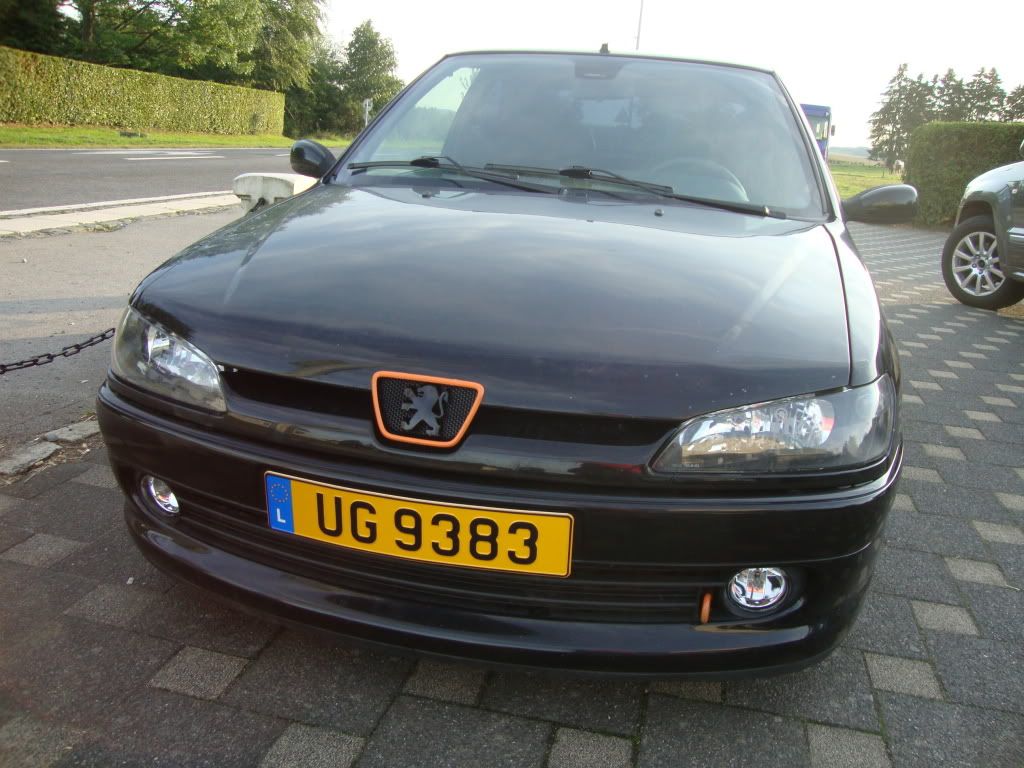
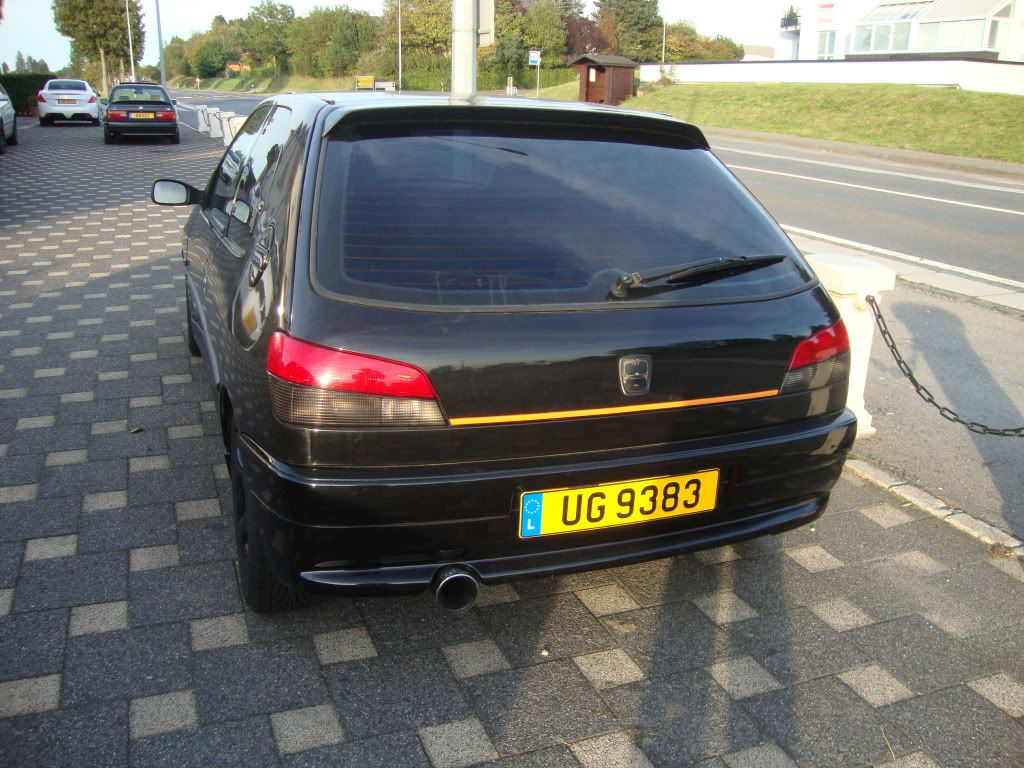
Here some pictures of my finished black GTI6. Finished might be a tad too optimistic as there still so much things to do and improve but at least it's back on the road right. I'll keep updating this as time goes. Once i get my job i'll update this thread with the new set of wheels i'm aiming at, some nice Megane sport Brembo's with Ash's 310mm kit and who knows a cheeky Low boost setup by Lynx Cool Cool Cool Cool


Comment are welcome and thank you for reading this Thumbs up


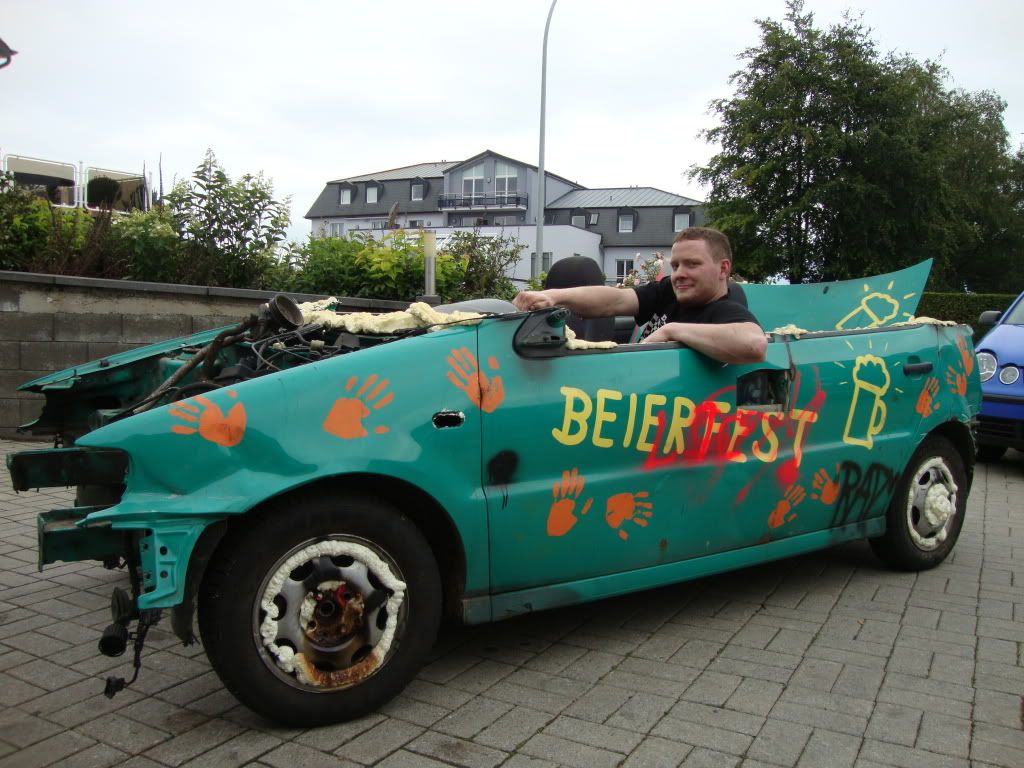
Oops ..... that's not my car just a polo we broke for a mate who's engine exploded.... bloody 1.0 engines Thumbs down
Posted 16th Sep 2011 at 11:08
monkeyman

Seasoned Pro

Location: Sunny St Albans

Registered: 01 Oct 2008

Posts: 1,955

Status: Offline

Post #25
Lots of work there, nice job Thumbs up

________________________________________

Spanner Monkeys Monkey Spanner
Forum Search Clicky
Posted 16th Sep 2011 at 16:24

Pages (12): [1] 2 3 .. last

All times are GMT. The time is now 22:22

The Peugeot GTi-6 & Rallye Owners Club - ©2024 all rights reserved.
Please Note: The views and opinions found herein are those of individuals, and not of The Peugeot 306 GTi-6 & Rallye Owners Club or any individuals involved.
No responsibility is taken or assumed for any comments or statements made on, or in relation to, this website. Please see our updated privacy policy.