Post #850
Time for a bit of an update. Had a pretty busy couple of months with the car.
Bought another engine from Ryan, top service and speedy delivery as always.

 20190724_180714
 by
Steve Count, on Flickr
Naturally it ended up in the house whilst i faffed about with it


 20190730_215450
 by
Steve Count, on Flickr
End float was well within tolerance so the thrust bearings stayed in.
 20190801_222817
 by
Steve Count, on Flickr
New big end and main shells were used, the old ones didnt look bad but i decided whilst it was apart i might aswell treat it as it's not going to have an easy life.
 20190802_160944
 by
Steve Count, on Flickr
Not shown in the photos but i used graphogen on any surfaces which would involve movement.
Cleaned all the old oil out of the sump.
 20190802_195112
 by
Steve Count, on Flickr
Going back together.
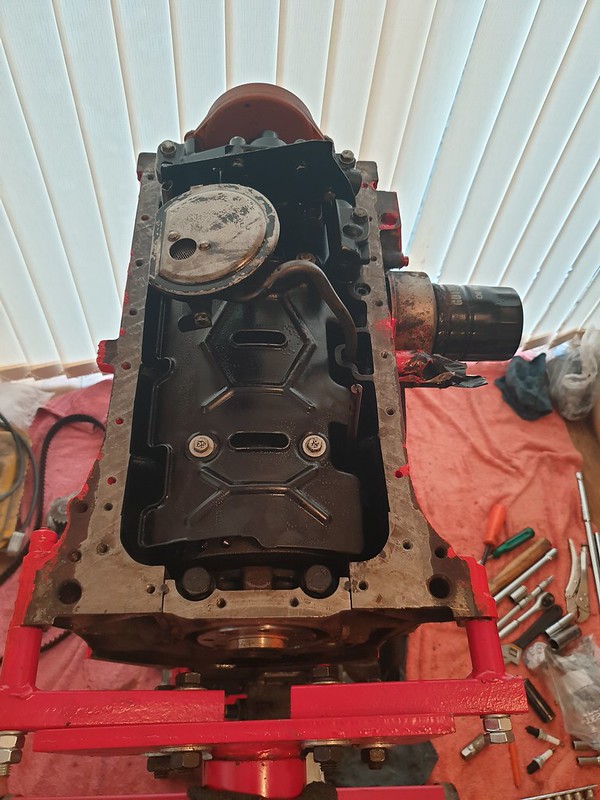 20190802_194140
 by
Steve Count, on Flickr
New water pump and cambelt kit were fitted.
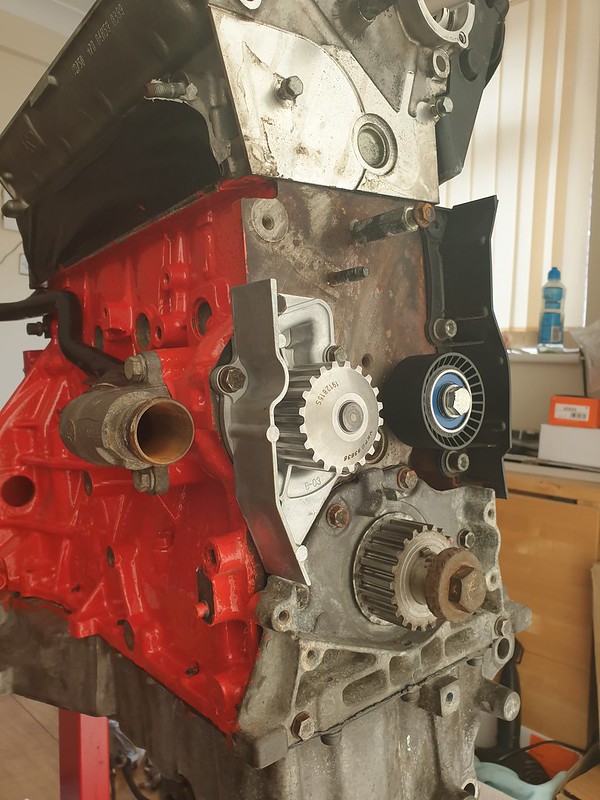 20190803_132019
 by
Steve Count, on Flickr
I didn't take any pictures but all 16 hydraulic lifters were removed, stripped down, cleaned in parts cleaner, built back up with new oil to lubricate them then graphogen used on the sides and top face.
All new gaskets and seals were used throughout.
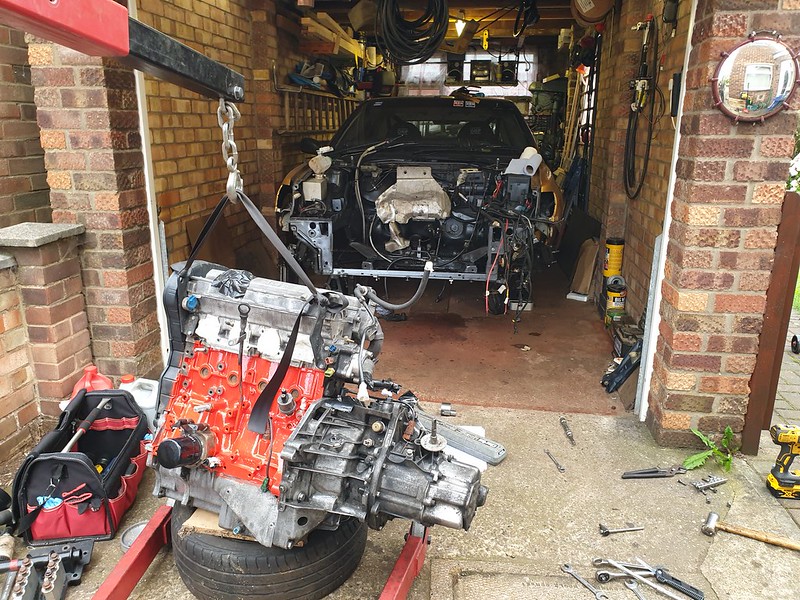
Out with the old, in with the new.
 20190810_182950
 by
Steve Count, on Flickr
 20190810_182956
 by
Steve Count, on Flickr
Since everything was apart i'd decided to fettle several other things that i've not been too happy with recently.
One of these items was the aux belt tensioner pulley, the bearing was offset from the centreline of where the belt sat previously, so the bearings were wearing out quicker than they should. I re designed the pulley and machined a couple of fresh ones, hopefully they'll last much longer now.
 20190816_171513
 by
Steve Count, on Flickr
I also took the opportunity to strip some more wires from the standard loom which i no longer need now that the car runs on the DTA.
 20190811_195342
 by
Steve Count, on Flickr
The old design for clamping the rear link of the wishbone to the subframe used m8 capscrews, whilst i didn't snap any i was always conscious that there was a lot of forces acting on them at times. The last thing i wanted was to have one let go and cause an accident, especially on the Nurburgring where i'd be financially liable for any damages, not only to my car and barriers, but other peoples cars if i was at fault. With that in mind i decided to upgrade to m10 capscrews.
Long story short a lot of time was spent re-machining some of the old items, and creating some new ones from scratch, way more time than the pictures would imply.
 20190817_132926
 by
Steve Count, on Flickr
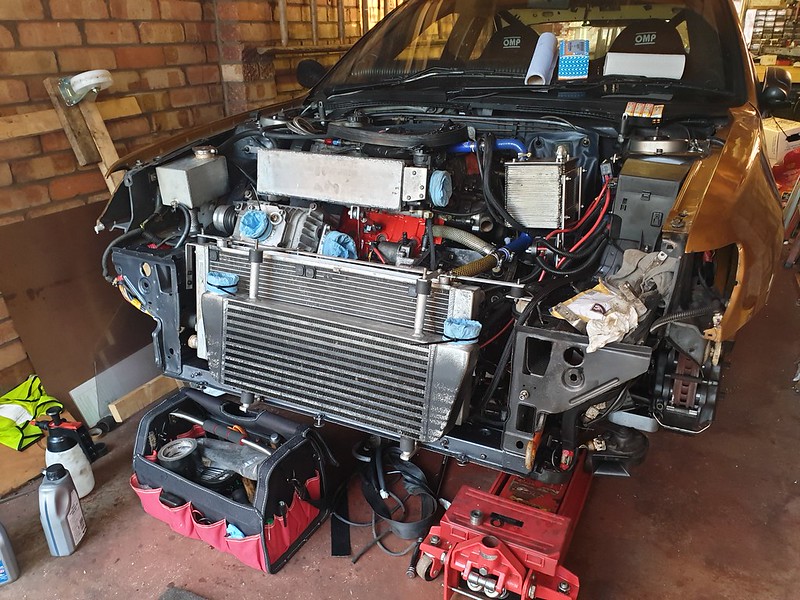
Another job on the list was to move the oil cooler in an attempt to get more airflow through it and keep the oil cooler than it has ran in the past.
To start with i decided to move the radiator fans behind the radiator, so i flipped the blades and fastened them behind the radiator. Next up i tried to switch the wires in the superseal connectors to make them spin the opposite direction and make them 'suckers'. This failed miserably since i didn't have the correct tool for removing the pins from the connectors. In the end i decided to stop being tight and bought all new parts to make new sub-looms which run from the relays and earth point to the fans. Tried to do a semi-professional job, quite pleased with the outcome. Think i may make an entirely new engine bay loom eventually similar to this.
 20190819_185919
 by
Steve Count, on Flickr
With the fans behind the radiator i could then move the intercooler closer to the radiator.
 20190819_190444
 by
Steve Count, on Flickr
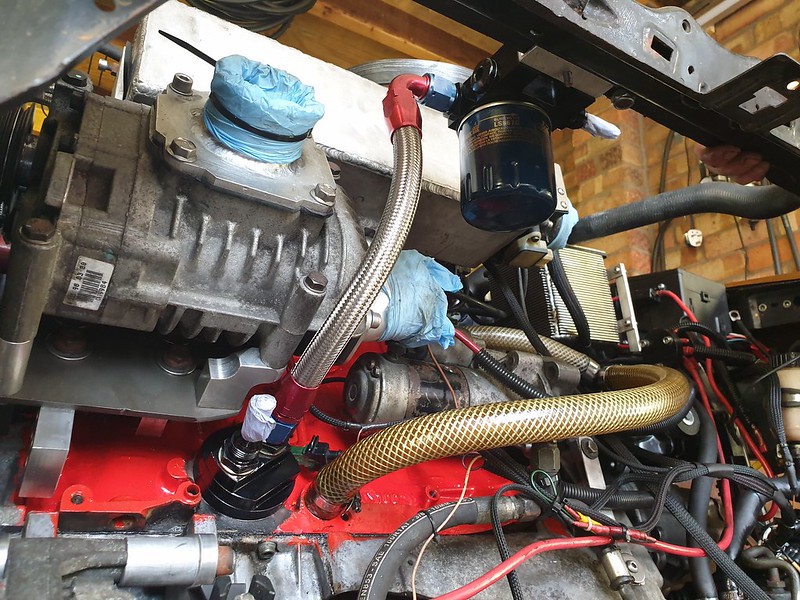
This then created enough space to fit the oil cooler infront of the intercooler.
 20190821_193738
 by
Steve Count, on Flickr
With things starting to take shape i could start making the new oil lines. Another really time consuming process.
 20190821_191615
 by
Steve Count, on Flickr
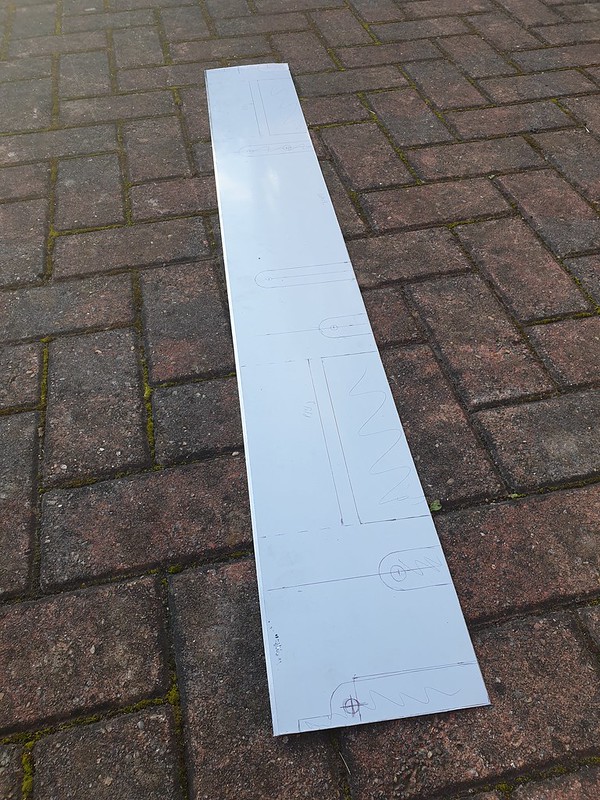
Since everything has moved the old cooling shrouds were somewhat redundant. I ordered a sheet of aluminium and when it arrived set about designing and making new shrouds. The idea being that any air that comes through the grille has no other option than to go through the coolers. Fingers crossed they work as these took a couple of weekends and most weekday evenings

 20190825_130214
 by
Steve Count, on Flickr
 20190825_144612
 by
Steve Count, on Flickr
 20190831_165357
 by
Steve Count, on Flickr
 20190829_180734
 by
Steve Count, on Flickr
 20190831_181357
 by
Steve Count, on Flickr
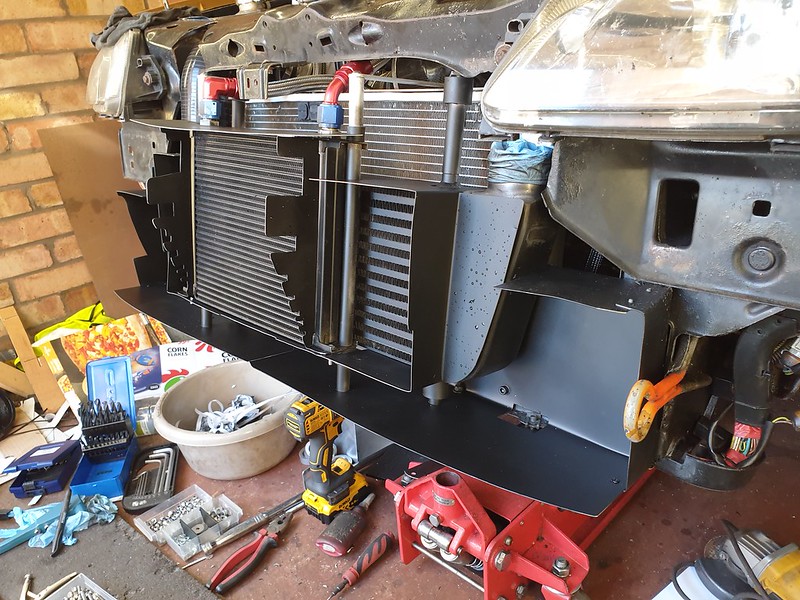 20190901_162414
 by
Steve Count, on Flickr
 20190903_193937
 by
Steve Count, on Flickr
 20190904_175024
 by
Steve Count, on Flickr
The foglight holes currently look a bit bare, i've ordered some ducting hose to fit and help direct fresh air to the brakes. They should arrive next week.
The old rear pads were pretty worn out, replaced these with another set of yellow stuff. Not the best things out there but it's what i've always had fitted to the back and never had an issue with them so far, the rears barely do anything anyway. Plus they're cheap!

 20190906_181815
 by
Steve Count, on Flickr
The old Nankang's did me proud but they were no longer road legal, something i had to address before spending a week driving around in germany. After many hours pondering i decided to give a set of Dunlop Direzza DZ03G's a try. I've always used 195/50/15 in the past but the DZ03G's only come in soft in that size. I'd kill them in no time so they weren't really an option, in the end i went for 205/50/15 as they can come in medium compound, so much better for trackday and occasional road use. I kept the old Nankangs as theres another day or two in them so i'll just source another set of wheels and use them for messing about with at a trackday.
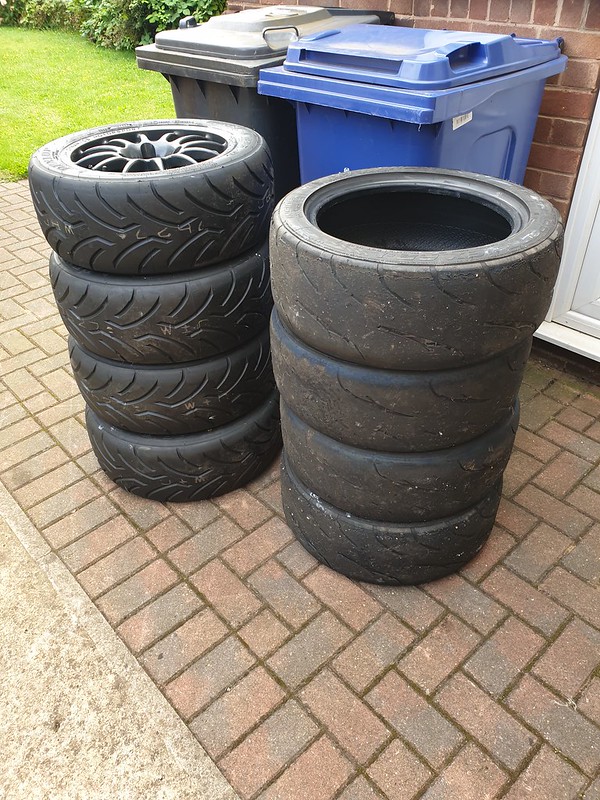 20190830_164729
 by
Steve Count, on Flickr
Set the tracking, i couldn't remember what i set it to last time, i remember it wasn't parallel but not far off so i opted for 5 minutes of toe in.
 20190906_180505
 by
Steve Count, on Flickr
With the new tyres on it was time to see what sort of clearances i was working with. o/s/r seemed ok under full droop.
 20190906_182725
 by
Steve Count, on Flickr
n/s/f with a bit of compression on the other hand...

 20190907_171735
 by
Steve Count, on Flickr
After a bit of fettling with the angle grinder trimming the wing where the old tyres used to catch, and some of the inner lip on the bumper things improved. Next step was to undo the two bolts that hold the lower front part of the wing and yank the wing out as much as i could making it a budget dimma, this has made heaps more clearance for the tyre now. It'll hit the bumper way before it can hit the wing. More on this in a minute.
 20190907_175710
 by
Steve Count, on Flickr
When i went round to the o/s/f to start checking clearance i noticed that the main spring had snapped.
 20190907_181558
 by
Steve Count, on Flickr
Doing a bit of research on here it seems that the springs that came on the kw v2's were as follows:
Helper : 60mm id, 80mm long, 20N/mm.
Main : 60mm id, 150mm long, 60N/mm (~345lbs/inch).
Even under full droop my helpers were fully compressed and helped give some preload on the main springs to keep a sensible ride height allowing the car to be used on the street. (The road i live on is peppered with speed bumps, the bain of my life).
Tomorrow's job is to get the dampers off and measure things up as i suspect i may be able to tweak the top hats and spring platforms and enable them to accept 2.25" springs, which are way more readily available and less than half the price of the metric equivalents.
Assuming i'm right in thinking this is a possibility then i'll order a pair of new springs, i reckon i'll go for 8" long 400lb springs and see how i get on with them. This should also help reduce the chance of tyre contact on the bumper/wing as mentioned previously.
I'll send the dampers off over winter to have them serviced and re valved to suit stiffer springs, unfortunately i'm not going to have time to get that done as i'm taking goldie over to the nurburgring next weekend for a week of fun!

________________________________________
Goldie the track car.
 :
:


 phillipm


