 and a couple of days of bruised knuckles and back pain!
I bought the kit well over a year ago.. minus the manifold as i was in talks with an engineer to make me one utilising the existing head flange. BIG mistake.. A few prototypes later it didnt really look too good for a good flow
 And doing it without the kit on an engine or supercharger in hand, it was never gonna be 100%. So i gave up and gave rich a call.. who was quite resourceful in supplying me with one
My ASTOR is quite an old timer now.. have had it more than 5 years
 . It has never ceased to amaze me. Owning quite a few other JAP and GERMAN cars, i could always revert to the 6 for some countryside tarmac raping
 . I kept it quite immaculate for the first few years, with as little miles on it as possible.. 15K when i got it. Then i gave up and started modifying it for fast road. The more i used it, the more i got used to the power. So i planned for a BOOST implant aftr the peak 187 it produced in NASP mode
This project itself was intended to be completed last AUGUST.. but a new MRS and some financial decisions made me think otherwise..
Anyway.. As i've sold the garage, this conversion had to be done on the driveway.. which was more like a porch

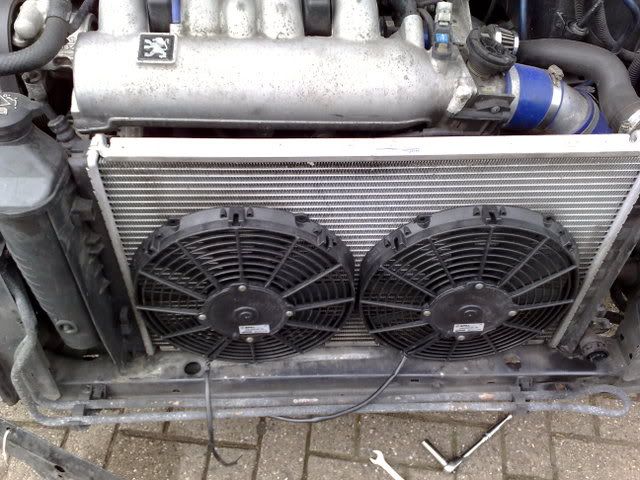
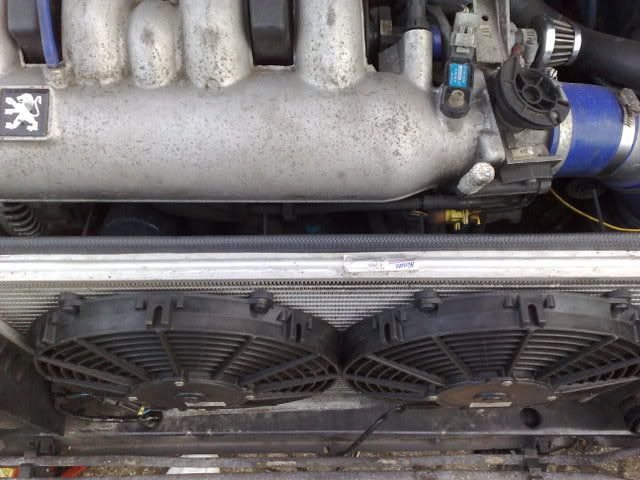
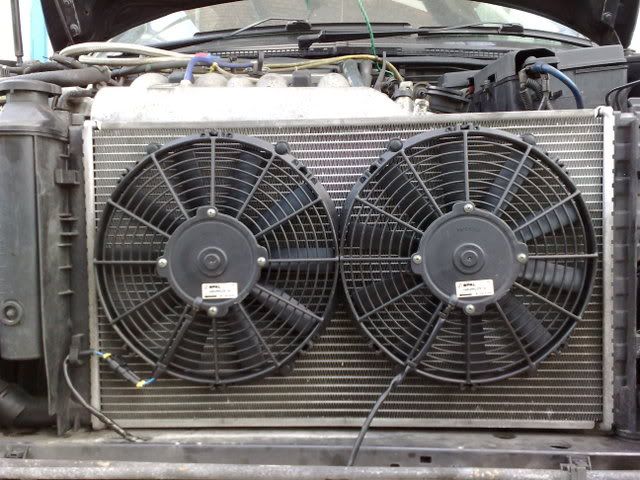
First off was scrapping the aircon rad and all pipes to make way for the slim SPAL fans.. These were mounted using the mounting kit which involves sort of tie wrapping the fans on the radiator... A bit of rewiring and mounting of the relay box..
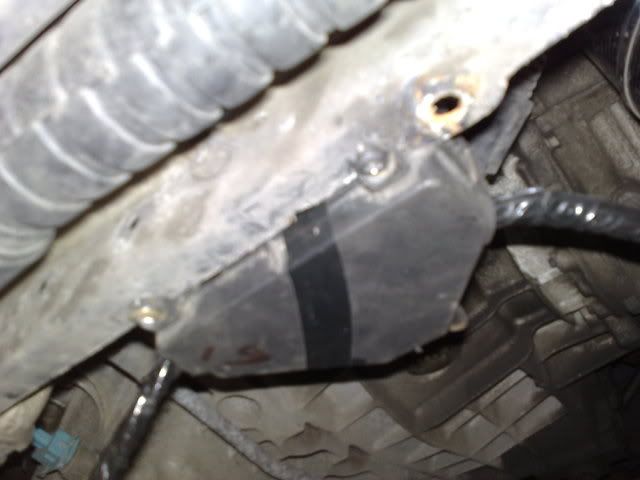
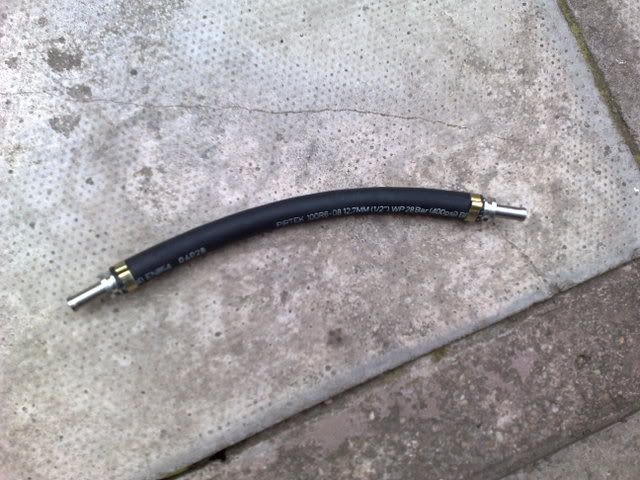
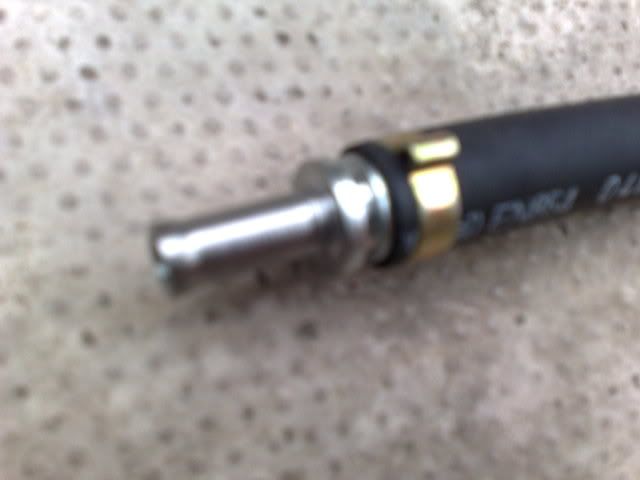
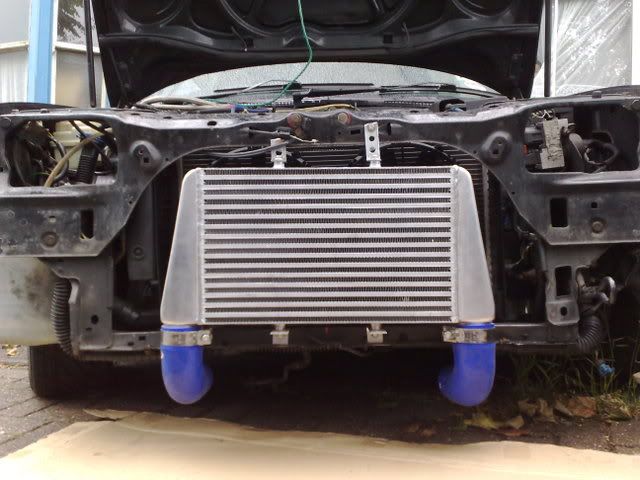
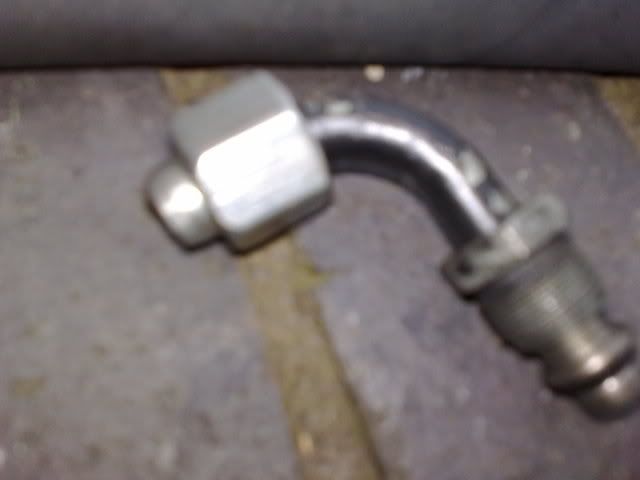
Next power steering ram was removed to make way for the front mounted intercooler.. like others it has downward facing in/outlets. So i had a custom pipe made with machined hosetails to couple the hot pipe coming out the rack.
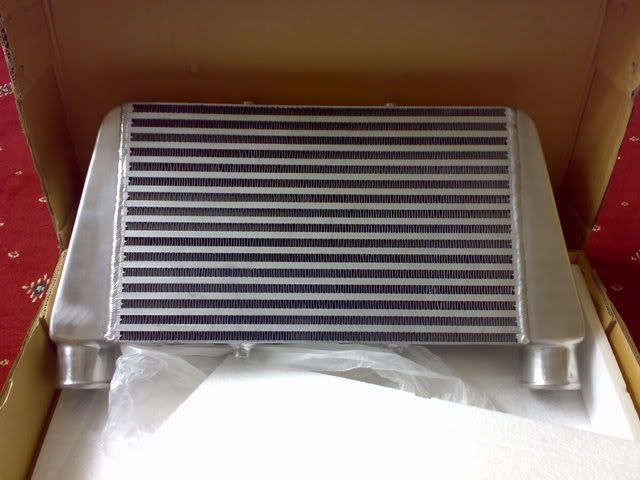
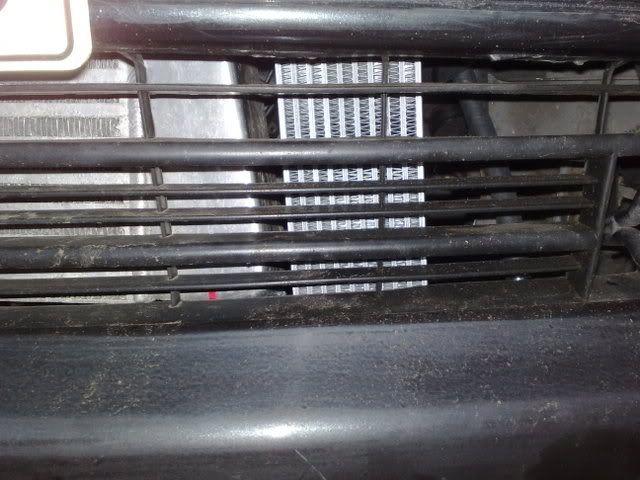
Mounting the fmic was straight forward. Lining it dead centre and keeping it as far forward as possible so the rad gets as much air too
 . Will be using 90 degree silicone bends for now until i can drive the car to the welders.
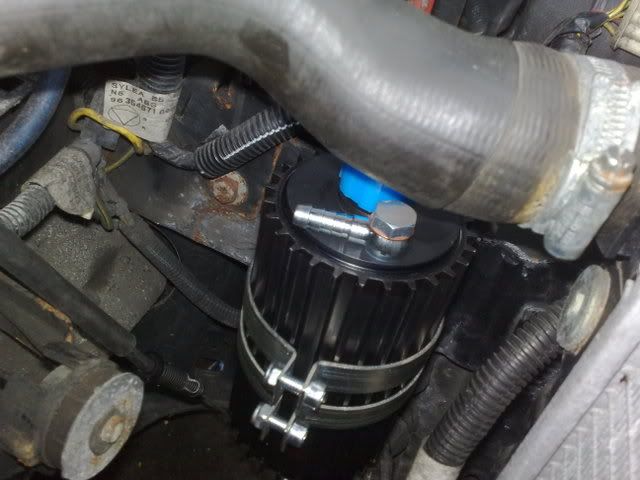
Mounted the charger oil resevoir to the nearside flitch with some self tappers as its quite tricky getting nuts and bolts in the area without removing the rad.
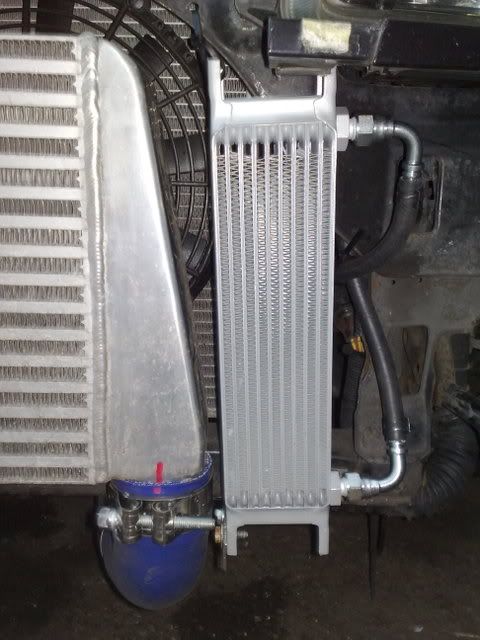
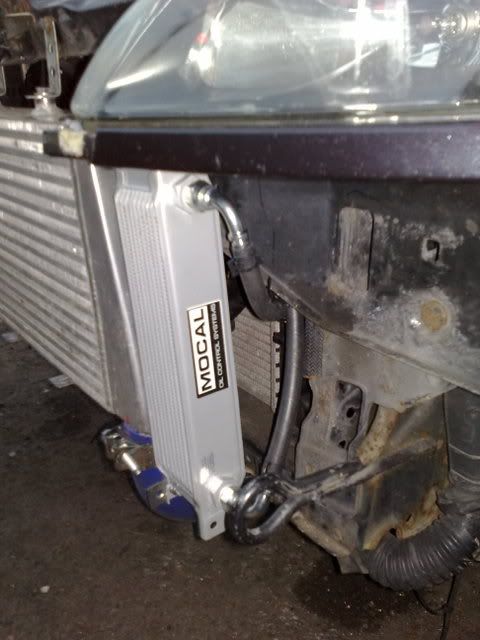
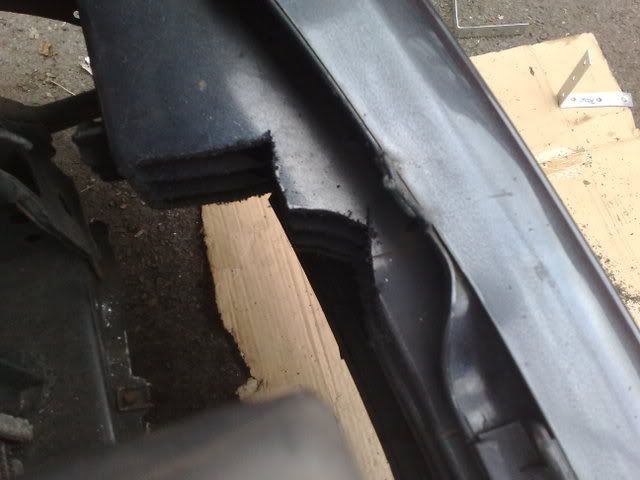
As you know the charger needs to use an oil cooler as the temperature the fluid gets to is near boiling point. Mounting it next to the fmic seemed ideal, but needed a bit of bumper trimmage
 .
. 
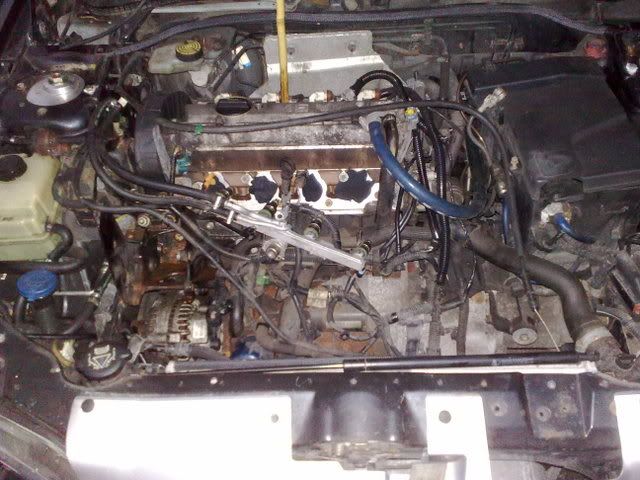
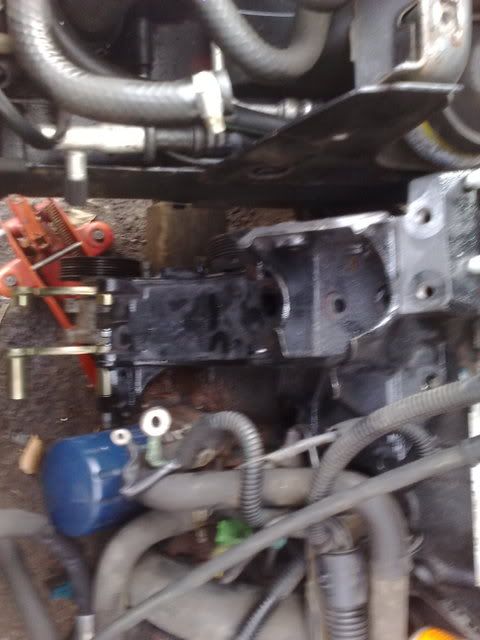
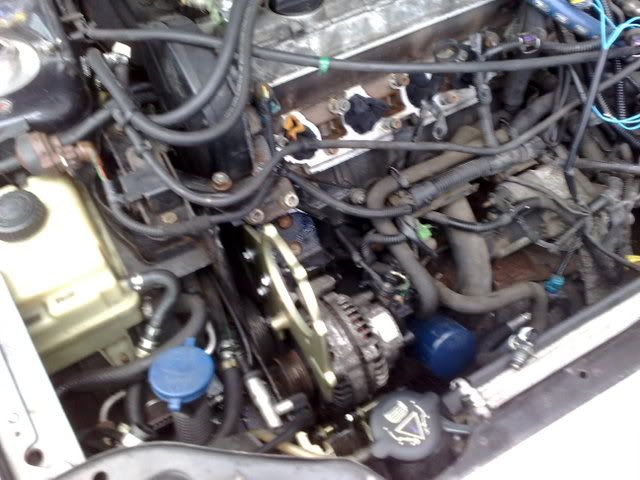
Time to get some cuts and bruises... Removed the manifold and fuel rail. Then removing the engine cradle was an arse of a job. Supporting the engine from underneath i undid the top mount and removed the powersteering pump. Then removed the alternator.. which itself puzzled me with 16mm bolts
 as it was too tight of a space to get to with a ratchet. The aircon compressor came out easily enough.. then the actual cradle was a b*tch as most of the bolts were seized. So out came the airgun.
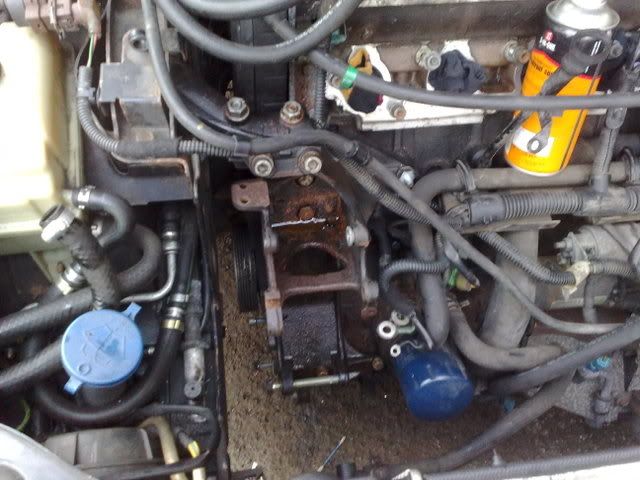
Then on went the modified cradle with the SC bracket.. which after a few attempts made me realise the alternator had to go on before the charger bracket
 . Which meant the cradle went on, then mount on. Then out came the spanner to fit the bracket in such a tight space. Could really have done with those halfords ratchet spanners
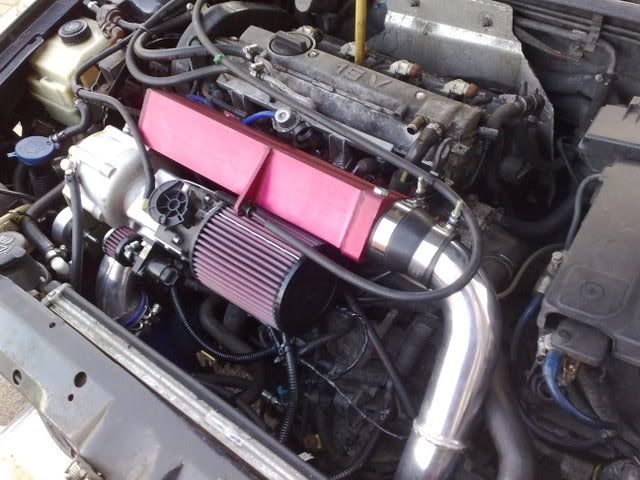
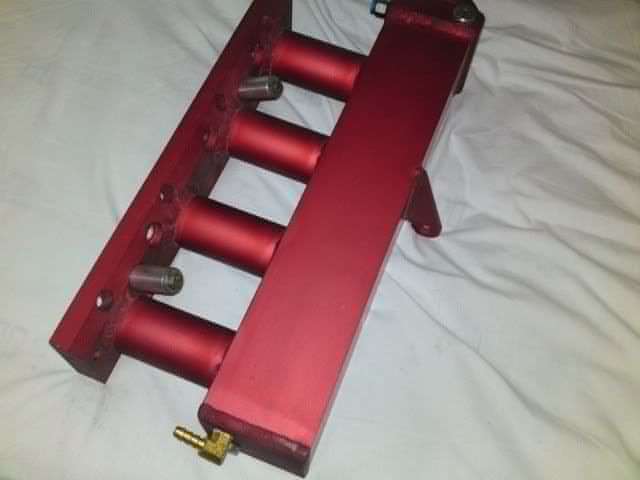
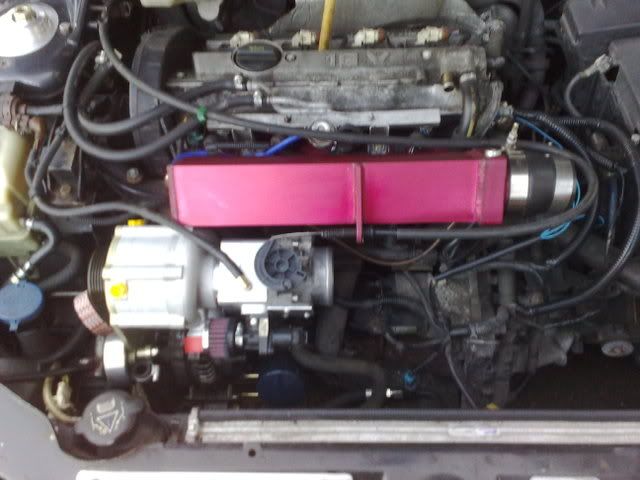
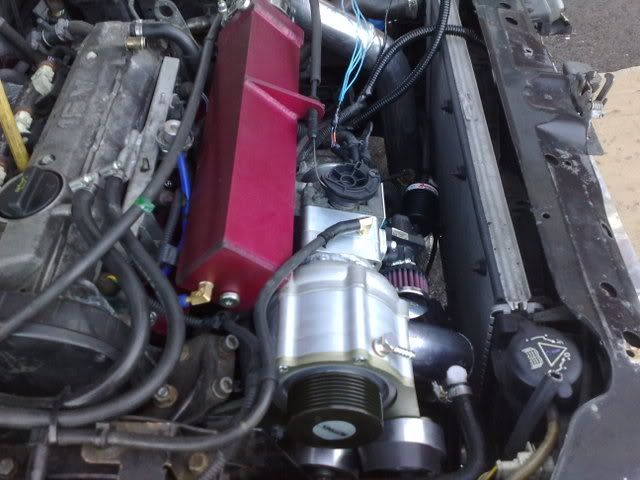
Once the bracket was in place the shiny RED manifold went on with a PTFE manifold gasket
 . Some bolts were quite hard to get to due to the shorter design, but i also used the original two loaceting studs for a sure fit
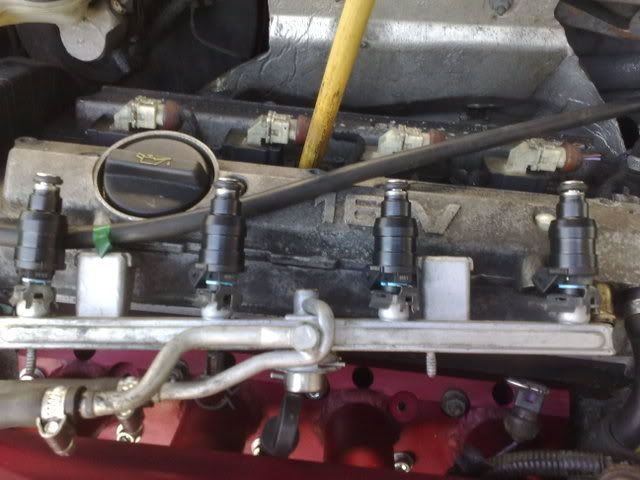
 . Trimmed the brake servo pipe and fitted to the push fit on the ne manifold. Then mounted the 440cc injectors to the fuel rail. I chose LUCAS ones over the BOSCH green ones. As i've heard of better spray patterns with the tri holed jets.. RICH reassured me it will work fine with the low boost map
Then it was time to fit the PAS relocating brackets, which were a bit tricky and quite fiddly. But after a few international calls to RICH we sorted it.
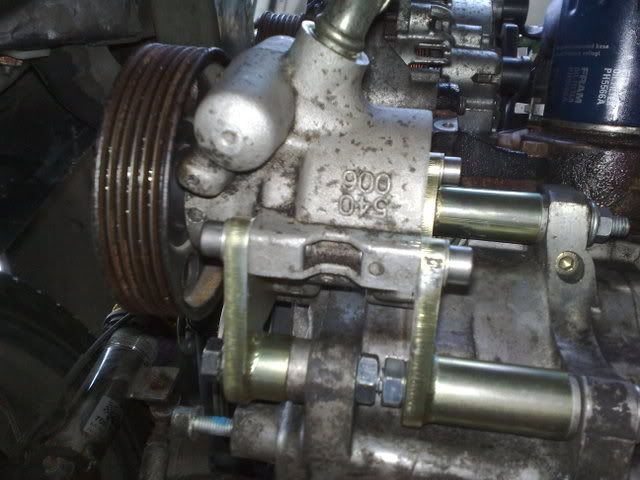
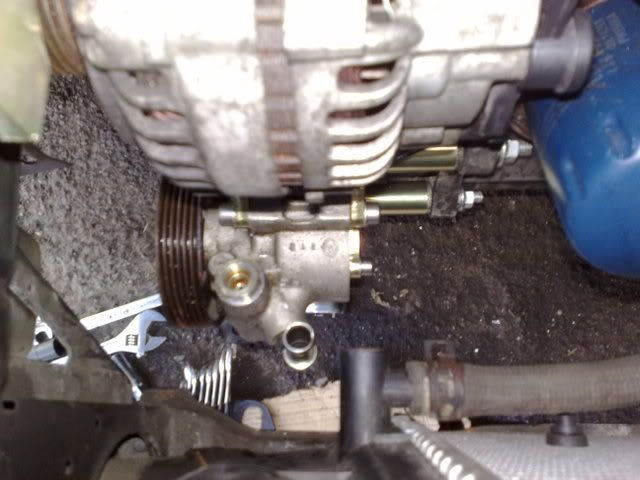
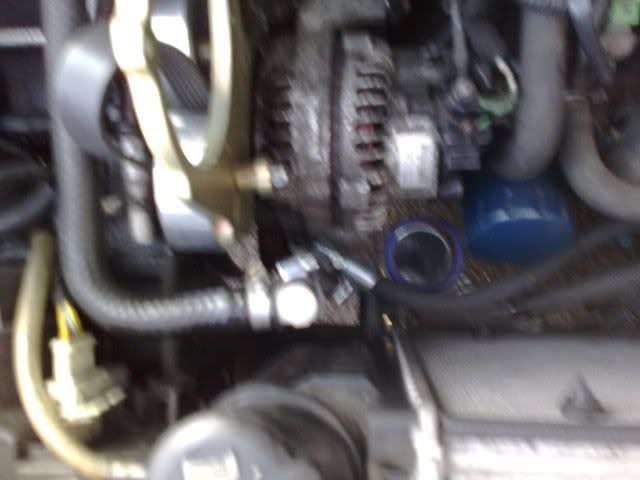
Connected up the low pressure pipe and went about cutting the high pressure pipe... utilising a 90degree bend from existing pipe to new pipe supplied!
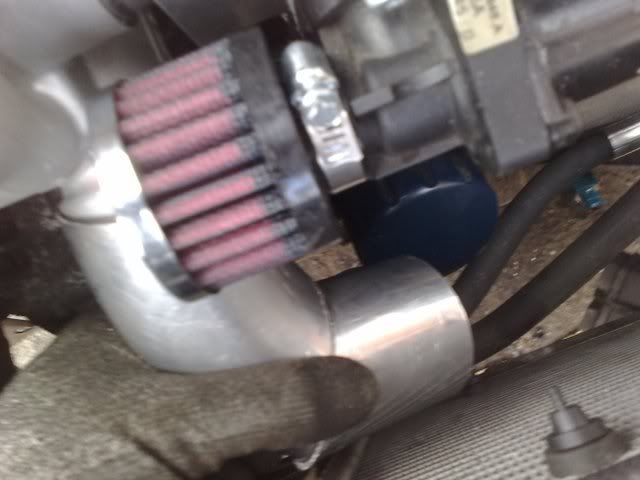
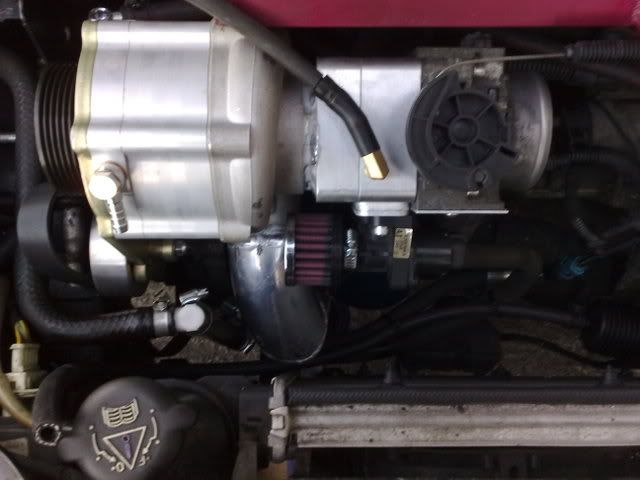
Next i temp fitted the charger to locate a good angle for the throttle body housing.. Again being a later type ROTREX, it meant it had to welded on to the inlet of the charger.. This also gave me a chance to get the outlet of the charger sorted in 63mm for the boost pipe and a nice 45 degree angled pipe mitred and welded too

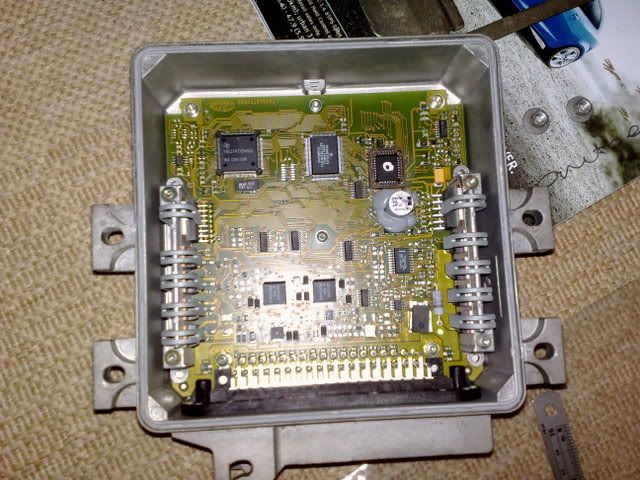
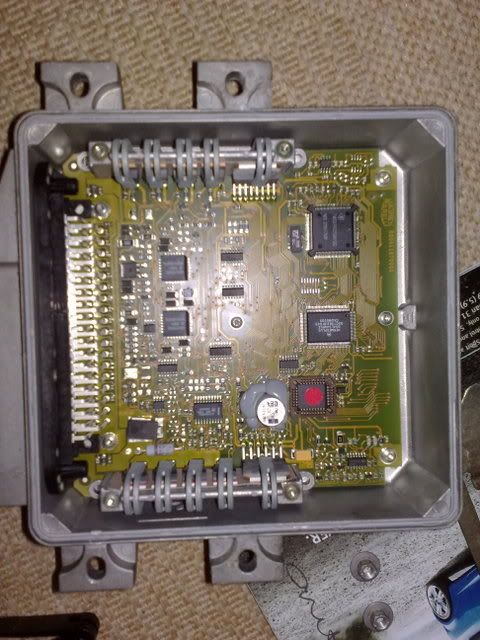
Then it was time to swap the eeprom over.. thanks to rich_w for soldering the socket on

Whilst the bits were at welders i set about some rewiring.. as the kit requires to lengthen the TPS, MAP, IACV, IAT wires.
Got the charger and boost pipes back from welders with an extortionate bill

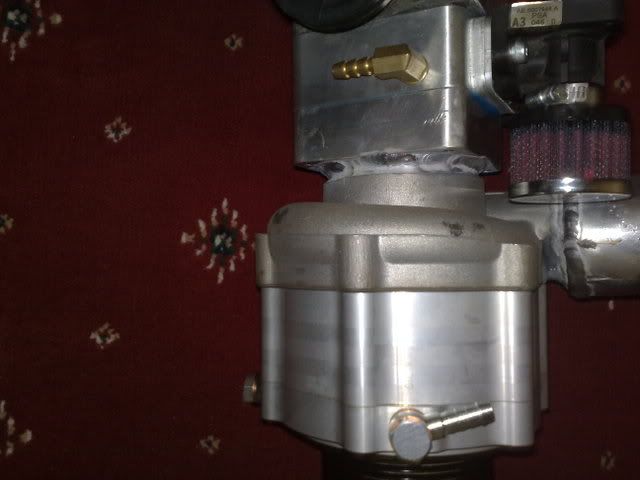
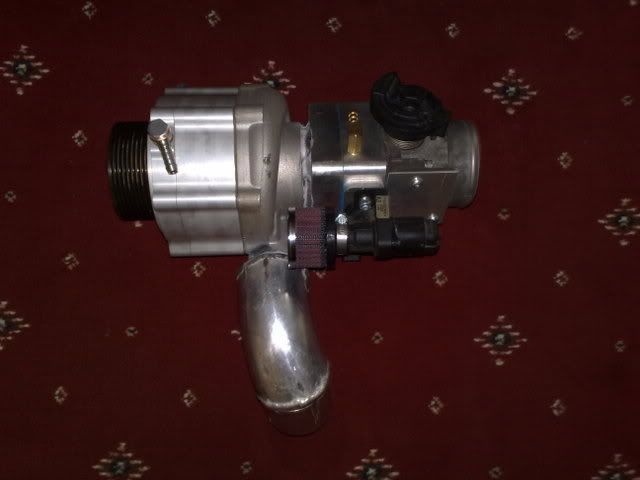
Routed and mounted all charger fluid pipes and set about getting the boost pipe fitted... Inlet to manifold was easy enough.. utilising a 90 degree and 45 degree bend

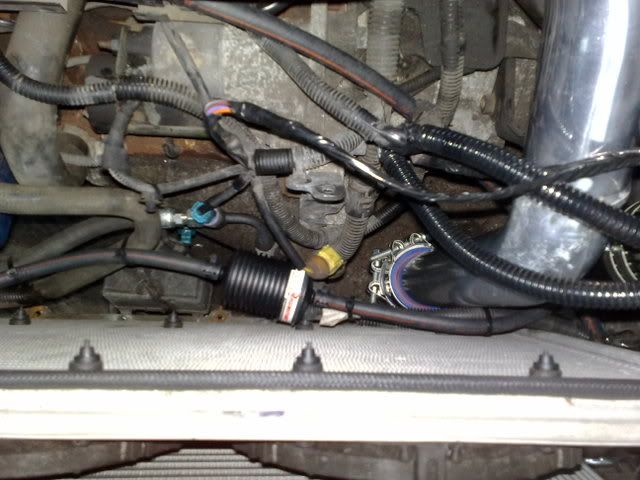
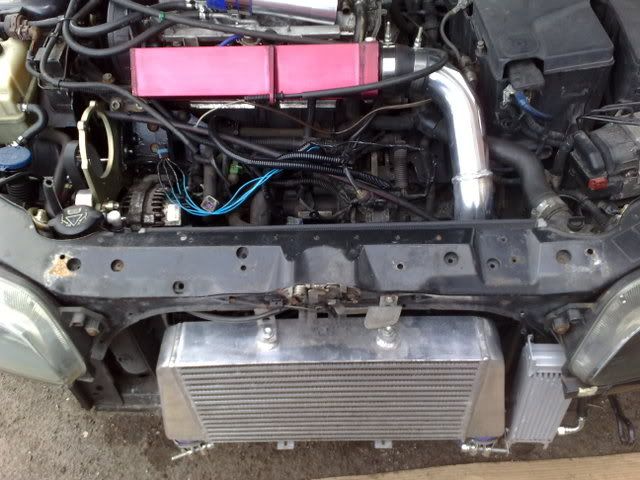
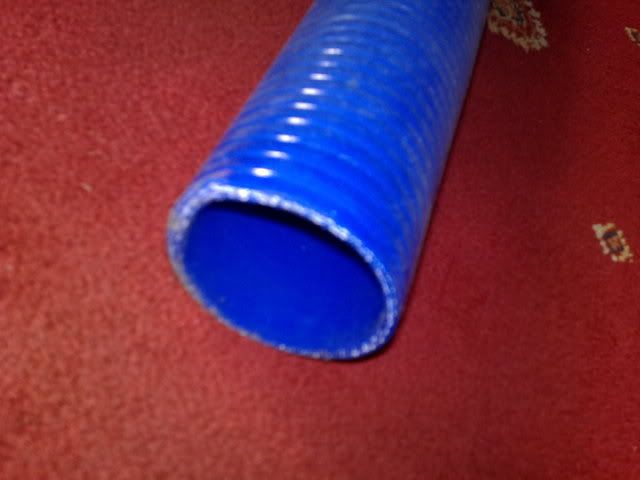
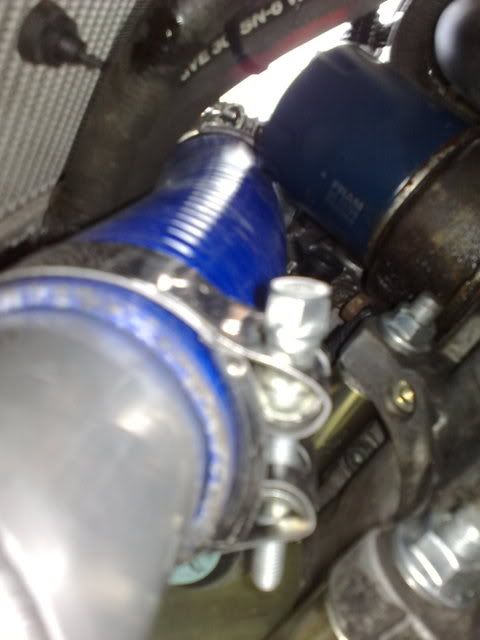
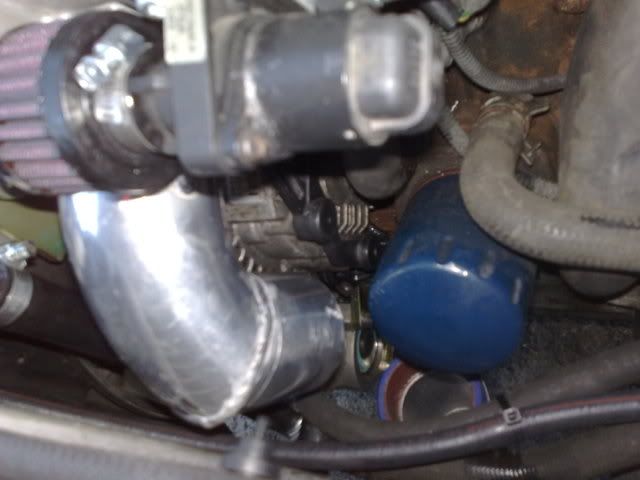
Problem was getting a 63mm pipe to squeeze through the gap in between the oil filter and alternator.. So i've ordered some reincforced silicone pipe to couple with the 90 degree bend from under the FMIC. So until thats delivered... she cant be fired up

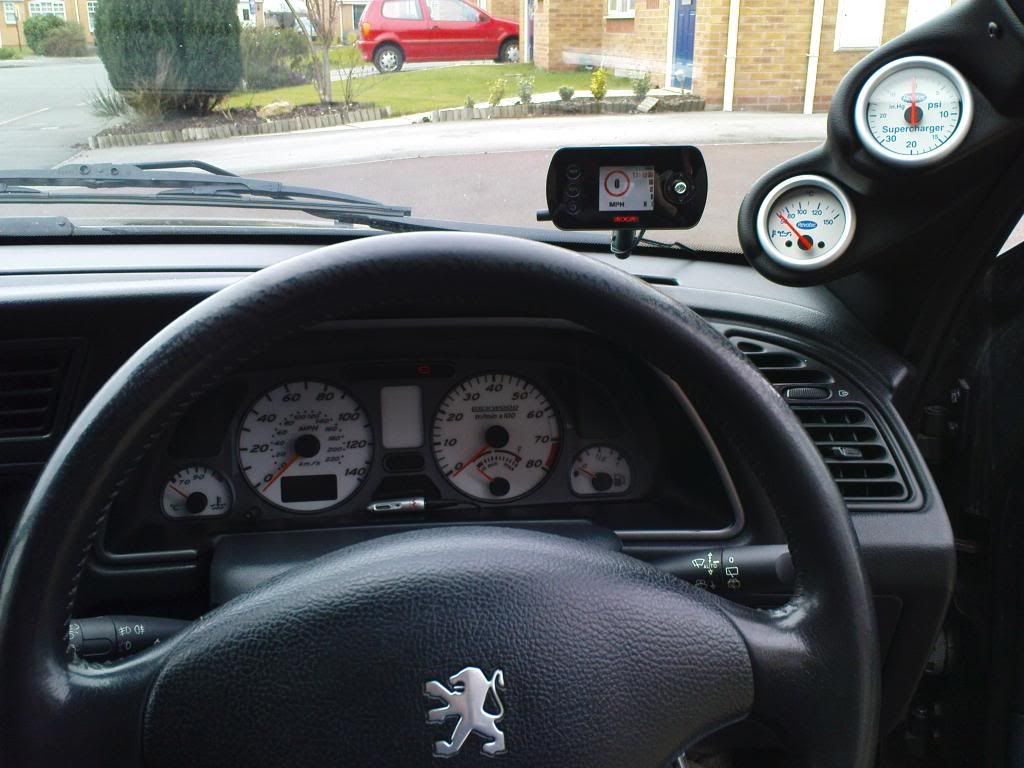
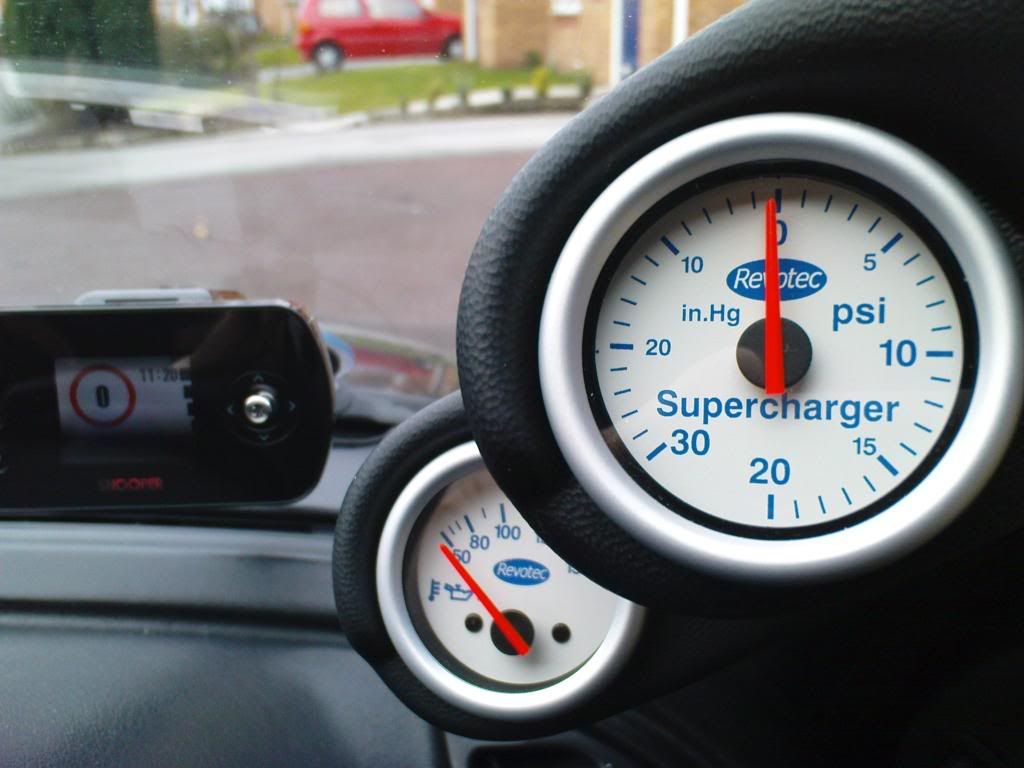
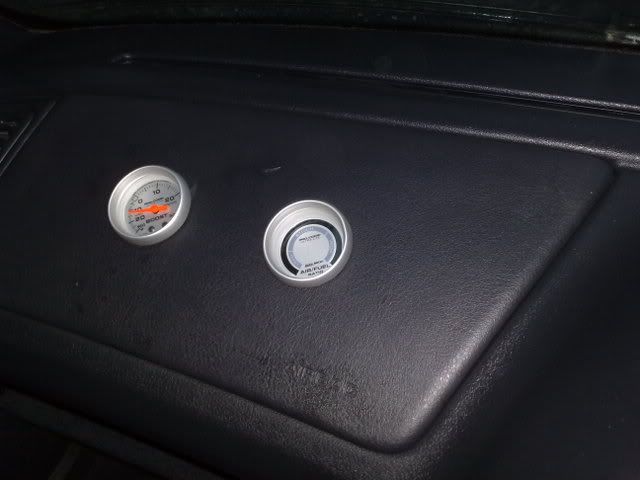
Have fitted a boost and air/fuel ratio gauge in the passenger airbag after removing the TNT.
 Just to keep on eye on things.. as its imperitive there is no boost leak in this setup
Posing
 ....
....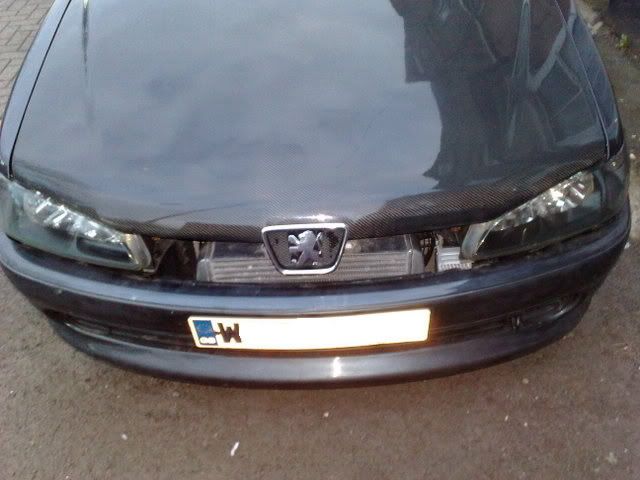
Excuse the front bumper as its an old one...
Will update as and when...

________________________________________
Team Supercharged Gti-6NV Motorsport
Automotive Performance Tuning
0121 448 7515
ECU Remapping/ DPF removal
VAG/BMW Diag and Option Coding
Peugeot Planet ECU coding/transponder programming etc
www.nvmotorsport.com
Facebook Page
Project S6


 mabgti
