displaying posts 1 to 10 of 10

Author Subject: Wheel Refurbishment FAQ
petegti6

Seasoned Pro

Location: Solihull & Market Harborough

Registered: 09 May 2006

Posts: 12,046

Status: Offline

Post #1
I'll be adding to this when i do mine and i'll throw some piccies in.

Thanks to ScouseMonkey from Pug306.net for this guide....

Firstly, Use nitromors - it is the only way to get the PU (polyurethane) lacquer off.

The trick with nitromors is dont rush it and buy a big tin. It works via chemical reaction so you need to apply it with a stiff brush (stab it on). Then leave it. Then scrap off the bubbled off lacquer. Then reapply if you want to get all the paint off. Keep doing this until it is all gone.

If you get tough areas like in the spoke radii then use nitromors on some wire wool and wear very thick nitrile gloves - the kind you woudl wear if putting your hand down a sewer.

An alternative would be to get the final paint layers sandblasted off. This would also be the route to take if you have lots of curb damage to help get rid of it but if the wheels are in good nick then just nitromors it. YOu dont have to get all pait off but do make sure anything loose is off and give the wheels a good prep with wet and dry (dry and rough then smooth and wet). Dont bother with soap unless you are planning to just lacquer the bare alloy - this does look cool on S16/XSI alloys but I have not yet found a decent lacquer (although I am designing some that will never get damaged Smug - but I cant let you guys habve any RazzP ).

Use a decent metal primer (etch is best as mentioned) and then give it a day or so to cure. Then do a few coats of silver. Then a few days to harden. Then do the lacquer and give this a good week to harden in a warm place.

Do a lot of lacquer coats.

Spraying Tips:

Primer is perfect for honing your spraying technique. It is mat and quite viscous so wont run. I gently and at a moderate stroke speed follow any internal features such as the inside of the s16 spokes, doing it in one stroke. Then when i have done all the insides I do the front of the wheel. Do this by starting the spray past the edge of the wheel and then moving over, following the contours of the spokes. It is nice to go on one spoke and off the other but 5 spokes make this hard so I do 2 light coats in one sitting (ie arc passes). When you get to the middle where there is cross over make sure you speed up a bit or pull back to avaid coating the inside too much. The s16's dont have this problem as you take the centre cap off and do thay separately (needs different prep as it is plastic anyway)

The Trick Is:

Do it in a warm place,shake the can to wake the paint,do not hold the can upside down,do not try and squeeze the last bit of pait out as it will cause spatter
If you get areas with too mcuh paint or splatters just ignore them and DO NOT TRY AN FIX IT IMMEDIATELY (see below)
Do nice controlled strokes in repeatable manners.Dont go too fast or too slow
Wait a good 30 minutes between coats.
Do not let hairs or dust get on the wheels (see below) Do not hold the can too close

Fixing Mistakes:

Too much paint/you held the can still/too close over a bit giving a flower pattern: leave the paint for about 5-10 minutes then give a gentle re-coat. The thinner in the new coat will re-wet the still damn paint and spread it out. Just do a very gentle single pass. If it doest work 1st time repeat again in 5 minutes or do the seanding trick - next.

Far too much paint/dried splatter/bubbles/hairs: let the wheel dry for an hour or so to allow you to gentlly sand the area and a bit surrounding with fine whet and dry. Then clean the area (3rd reason it has to be dry - not just to stop you making a huge mess and/or clogging the wet and dry). Then do a few light passes on that area, allowing the usual drying time in between unti you are ready to paint the rest of the wheel.

Always give at least 2 more full coats after any remedial work.


MAKE SURE YOU GIVE IT PLENTY OF TIME TO HARDEN!


________________________________________

Cress87 wrote:
This place is getting beyond a joke. There's been an enormous influx of bellends signing up recently


Team 205 1.9 GTi

Team: Hmm™
Posted 2nd Aug 2006 at 20:23
petegti6

Seasoned Pro

Location: Solihull & Market Harborough

Registered: 09 May 2006

Posts: 12,046

Status: Offline

Post #2
Okay.

I guess this could be FAQ'd now then.

What i did in a nutshell:

>Picked up some decent rims from Damo
>Decided to be fussy and strip and spray them
>Stripped one, thought fook this its a mission
>Rubbed the others down with sanding pads and fillered the scratches and then rubbed again.
>Used some 1200 grit wet and dry to smooth the wheels and give a good key for the primer
>Cleaned them with warm water and dried them off
>Put them in the garage (i.e dry place)
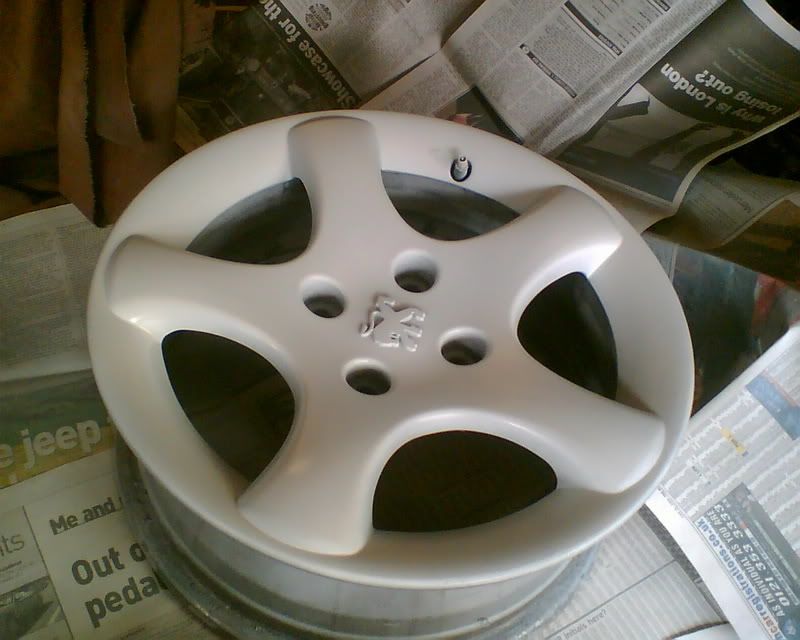
>Sprayed the rims with simoniz white primer

>Rubbed down lightly with 1200 grit and cleaned again
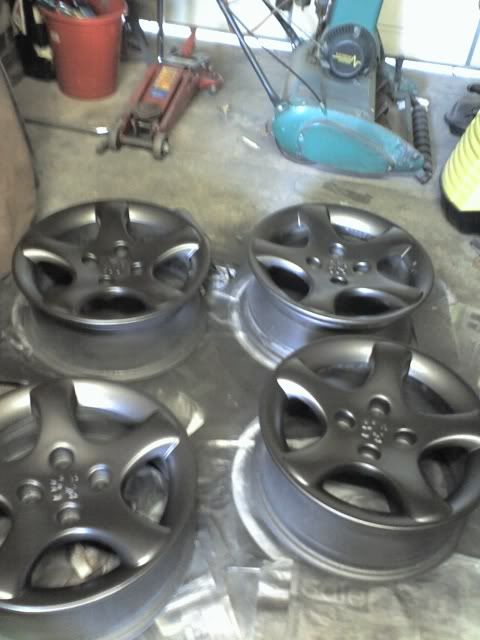
>Applied the colour (Graphite Grey in this case) By Tetrosyl

>After four cans of coating the rims i left them for a day to dry
>Lightly rubbed down with WET 1200 grit paper and cleaned again
>Applied two cans worth of laquer
Simoniz again!


Fillered the scratches


Rubbed down the filler


Primered


>Left to set for ages (four days)


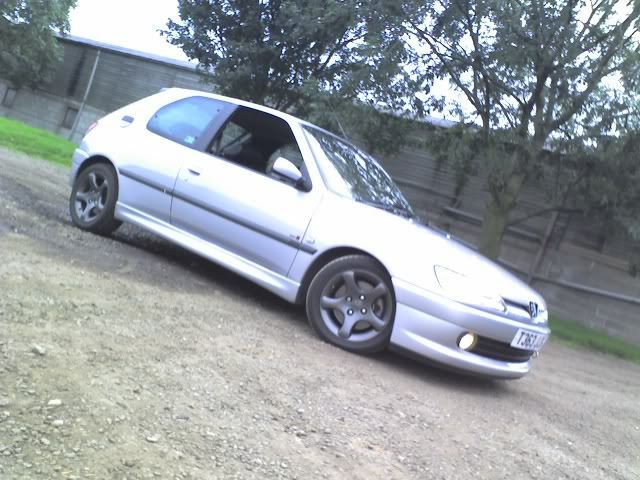
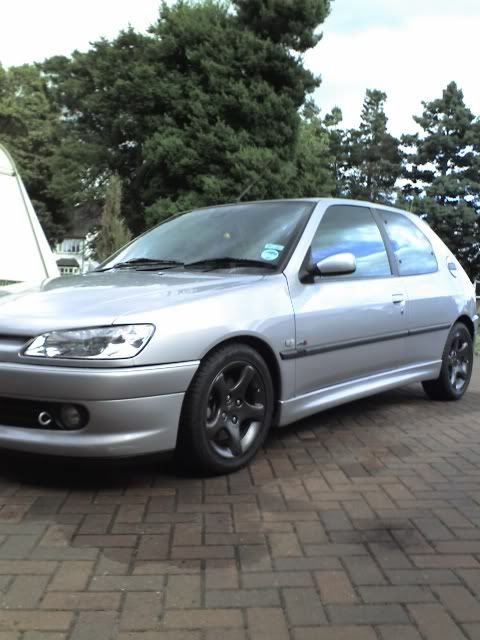
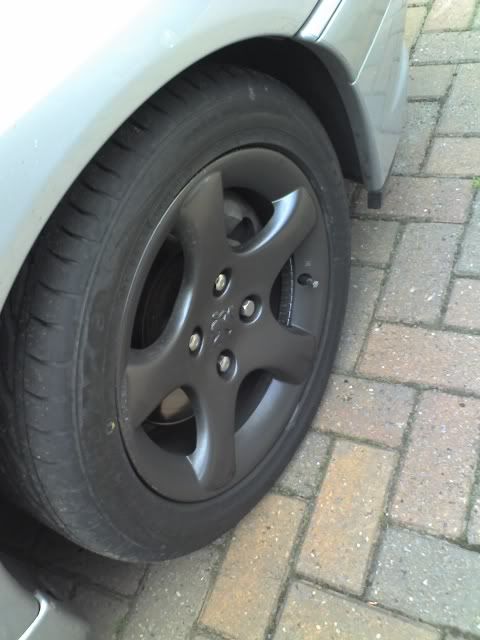
Finished product on the car:


Now i asked a few people what they thought and the response was pretty similair.....

________________________________________

Cress87 wrote:
This place is getting beyond a joke. There's been an enormous influx of bellends signing up recently


Team 205 1.9 GTi

Team: Hmm™
Posted 28th Sep 2006 at 04:37
rikky 🦔

Location: cheshire

Registered: 28 Feb 2004

Posts: 26,796

Status: Offline

Post #3
good job, looks awesome. might brave it and give this a go when mine get knackered (god forbid)

top work indeed. FAQ!

________________________________________

306 rallye reproduction decals (full sets/individual decals) | 306 b-pillar textured vinyl weatherstrips
306 slam panel esso stickers | 306 yellow / orange / pension fund red side door badges
gti6 inlet manifold badges | 306 rear boot badges (p2/p3)
winner of Extraction of toys from prams with outstanding vigour award 2009 [source: gti6 owners club]
Posted 12th Aug 2006 at 01:10
petegti6

Seasoned Pro

Location: Solihull & Market Harborough

Registered: 09 May 2006

Posts: 12,046

Status: Offline

Post #4
Cheers mate, if you're mad enough to rip an S16 apart with very little tools its a walk in the park LOL! Laugh my ass off

________________________________________

Cress87 wrote:
This place is getting beyond a joke. There's been an enormous influx of bellends signing up recently


Team 205 1.9 GTi

Team: Hmm™
Posted 12th Aug 2006 at 01:21
mr whippy

Seasoned Pro

Location: Yorkshire

Registered: 29 Mar 2005

Posts: 4,796

Status: Offline

Post #5
They look very nice...

Any chance of some pics from various angles so we can see how the light glints off them?

I'm hoping to try some re-con soon on another set of Cyclones... hopefully they'll come out as nice as yours Smile

Dave

________________________________________

Team not a 306
Posted 12th Aug 2006 at 02:06
petegti6

Seasoned Pro

Location: Solihull & Market Harborough

Registered: 09 May 2006

Posts: 12,046

Status: Offline

Post #6
If you can spray as well as you can ramble on in the forums you'll be fine Razz

No, seriously though, its so easy, just taking your time and being real careful with the conditions is the key factor which im sure you know. Yes

________________________________________

Cress87 wrote:
This place is getting beyond a joke. There's been an enormous influx of bellends signing up recently


Team 205 1.9 GTi

Team: Hmm™
Posted 12th Aug 2006 at 03:07
pugzy

Seasoned Pro

Location: Forest of Dean

Registered: 11 Jan 2005

Posts: 5,543

Status: Offline

Post #7
That is a brill FAQ mate, I'd do my own if I had the space, pity because I've got plenty of time to at mo Dry

Car looks great!

________________________________________

Pugzy...aka Mike Thumbs up

Ex-Platinum silver 306 GTi6 owner...now an Ex-Scarlet Red 406 3ltr V6 Coupe owner too Sad

Now driving a China Blue 106 1.5 Diesel..."The Money-Saving and Debt-Busting Machine" LOL
Posted 12th Aug 2006 at 04:49
mr whippy

Seasoned Pro

Location: Yorkshire

Registered: 29 Mar 2005

Posts: 4,796

Status: Offline

Post #8
quote:
If you can spray as well as you can ramble on in the forums you'll be fine Razz

No, seriously though, its so easy, just taking your time and being real careful with the conditions is the key factor which im sure you know. Yes


Well I have two sets now, so almost tempted to get the exact same stuff you have and do mine... then I'll just sell whichever ones I like the least Big grin

Are the products available online anywhere?

Dave

________________________________________

Team not a 306
Posted 12th Aug 2006 at 20:52
petegti6

Seasoned Pro

Location: Solihull & Market Harborough

Registered: 09 May 2006

Posts: 12,046

Status: Offline

Post #9
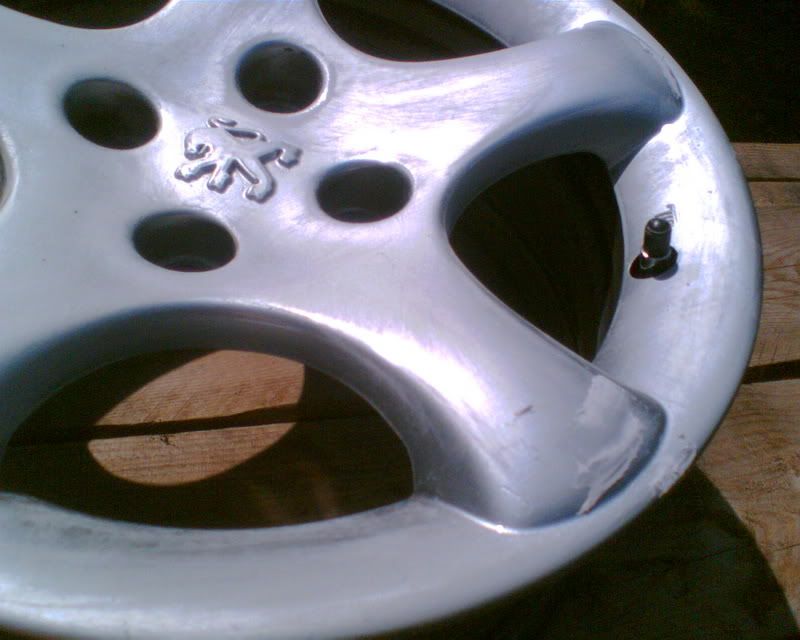
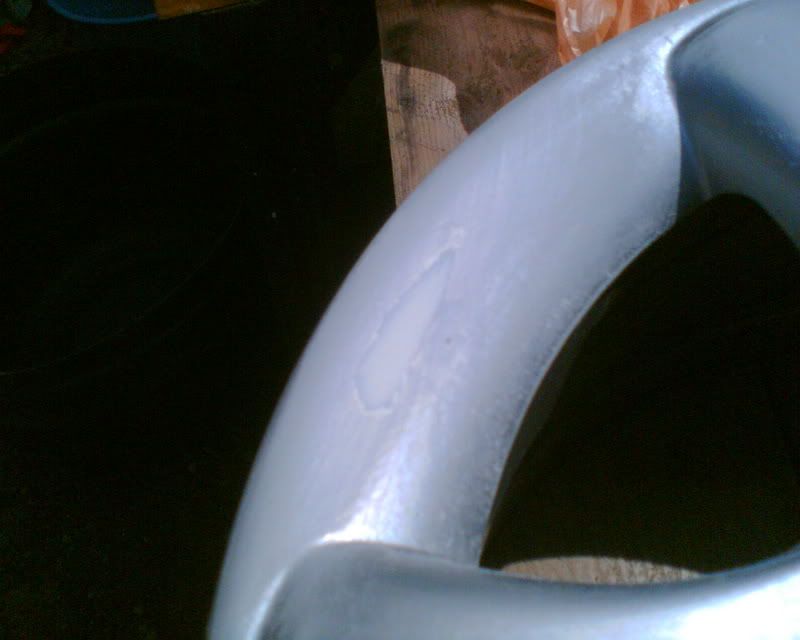
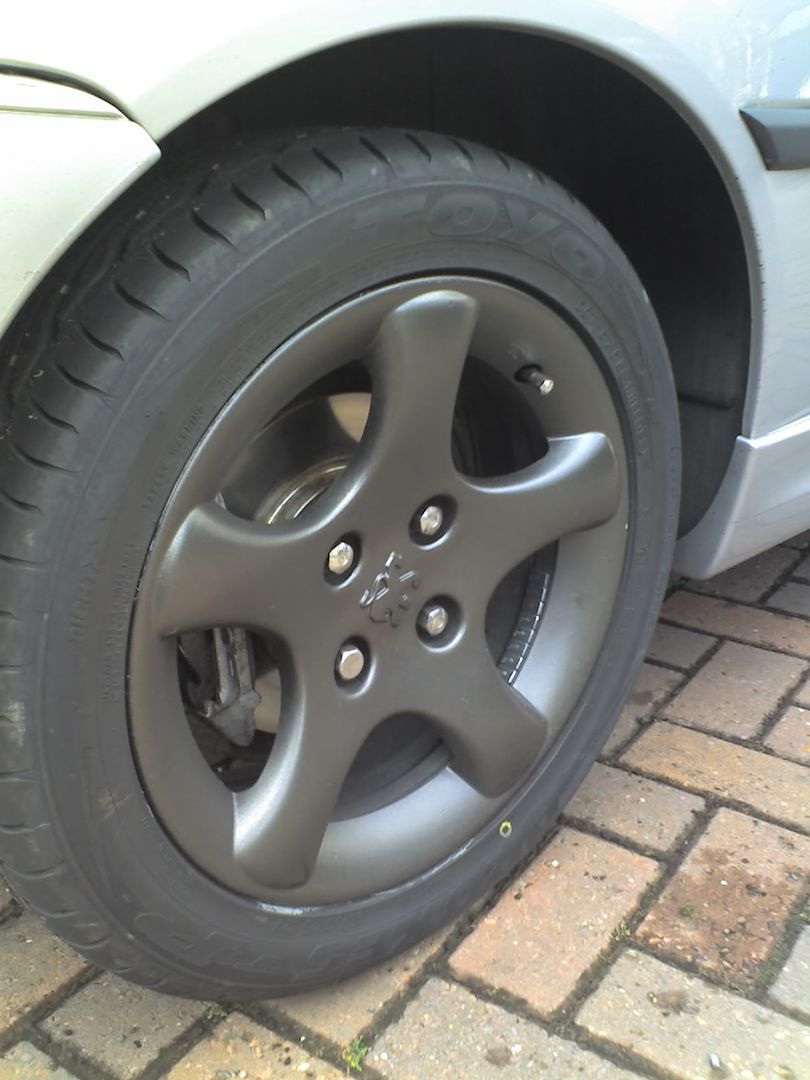
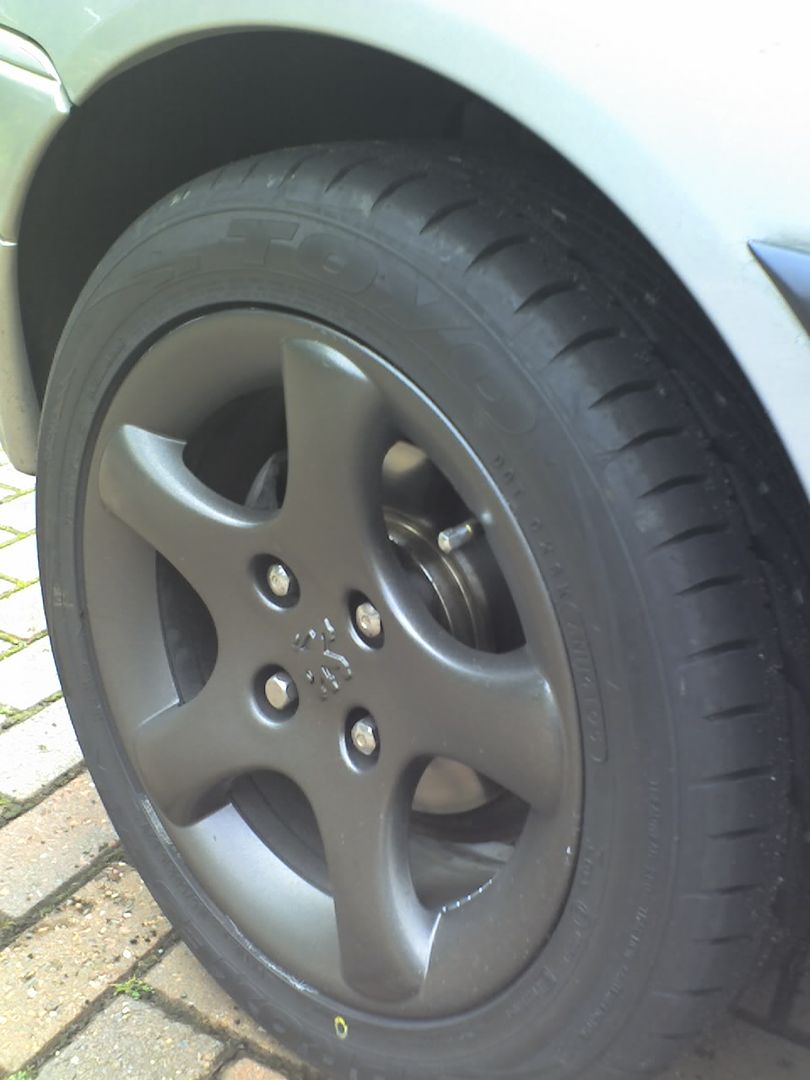
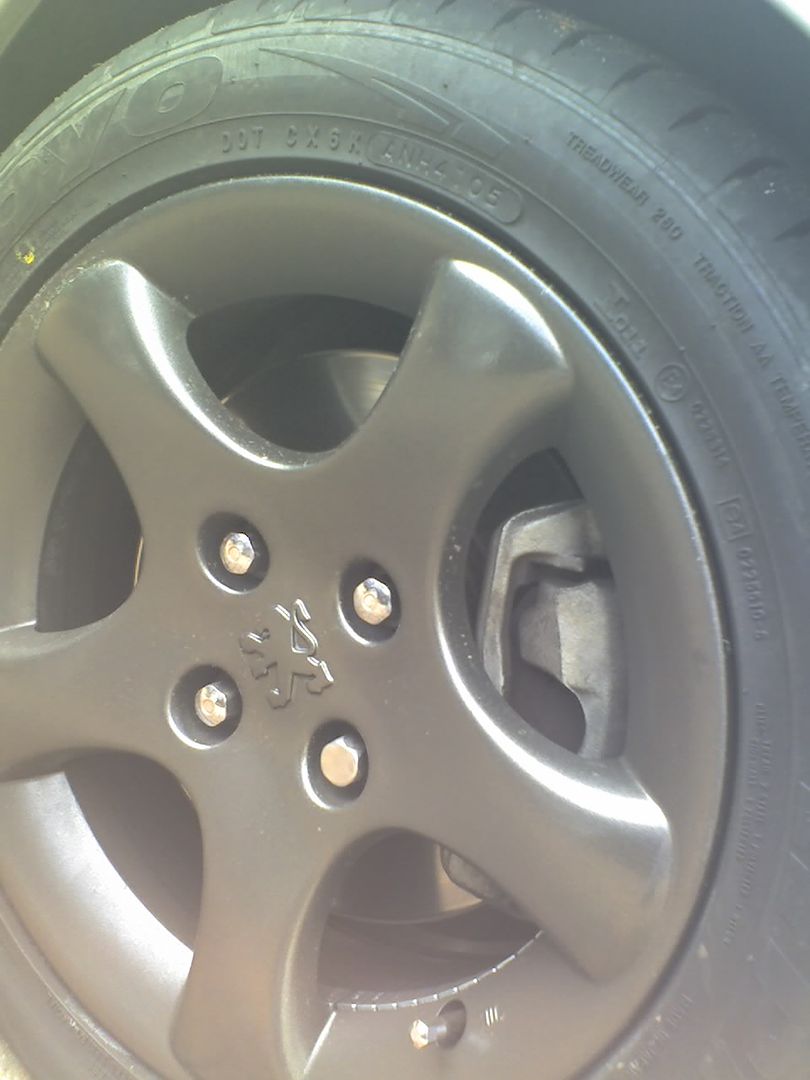
Picturinos

(Whipster - Look at the URL's for the images...)


They are a wee bit dirty but you get the idea Smile

Theres no paint flaking by the way, its either dirt or tyre soap i didn't totally clean off there Thumbs up

________________________________________

Cress87 wrote:
This place is getting beyond a joke. There's been an enormous influx of bellends signing up recently


Team 205 1.9 GTi

Team: Hmm™
Posted 12th Aug 2006 at 21:43
scouse monkey

Newbie

Location: Bristol

Registered: 07 Dec 2005

Posts: 49

Status: Offline

Post #10
quote:

Thanks to ScouseMonkey from Pug306.net for this guide....

hehe you thieving git! LOL

glad you guys found a use for it as it seemed to sink on pug306 Sad need to get it added to the bible.

As an update Wilcos do some polyurethane lacquer for wheels which should be much better than acrylic lacquer which is too brittle.

Love the DIY masks by the way. almost makes me wish i had a phase 2/3 not a phase 1....almost Razz
Posted 3rd Nov 2006 at 02:00

This thread has been locked

All times are GMT. The time is now 00:11

The Peugeot GTi-6 & Rallye Owners Club - ©2024 all rights reserved.

Please Note: The views and opinions found herein are those of individuals, and not of The Peugeot 306 GTi-6 & Rallye Owners Club or any individuals involved.
No responsibility is taken or assumed for any comments or statements made on, or in relation to, this website. Please see our updated privacy policy.