displaying posts 1 to 25 of 34

Pages (2): [1] 2

Author Subject: Splitter Painting!
honestly3k

Seasoned Pro

Location: Berkhamsted

Registered: 06 Apr 2009

Posts: 2,390

Status: Offline

Post #1
Hi folks - kind of a mini project here.

Acquired a standard front splitter for the car this morning courtesy of gota6again - top lad! Thumbs up

Aim is to colour code it manstone to beef up the front end of my car Cool

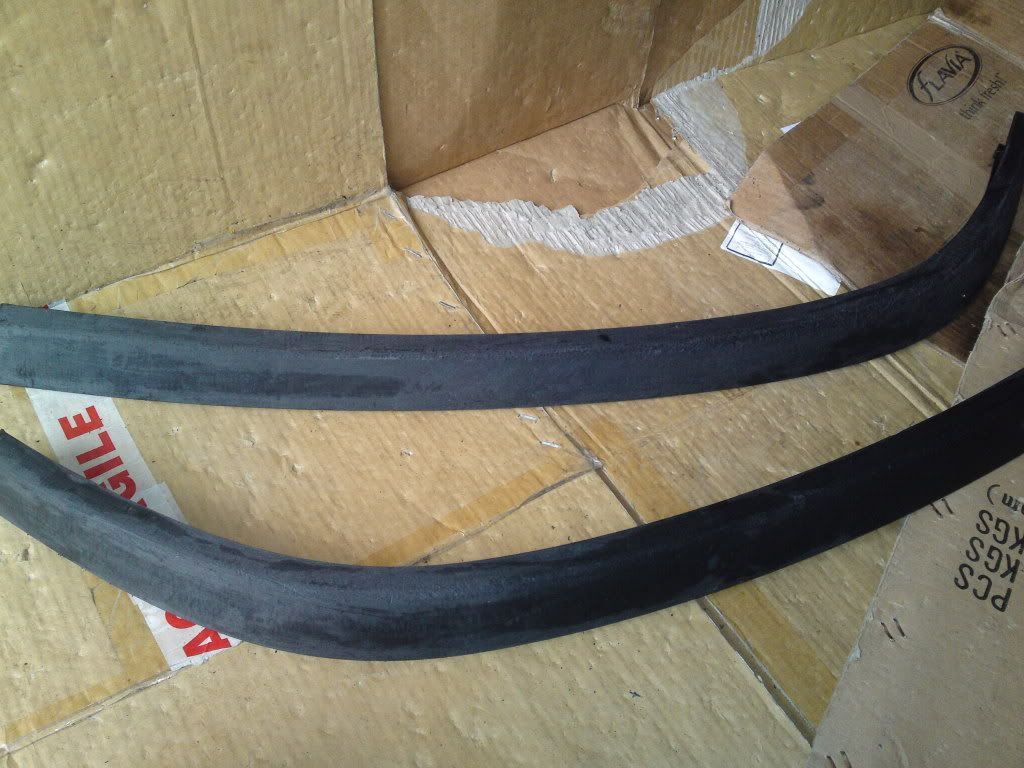
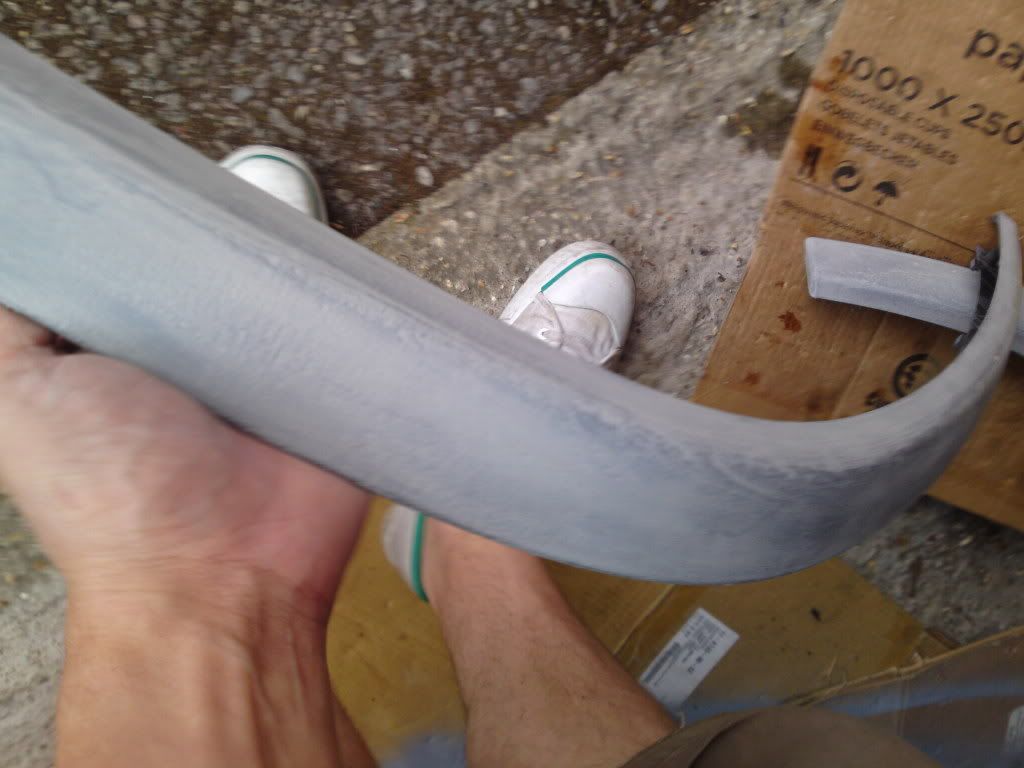
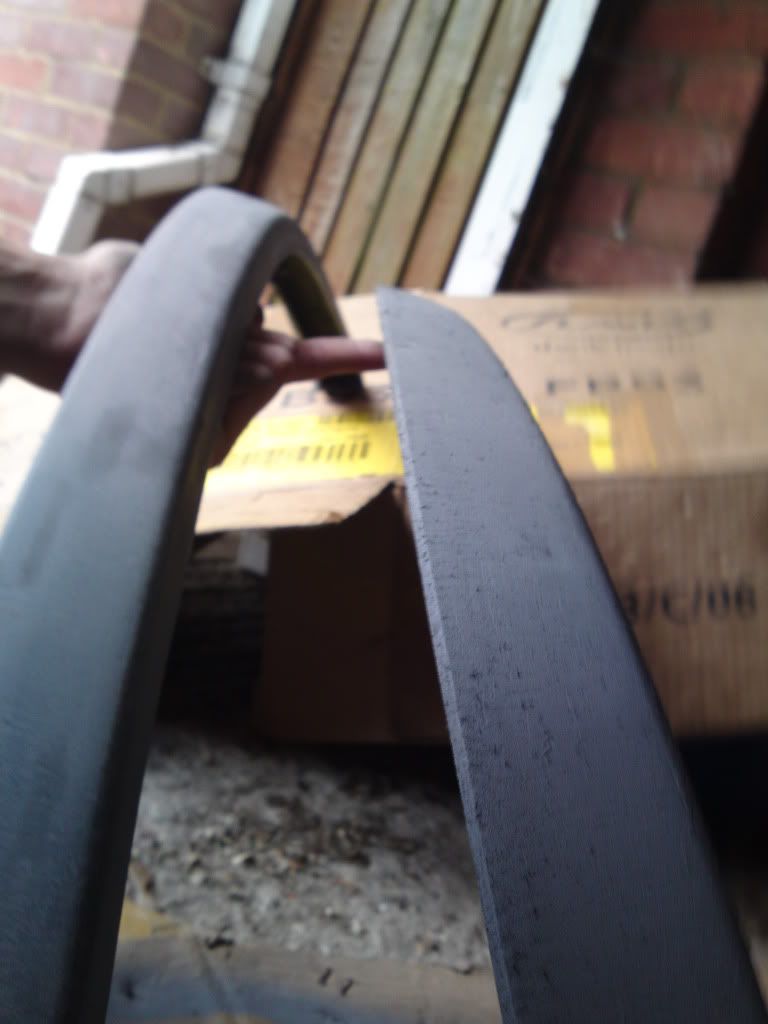
So this afternoon got the dremel out with sanding tip and set about removing the standard plastic surface of the splitter and creating a more rough surface for the primer to key to.

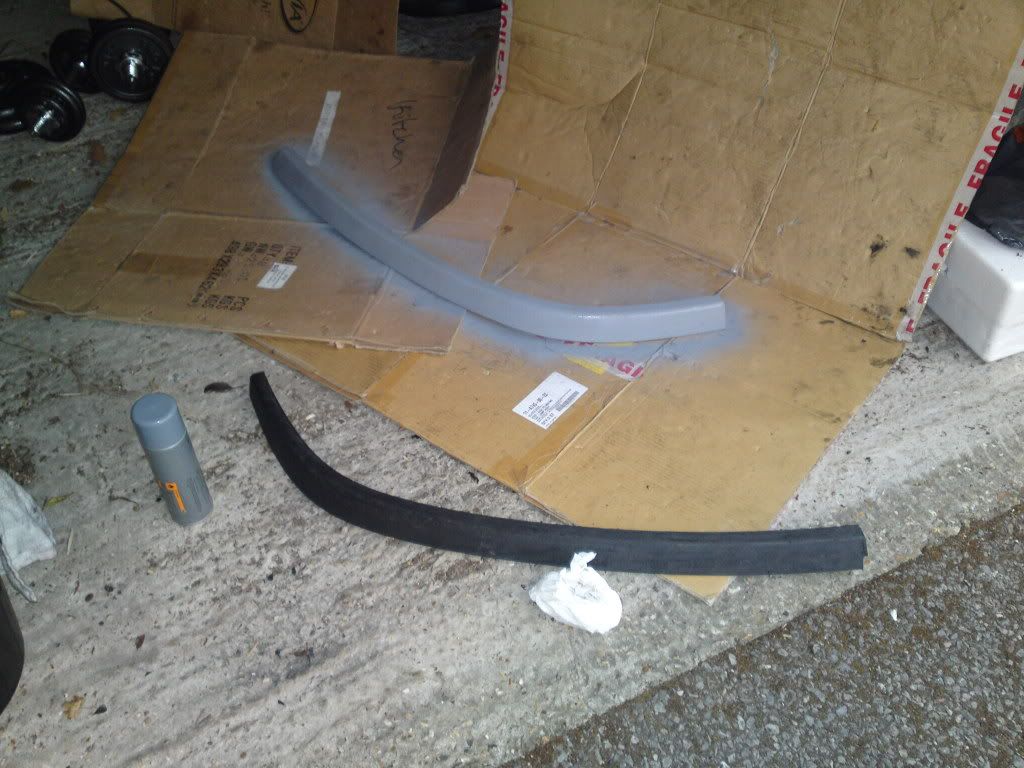
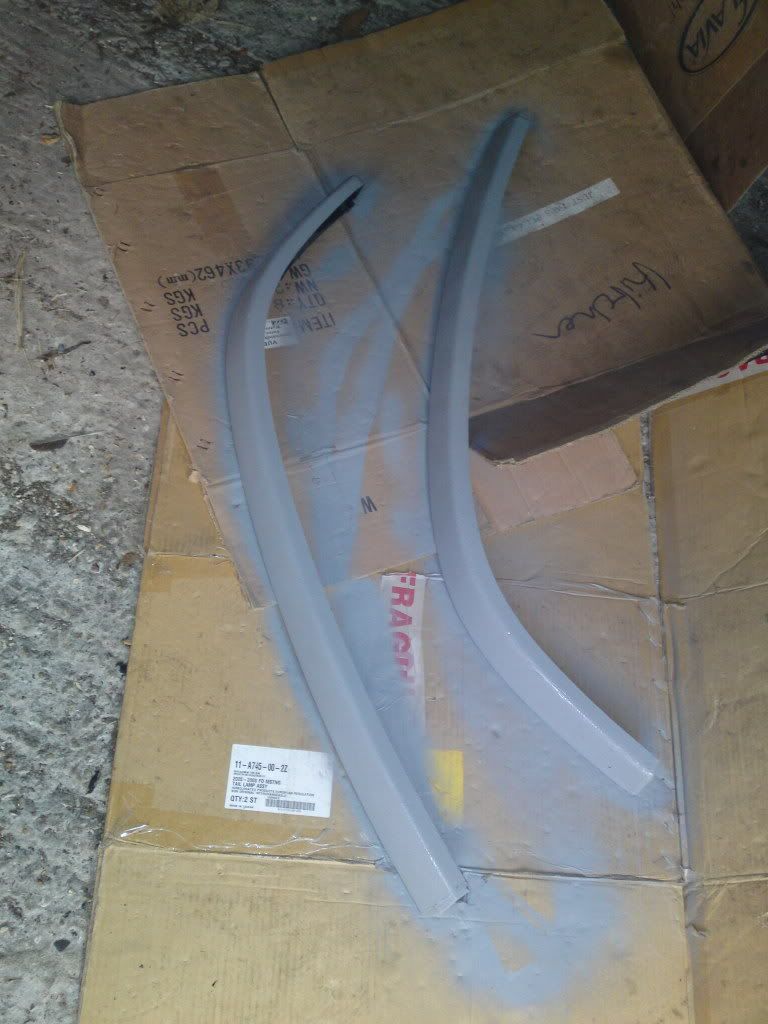
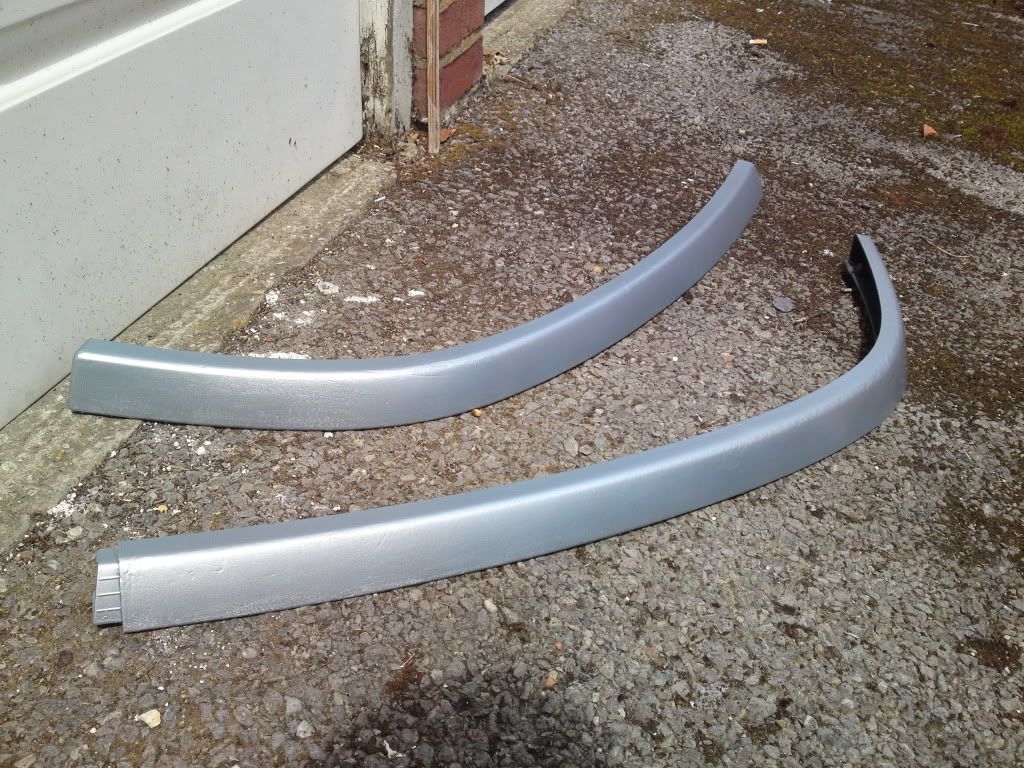
So far done two coats of Halfords grey primer and they are drying in the garage now, will probably put a third coat of primer on tomorrow afternoon before sanding the finish back a bit then go from there...

Never done anything like this before so any tips/hints are most welcome?!

Particularly what sort of sandpaper i need to be using and for which desired finish etc..?!

Anyway heres some w*nky pics of progress so far... Roll eyes


P.S I will be using actual sandpaper to sand back the coats/paints, not a dremel LOL

________________________________________

''Oh, it does handle like a golf!'' Why drive a Golf....when you can drive a GTi-6?
Posted 20th Jul 2011 at 22:36
gota6again

Seasoned Pro

Location: Gone

Registered: 18 Jan 2009

Posts: 1,595

Status: Offline

Post #2
Wow you didn't hang about did you LOL

Just a quick one, but did you use plastic primer? The expertz will probably confirm, but I think normal primer won't be good enough for painting plastics.
Posted 20th Jul 2011 at 23:58
davewagon

Senior User

Location: Corby / Northampton

Registered: 21 Feb 2007

Posts: 889

Status: Offline

Post #3
My splitter is painted Manstone, and it looks the shit!

Be careful on the paint you use though, it'll need to be a paint that keeys wells to flexible plastic and won't just crack and flake off.

This also means it'll be a bit soft, so dont get too close with the pressure washer, as you'll blast a bit off if you catch a lip or something (as i have done with mine Sad )

________________________________________

Team: Moonstone GTI-6™
Team: Working air-con™

ian7675 wrote:
Remember....a 6 isn't just a car, it's a part time job Thumbs up
Posted 21st Jul 2011 at 00:04
cwspellowe

Seasoned Pro

Location: Calderbank

Registered: 19 Jul 2009

Posts: 6,496

Status: Offline

Post #4
Erk, rattle cans Ninja

The primer will be fine just rubbed down with 1200 grit wet and dry used wet with a bit of soap. All you're looking to do is smooth off the surface, not create any modern art sculptures.

Once it's sanded, wipe down with a clean cloth, allow to dry and, literally seconds before you're about to paint, run over it with a tack rag to lift the last of the loose dirt.

When painting, give it a light mist coat first and WAIT. 10-15 mins should be enough. Then go back and apply another coat but heavier, again wait 15 mins, then finally apply your top coat of colour.

Don't sand it! This flattens off the metallic flakes in the paint and dulls the finish.

Finally apply the lacquer after a few hours of settling to allow the solvents to escape the paint you've laid up already. Don't leave it more than 24 hours or it won't adhere properly, you'll have to sand and repaint the colour if you wait too long.

Apply the clear the same as you did with the colour, mist coat followed by a couple of heavy coats.

After 24-48 hours you can start sanding, start too soon and you can pull the paint away. Sand wet with 1200grit,dry the part off and look, you'll see shiny spots and dull areas. You want to make the whole thing dull. Keep going with the 1200 til you get a nice even texture when dry.

Then start working your way through 1500, 2000, possibly even 3000, and finally polishing compounds.

You'll find it's shiny enough without sanding the clear but it's essential you sand and polish if you want a good finish, especially with rattle cans.

Good luck Thumbs up

________________________________________

Bye bye Sundance Kid Sad
Posted 21st Jul 2011 at 00:05
honestly3k

Seasoned Pro

Location: Berkhamsted

Registered: 06 Apr 2009

Posts: 2,390

Status: Offline

Post #5
Cheers guys and mr spellowe - top advice. Thumbs up

All i can say is you must have had a hell of alot of patience painting your entire car!

Im using all rattle can stuff yeah - Grey Primer from Halfords, Clear Laquer and Moonstone Blue all from Halfords.

Dumb question but when you say 'sand wet' do you mean i need to run the sandpaper under the cold tap for a second so there is less friction/burn when i sand?

So i need to purchase some 1200 / 1500 / and 2000 sandpaper?

Another dumb question but im assuming the lower the grit the more abrasive the sand paper is?

________________________________________

''Oh, it does handle like a golf!'' Why drive a Golf....when you can drive a GTi-6?
Posted 21st Jul 2011 at 00:42
cwspellowe

Seasoned Pro

Location: Calderbank

Registered: 19 Jul 2009

Posts: 6,496

Status: Offline

Post #6
Correct on all accounts.

Wet sanding - leave the paper to soak in a pot of warm soapy water until it starts to curl. Gives a smoother finish when sanding and stops the paper from clogging up.

You'll need 1200 / 1500 / 2000 and polishing compound of some sorts, something like Farecla G3. Not regular polish, will take forever using regular stuff.

The lower the number, the coarser the paper. Start low and work your way up.

Oh and also change the water between grades of sandpaper to stop sanded particles getting stuck in your finer grade paper.

It's easier using a spray gun, believe me Wink

________________________________________

Bye bye Sundance Kid Sad
Posted 21st Jul 2011 at 00:48
honestly3k

Seasoned Pro

Location: Berkhamsted

Registered: 06 Apr 2009

Posts: 2,390

Status: Offline

Post #7
Some great tips - will see how i get on but im guessing i will probably f*ck it up! LOL

Watch this space....

________________________________________

''Oh, it does handle like a golf!'' Why drive a Golf....when you can drive a GTi-6?
Posted 21st Jul 2011 at 02:41
honestly3k

Seasoned Pro

Location: Berkhamsted

Registered: 06 Apr 2009

Posts: 2,390

Status: Offline

Post #8
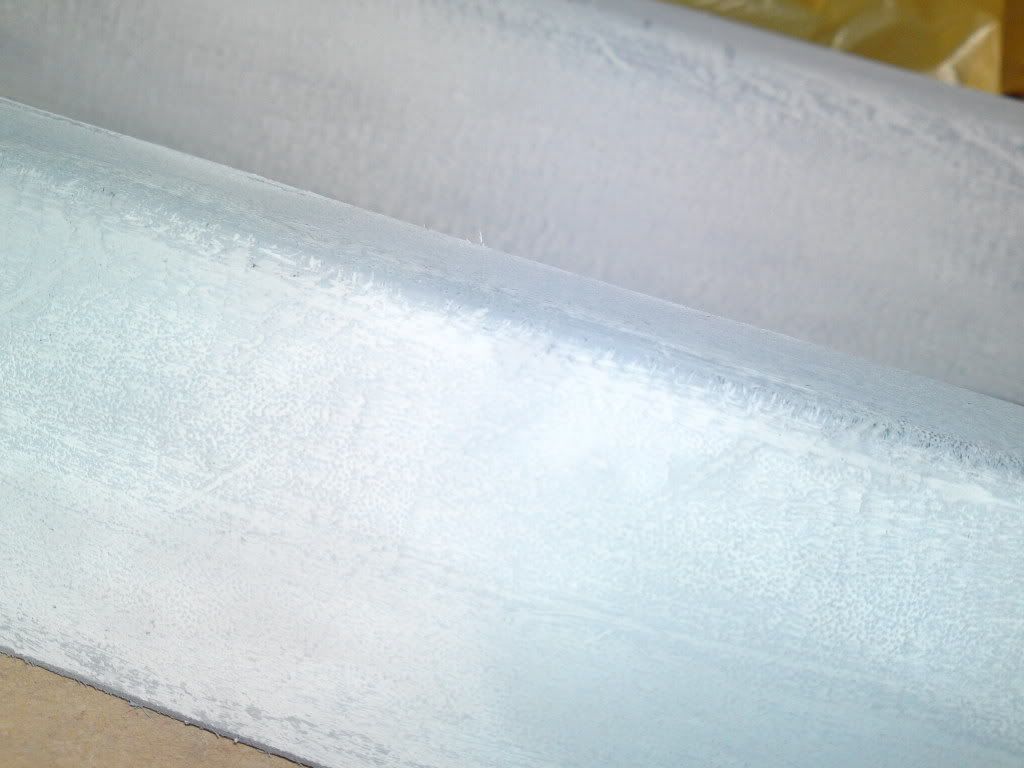
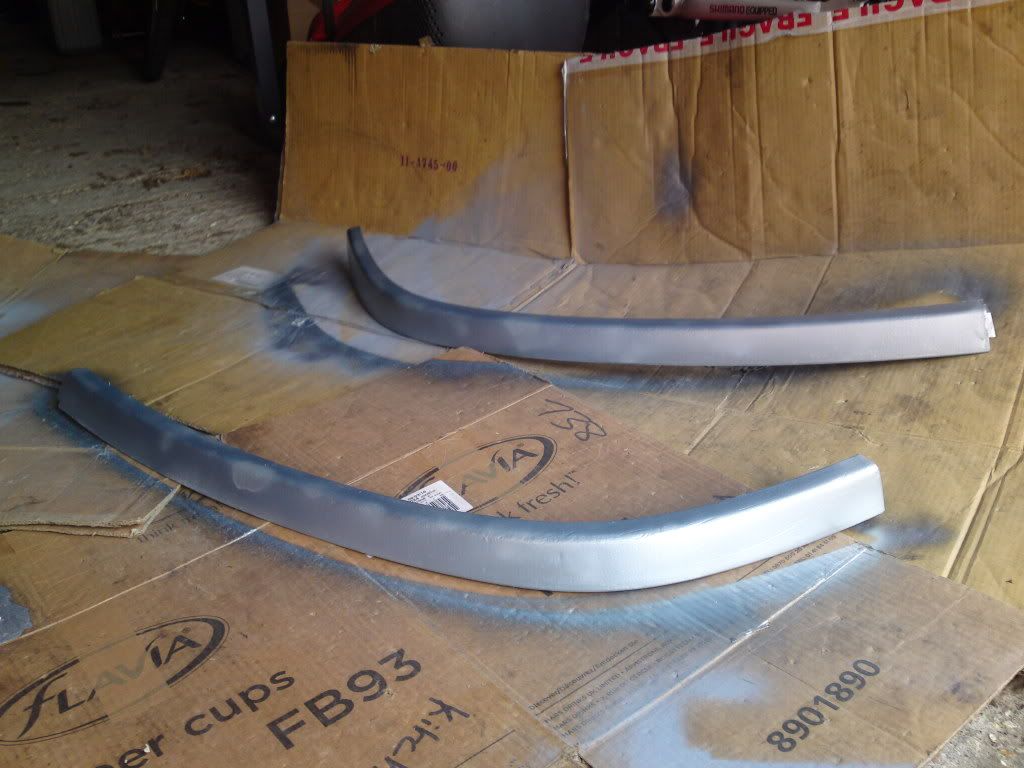
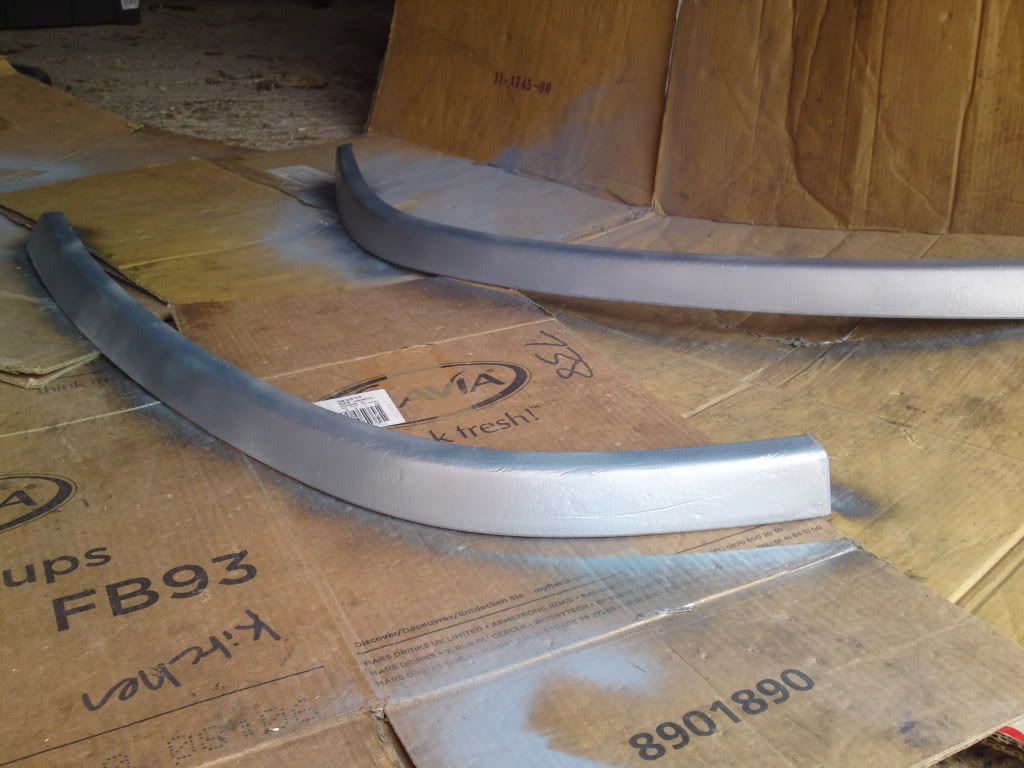
Okay update, just been out and sanded down the 3 layers of primer with 1200 grit wet and dry.
To leave this....


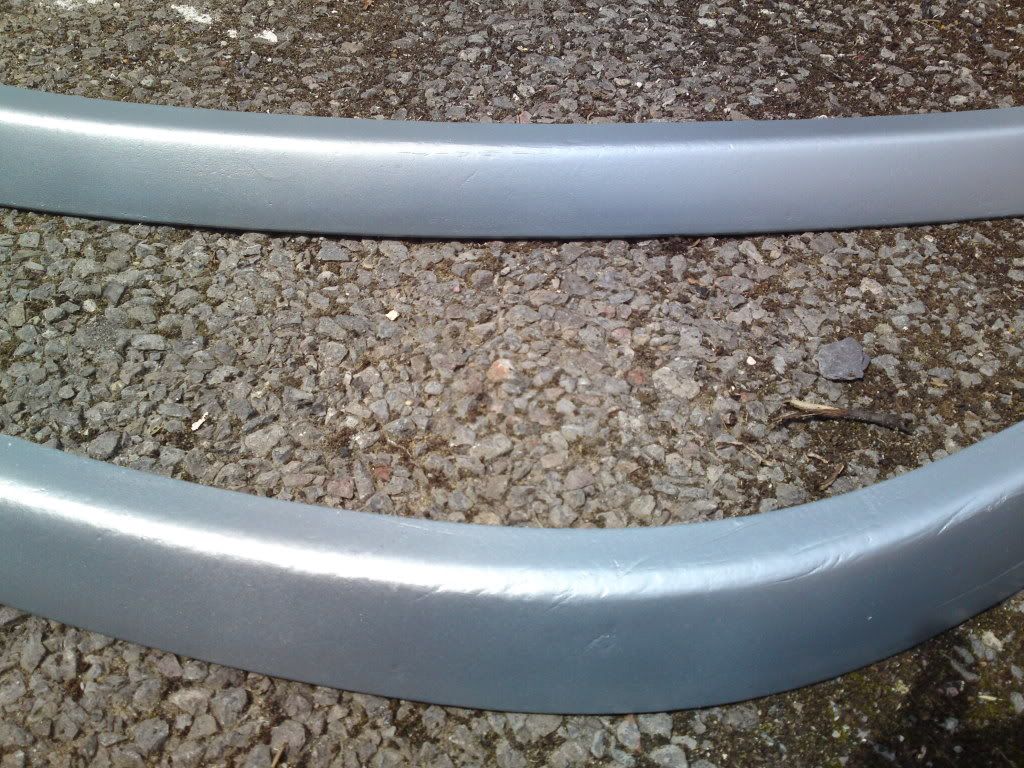
Seems to be going ok so i started laying on the paint, 15mins between each of the first two coats and 25mins until i put the third coat on.

Only worry is it seems to be pretty patchy in places? Is this because ive focused in one spot too much or what? As far as im aware i just sprayed in a side to side motion over the whole panel so im not sure why these patches have turned up.

Will they go when they dry?


Second coat


Third coat

________________________________________

''Oh, it does handle like a golf!'' Why drive a Golf....when you can drive a GTi-6?
Posted 22nd Jul 2011 at 21:37
gota6again

Seasoned Pro

Location: Gone

Registered: 18 Jan 2009

Posts: 1,595

Status: Offline

Post #9
Don't think it should have gone that patchy to be honest. Sounds dumb but did you thoroughly clean and de-greased the splitter?
Posted 22nd Jul 2011 at 22:44
honestly3k

Seasoned Pro

Location: Berkhamsted

Registered: 06 Apr 2009

Posts: 2,390

Status: Offline

Post #10
Yes

Pretty sure i did, wasnt any grease on it and it was dremelled which took the initial plastic layer off, then primered and again sanded.

Its a bit odd - guna go and check how its dried in a minute.

Maybe i will just need to sand it back a bit then re-paint a 4th coat?
Unsure

________________________________________

''Oh, it does handle like a golf!'' Why drive a Golf....when you can drive a GTi-6?
Posted 22nd Jul 2011 at 22:52
gota6again

Seasoned Pro

Location: Gone

Registered: 18 Jan 2009

Posts: 1,595

Status: Offline

Post #11
No idea then? Maybe a dodgy batch of paint then? Good luck and looking forward to the splitter living on LOL
Posted 22nd Jul 2011 at 22:54
honestly3k

Seasoned Pro

Location: Berkhamsted

Registered: 06 Apr 2009

Posts: 2,390

Status: Offline

Post #12
Dumb idea but it maybe where i have turned the spray can upside down and its layered on differently because of it Hmm

Cheers tho. Edit; having just checked out how its dried im sure i have just been a little heavy handed with coat thickness and its produced a raw finish. Guna have to sand it down 2mora and reapply a very thin mist of a fresh coat

________________________________________

''Oh, it does handle like a golf!'' Why drive a Golf....when you can drive a GTi-6?
Posted 22nd Jul 2011 at 23:22
cwspellowe

Seasoned Pro

Location: Calderbank

Registered: 19 Jul 2009

Posts: 6,496

Status: Offline

Post #13
Looks to me like you've been too close for too long with the can. There seems to be minimal overspray too which to me indicates you've not swept far enough past the edge of the parts so you've got build up along the edges

If it was greasy you'd know about it, the paint wrinkles and doesn't adhere properly. Your primer looks a little thin too after sanding, all you needed to do was take off the "nibs" - bits stuck to the surface and the rough texture

________________________________________

Bye bye Sundance Kid Sad
Posted 22nd Jul 2011 at 23:43
honestly3k

Seasoned Pro

Location: Berkhamsted

Registered: 06 Apr 2009

Posts: 2,390

Status: Offline

Post #14
So would i be right in thinking i can just sand this paint down a little with some say 800 grit then apply a light mist coat from distance? Then lacquer as planned?

________________________________________

''Oh, it does handle like a golf!'' Why drive a Golf....when you can drive a GTi-6?
Posted 23rd Jul 2011 at 03:57
cwspellowe

Seasoned Pro

Location: Calderbank

Registered: 19 Jul 2009

Posts: 6,496

Status: Offline

Post #15
Hmm hard to say without seeing it up close. From the pictures, personally i'd take it all the way back and start again, unless you're happy with the big scuff marks? Used splitter i guess?

If you're taking it back with something like 800 grit if i were you i'd apply more than a mist coat to cover it. Use the 800 to take out the defects and apply a further 3 coats i'd say, otherwise you're going to have very thin paint at the end.

Or just send it to me Laugh

The idea of the mist coat is only to let the following coat "grab" properly, ideally you want a heavier top coat to give it more of a gloss

________________________________________

Bye bye Sundance Kid Sad
Posted 23rd Jul 2011 at 04:17
thugpuggin

Seasoned Pro

Location: Bristol

Registered: 10 Apr 2004

Posts: 26,784

Status: Offline

Post #16
Will look great once you've driven up a drive a few times and it scrapes all the paint off where it connects with the kerb.

OP there is no way to BEEF UP a manstone.

________________________________________

Black X Reg PIII.VGTi 6 A4212 pt 1 A4212 pt 2 Searching the streets of Bristol for 1.36p/day.

Joint Kent Leader

Posted 23rd Jul 2011 at 05:42
honestly3k

Seasoned Pro

Location: Berkhamsted

Registered: 06 Apr 2009

Posts: 2,390

Status: Offline

Post #17
thugpuggin wrote:
Will look great once you've driven up a drive a few times and it scrapes all the paint off where it connects with the kerb.

OP there is no way to BEEF UP a manstone.


Not sure how you boys drive over in Bristol but up here, we tend not to drive with the front of the car on the pavement LOL

Manstone is called that for the exact reason that yes its manly.

Everybody loves manstone but sadly nobody can admit it Razz

________________________________________

''Oh, it does handle like a golf!'' Why drive a Golf....when you can drive a GTi-6?
Posted 23rd Jul 2011 at 19:20
thugpuggin

Seasoned Pro

Location: Bristol

Registered: 10 Apr 2004

Posts: 26,784

Status: Offline

Post #18
honestly3k wrote:
Not sure how you boys drive over in Bristol but up here, we tend not to drive with the front of the car on the pavement LOL


They meet the tarmac getting on and off dropped kerbs, NCP car park ramps etc etc.

Post the pics up after a couple of months driving with it on the car and see how it's fairing up.

This was a none sanding effort off a rallye I broke.


Someone still bought it though.

________________________________________

Black X Reg PIII.VGTi 6 A4212 pt 1 A4212 pt 2 Searching the streets of Bristol for 1.36p/day.

Joint Kent Leader

Posted 23rd Jul 2011 at 20:38
beez_neez_gt

Seasoned Pro

Location: @ de limit of adhesion !

Registered: 14 Oct 2008

Posts: 2,916

Status: Offline

Post #19
Next time you paint try having the can about 10 inches from the surface then using a sweep motion go along the length of it. In a conveyor belt type of motion, not stying in the same area spraying, sweeping the can.

Also sanding the splitter before doing any spraying would have made it look more smooth as well.

Prep, prep, prep, and more prep.

Some good tips on this thread also, thanks.

________________________________________

Pug fee`ver,

Pick a Bogey, buy a Pug.

Black 306 GTI 6 Standard, was 60k mileage, bargain!!

Clicky: [url =http://www.306gti6.com]click here[/url] remove the space between [url & =
Posted 23rd Jul 2011 at 20:56
honestly3k

Seasoned Pro

Location: Berkhamsted

Registered: 06 Apr 2009

Posts: 2,390

Status: Offline

Post #20
Well today has gone pretty well.

Sanded back the initial paintjob so it was silky smooth the length of the splitter.

Then did exactly as you described beez_neez_gt.

Result - much better finish and its looking pretty good now.

Started lacquering and one panel has had 3 coats and is drying until tomorrow.

Second panel had a bit too much sprayed on again so i will need to sand it back and redo again LOL

But yeah good results so far.
Pics to follow tomorrow but for now im out on the p*ss! Cheers

________________________________________

''Oh, it does handle like a golf!'' Why drive a Golf....when you can drive a GTi-6?
Posted 23rd Jul 2011 at 21:44
mattgti6phase2

Seasoned Pro

Location: inside my 6 abusing the tarmac!!

Registered: 16 Jul 2010

Posts: 2,371

Status: Offline

Post #21
honestly3k wrote:
Manstone is called that for the exact reason that yes its manly.

Everybody loves manstone but sadly nobody can admit it Razz


Doh

Actually known as moonstone. You not got them done yet Chris? f*ck me the paint will be out of date soon LOL

________________________________________

Team Nile 6 Superman
Team: 40.2 MPG Smile
5 x a 306 owner!
currently abusing type r's in a town near you ™ Wink
I truely live for the 306 ®
Build date: 29th October 1997 Wednesday's car
midweek madness Tee hee
Posted 24th Jul 2011 at 04:28
cwspellowe

Seasoned Pro

Location: Calderbank

Registered: 19 Jul 2009

Posts: 6,496

Status: Offline

Post #22
Was gonna say, I painted a set of rub strips, filler strips, a bonnet badge and clear coated some carbon bits today, and still found time to have a lie in, watch F! P3 and Quali and f*ck about in the sun all day Laugh

________________________________________

Bye bye Sundance Kid Sad
Posted 24th Jul 2011 at 04:33
mattgti6phase2

Seasoned Pro

Location: inside my 6 abusing the tarmac!!

Registered: 16 Jul 2010

Posts: 2,371

Status: Offline

Post #23
What colour is the above??

I was thinking of doing my rub strips gloss black what do you think? Or maybe just Nile?

________________________________________

Team Nile 6 Superman
Team: 40.2 MPG Smile
5 x a 306 owner!
currently abusing type r's in a town near you ™ Wink
I truely live for the 306 ®
Build date: 29th October 1997 Wednesday's car
midweek madness Tee hee
Posted 24th Jul 2011 at 04:39
cwspellowe

Seasoned Pro

Location: Calderbank

Registered: 19 Jul 2009

Posts: 6,496

Status: Offline

Post #24
Hmm

They were done ford graphite grey to match my wheels.

In your situation i'd do them nile, or if gloss black i'd do the filler cap trims, scuttle panel and mirrors to match

________________________________________

Bye bye Sundance Kid Sad
Posted 24th Jul 2011 at 15:19
honestly3k

Seasoned Pro

Location: Berkhamsted

Registered: 06 Apr 2009

Posts: 2,390

Status: Offline

Post #25
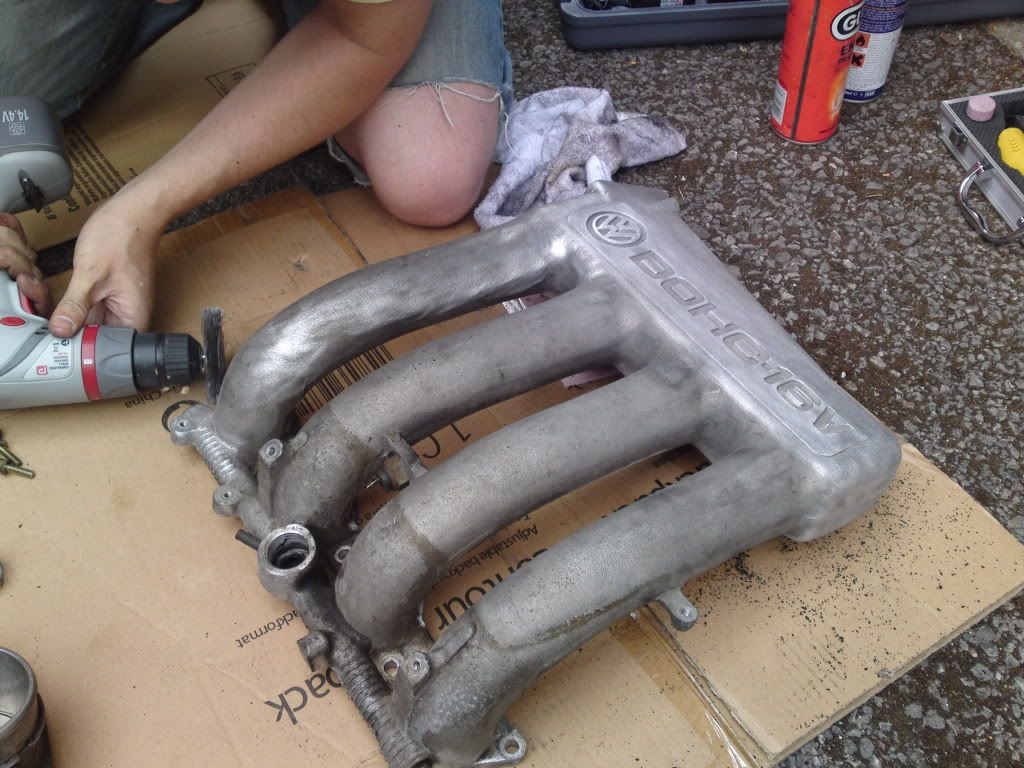
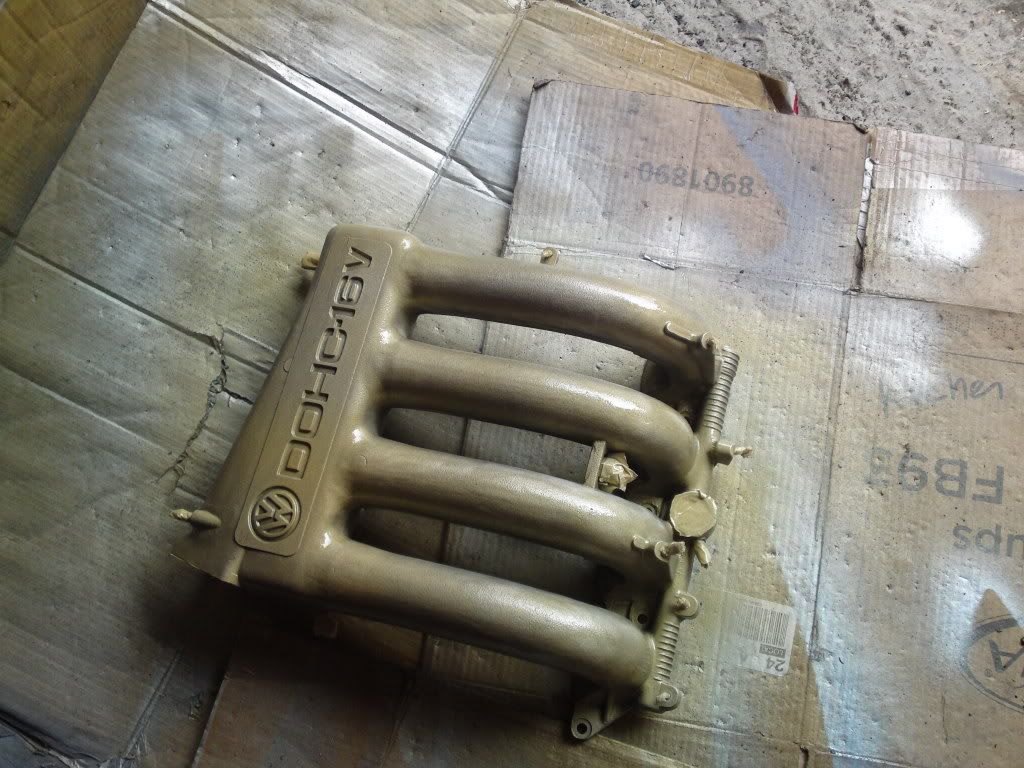
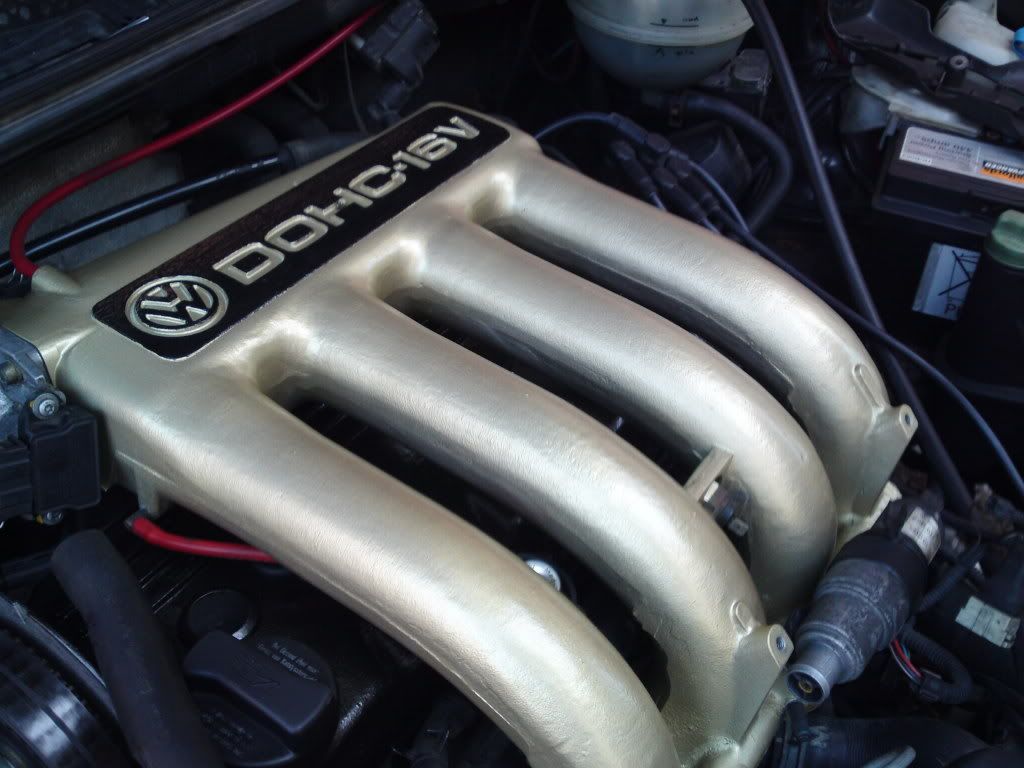
Ok the reason im taking so long its mostly as ive had to work around my brother painting his inlet manifold!

He was using my paint spot in the garage....

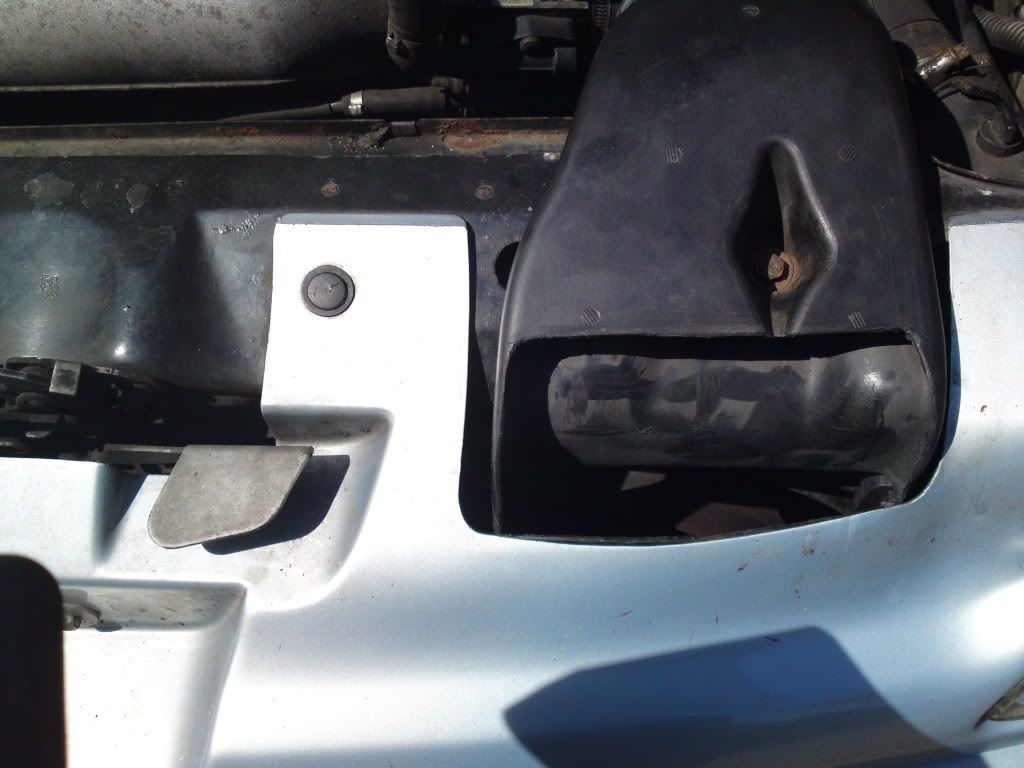
Anyway heres some engine porn for you all...


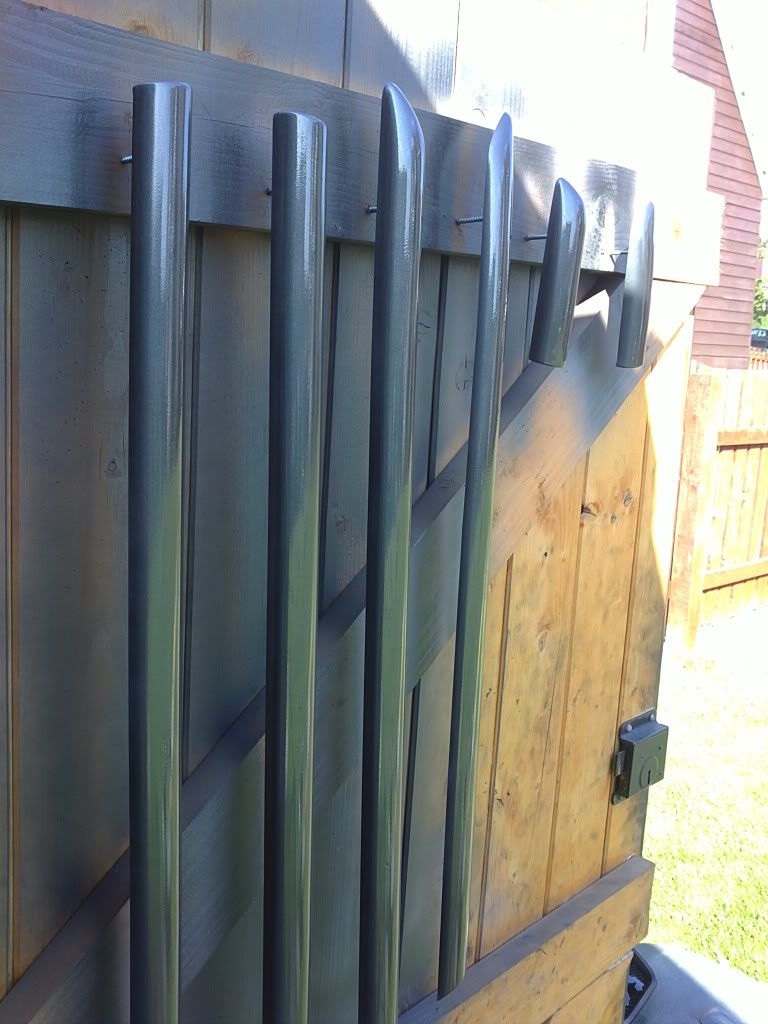
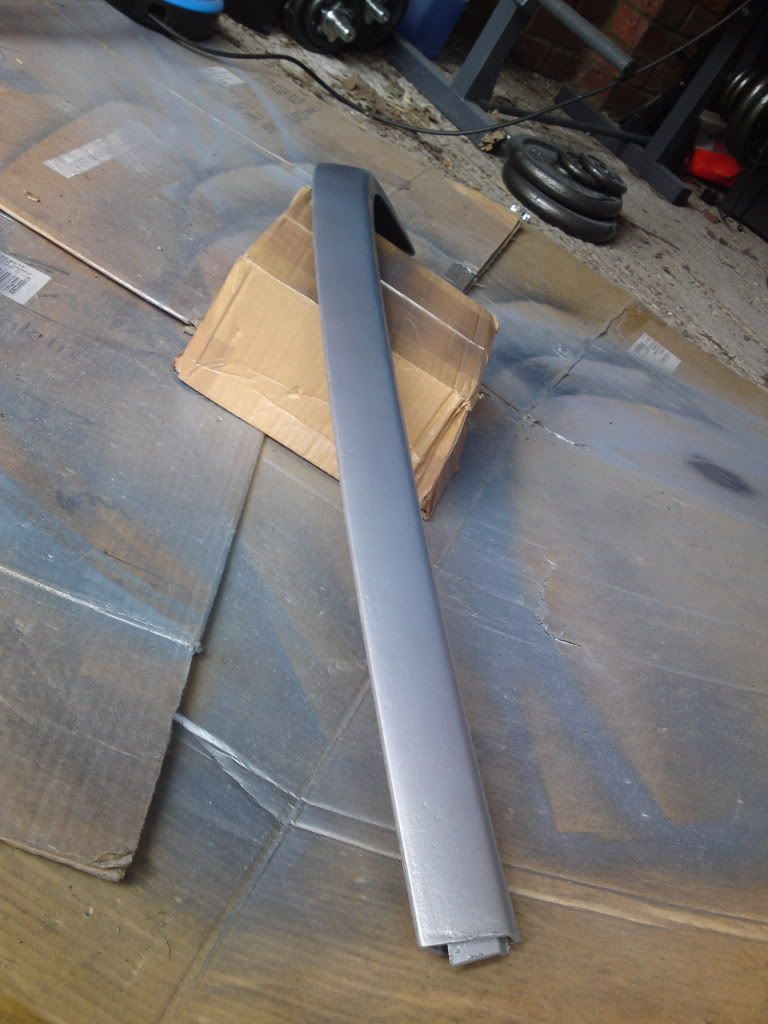
So i 'think' i am done painting and lacquering the splitter - paint finish is OK i guess...cant really expect much better from a novice like me on a used splitter!

My question is are you SURE that i should be sanding the lacquer down in 24 hours time? Surely it will completely f*ck the finish up?

Its a little grainy in places but tbh im not gonna get it to any better level than it is Hmm


Also mangelled my snorkel to try and increase air flow... :s

________________________________________

''Oh, it does handle like a golf!'' Why drive a Golf....when you can drive a GTi-6?
Posted 24th Jul 2011 at 19:20

Pages (2): [1] 2

All times are GMT. The time is now 08:07

The Peugeot GTi-6 & Rallye Owners Club - ©2024 all rights reserved.

Please Note: The views and opinions found herein are those of individuals, and not of The Peugeot 306 GTi-6 & Rallye Owners Club or any individuals involved.
No responsibility is taken or assumed for any comments or statements made on, or in relation to, this website. Please see our updated privacy policy.